
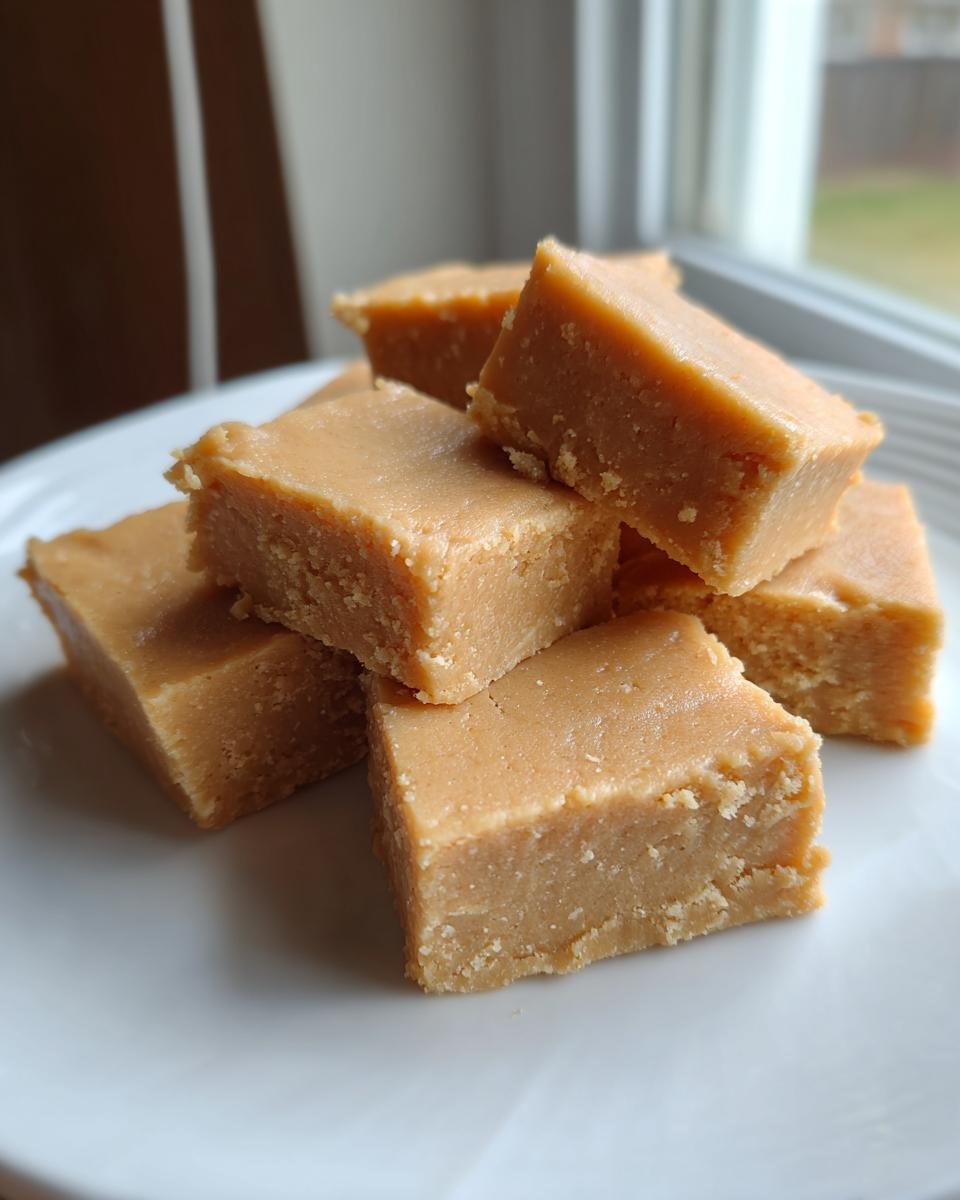
Oh my goodness, there is nothing quite like that first hit of creamy, rich, homemade candy, right? I have a weakness for anything sweet and bite-sized, but this recipe is my absolute weakness. Seriously, this recipe for delicious, super creamy Peanut Butter Fudge is my secret weapon when unexpected guests pop over.
It’s the simplest stovetop method, and I promise you don’t need a scary candy thermometer—my secret weapon is really just trusting the timer! I first learned this trick from my aunt when I was about ten, and I usually whip up a batch when I’m craving that nostalgic flavor. It sets up perfectly every time. It’s comfort in a square, that’s for sure.

Why This Peanut Butter Fudge Recipe Stands Out
I know, I know, there are a million fudge recipes out there promising the world. But trust me when I say this one delivers pure magic with barely any fuss. It’s the whole package! You get to make amazing candy without breaking out special equipment or spending hours babysitting a fussy burner.
- It’s shockingly fast! Seriously, the active time is under fifteen minutes.
- The texture is exactly what you dream of: unbelievably smooth and creamy, never gritty.
- We skip all the scary stuff—no candy thermometer required, ever! Just follow the minute rule.
If you’re looking to level up your treat game quickly, you absolutely need to check out some advanced techniques you can learn over at this page, but for this fudge? Just stick to the basics outlined above!
Gathering Ingredients for Perfect Peanut Butter Fudge
The beauty of this recipe is that you probably have everything sitting in your pantry already! We aren’t dealing with complicated syrups or rare nuts here. Keeping the ingredients simple is half the battle in achieving that perfect, cloud-like melt-in-your-mouth texture.
For the creamiest result, I insist you reach for the smooth, creamy peanut butter jar—not the natural kind that separates. Also, make sure your butter is actual butter, not that stuff in a tub! If you happen to be out of milk, you might find a good substitution over here, but milk works best for this stovetop method.
Here’s what you’ll need hiding in your kitchen cabinets:
- One full cup of creamy peanut butter—don’t skimp!
- A full cup of regular granulated sugar.
- Half a cup of good old milk.
- A quarter cup of butter (salted or unsalted works, but I usually default to unsalted here).
- Just one tiny teaspoon of vanilla extract for warmth.
- A small pinch of salt to balance all that sweetness.
Essential Equipment for Making Peanut Butter Fudge
Okay, let’s talk tools. Since this is such a hands-off recipe once it hits the heat, you don’t need much! Having the right gear just makes cleanup faster, which is always my main goal.
You’ll want to grab these few simple items before you start heating anything up. It keeps the whole process moving smoothly, trust me on this one!
- A sturdy, medium-sized saucepan for cooking the base.
- An 8×8 inch square baking pan—this is the shape that gives you those perfect, thick squares!
- Parchment paper. You absolutely *must* line your pan with this.
- A good wooden spoon or spatula for stirring everything together once you take it off the heat.
Step-by-Step Instructions for Creamy Peanut Butter Fudge
Wow, we’ve got all our stuff ready, so now it’s time for the magic part! This whole process goes by so fast, so have your pan ready to go before you even turn on the stove. We need precision here, especially with the boiling. Follow these steps exactly, and you’ll have the dreamiest fudge ready for the counter!
Preparing the Sugar Mixture
First things first, get your sugar, milk, and butter into that saucepan over medium heat. You want to stir this continually while you’re heating it up. We aren’t looking for trouble here; we just need that butter to melt completely, and make sure that sugar dissolves so you don’t end up with crunchy candy—nobody wants that!
Once everything is dissolved and it starts looking a little glossy, turn the heat up just enough to bring it to a rolling boil. This is critical! Once it boils, you stop stirring completely. Set your timer for exactly one minute. If you stir during this minute, you risk messing up how the sugar crystals form later on. We want smooth, not gritty!
Incorporating Peanut Butter for Smooth Peanut Butter Fudge
When that minute is up, yank that pan right off the heat! Don’t pause to pour a glass of water, just take it off the burner. Now you can stir in your peanut butter, your splash of vanilla, and that pinch of salt. You need to keep working it with your spoon until it’s all one gorgeous, uniform, pale tan mixture. If you see streaks of unmixed peanut butter, keep going! We need super smooth Peanut Butter Fudge, remember?
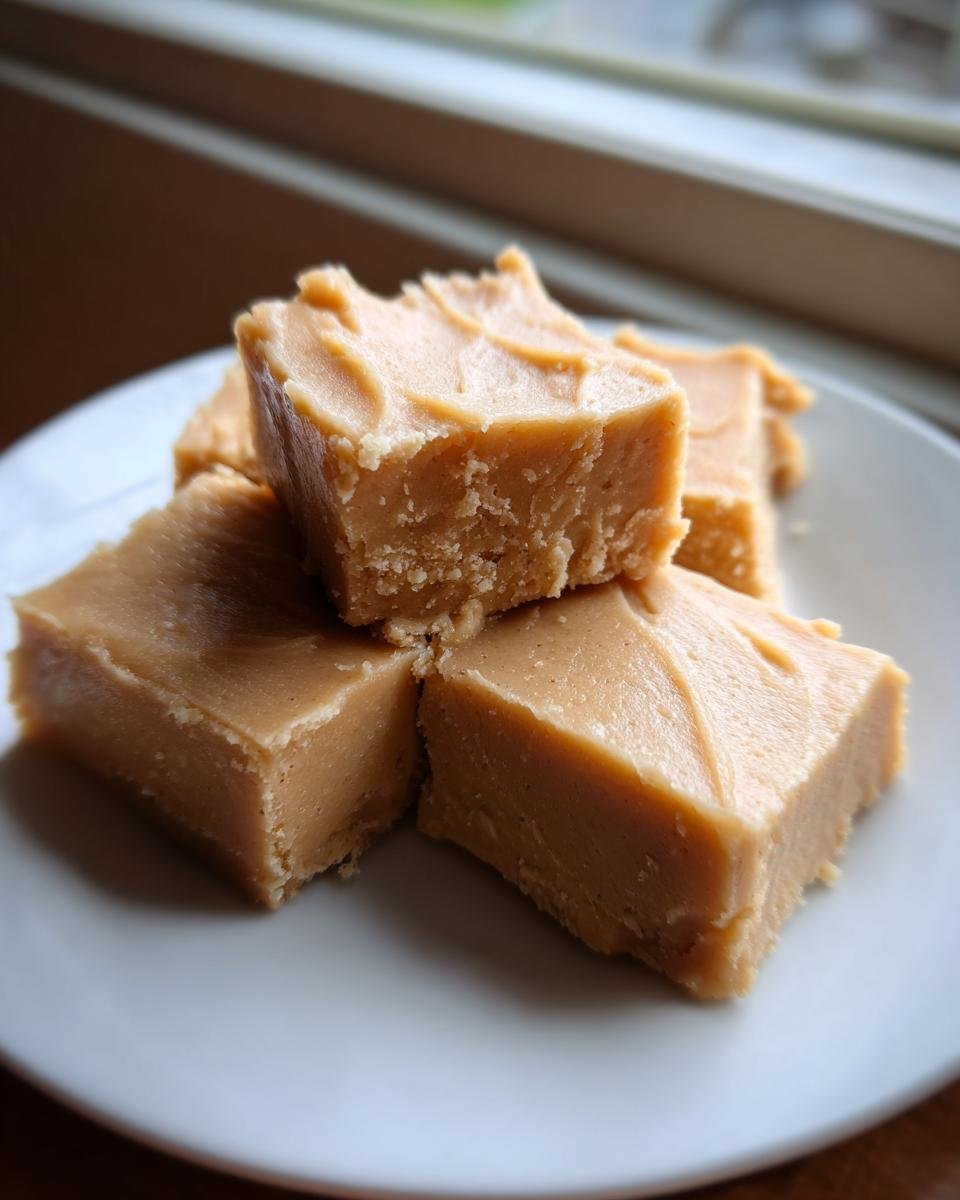
Setting and Cutting Your Peanut Butter Fudge
Quickly pour that beautiful batter into your parchment-lined 8×8 pan. Spread it out evenly with your spatula—don’t fuss with it too much, you just want it level. Let it sit completely undisturbed. I usually just leave mine right on the counter at room temperature until it’s firm, but if I’m in a real hurry, the fridge does the trick faster.
A pro tip I learned is that using a **creamy** peanut butter, like I mentioned before, really helps keep the internal structure soft. If you use the super natural, oily kind, your fudge might turn out a bit crumbly, so stick to the steady, consistent creamy stuff for the best results!
If you want a few extra tips on improving your overall baking confidence while you wait for this to set, you can see what I keep handy over at this page.
Tips for Achieving the Best Peanut Butter Fudge Texture
Fudge texture is everything! If you mess up that one minute of boiling, you can end up with something crumbly, and nobody wants that! The main enemy here is crystallization. That’s when the sugar gets unhappy and decides to form those tiny, crunchy little seeds in your beautiful Peanut Butter Fudge.
To prevent any grit, make sure you are really focused when you dissolve the sugar initially. You shouldn’t see *any* sugar grains sitting on the bottom of the pan before you turn up the heat. Also, resist the absolute urge to scrape down the sides of the pan with your spatula while it’s boiling—that can introduce those rogue crystals back into your mix.
If your fudge looks a little soft after setting, it usually means you didn’t let it boil quite long enough. If it’s too hard, you boiled it a few seconds too long! It’s a tiny window, but it’s worth practicing. You’ll get the timing down after one batch, I promise! For more general baking reassurance, check out some of my favorite tips over at this page.
Variations on Classic Peanut Butter Fudge
Now that you’ve mastered the simple base, we can have a little fun! This Peanut Butter Fudge is ready for personalization. You don’t need a whole new recipe to change things up, just a handful of extras thrown in at the end works wonders.
My favorite little addition is sprinkling mini chocolate chips right over the top as soon as the fudge hits the pan. They melt just slightly and look gorgeous once it sets. If you want to get really fancy, you can melt a square of good dark chocolate and gently swirl it over the top before cooling.
Another simple swap is adding about half a cup of chopped, lightly toasted pecans or walnuts right in when you stir in the peanut butter—it adds a lovely crunch! If you like swirl fudge, you should definitely look up that amazing butter pecan recipe for inspiration, even though this one is quicker!
Storing Your Homemade Peanut Butter Fudge
Once this beautiful candy is finally set—and trust me, resisting the urge to cut it early is the hardest part—the next worry is keeping it perfect! Fudge is pretty sturdy, which is why I love it so much. It doesn’t need refrigeration, which is great for setting up on your countertop during the holidays.
You want to keep any leftovers in an airtight container. If you stack the pieces, use a small square of wax paper or parchment between the layers so they don’t stick together and get all messy. Seriously, seal it up tight!
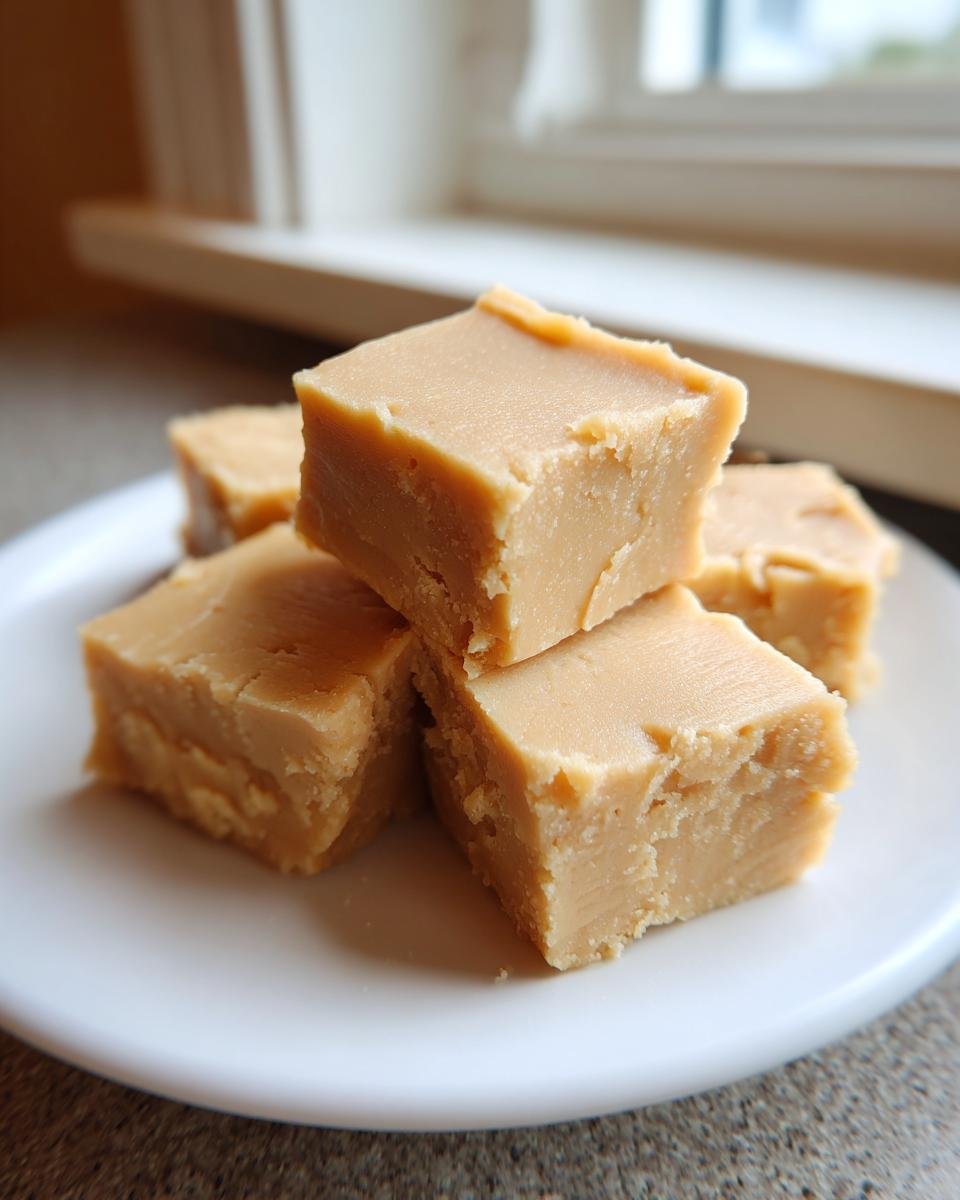
Stored properly away from strong heat or sunlight, this stuff will stay perfectly soft and smooth on the counter for a good week, sometimes even ten days. This makes it the ultimate make-ahead holiday treat because you don’t have to worry about fridge space!
Frequently Asked Questions About Peanut Butter Fudge
I get so many messages after people try this recipe, which is wonderful! Most questions are about ingredients or texture, which makes sense since making candy can feel a little intimidating. I tried to make this the easiest fudge ever, but questions are always welcome!
Can I use natural, runny peanut butter for this peanut butter fudge?
Oh, I really wouldn’t recommend it if you’re aiming for perfect results. Natural peanut butter tends to separate, and that watery oil can interfere with how the sugar sets up. It makes this easy fudge recipe much less predictable, and you might end up with a greasy, soft mess instead of firm squares. Stick to that jar of classic, shelf-stable creamy peanut butter for the best outcome.
How can I make my peanut butter fudge less grainy?
Graininess almost always comes down to two things we discussed. First, make absolutely sure that sugar dissolves completely into the milk and butter before the boil begins—use your spoon to feel the bottom of the pot! Second, when it comes to the boil, hit that one-minute mark and pull it off the heat right away. Overcooking is the easiest path to a crystalized, hard, grainy fudge.
Is this considered a no bake fudge recipe?
That’s a great question! People often call anything that doesn’t go into the oven ‘no bake,’ but technically, we do cook this on the stovetop to get the sugar to the right temperature, so it’s cooked fudge. However, since there’s no oven time and it just cools on the counter, it definitely fits the spirit of a quick, easy dessert! For something truly no-bake, you might want to check out my recipe for no-bake chocolate bars instead.
Estimated Nutritional Snapshot for Peanut Butter Fudge
I always love looking at these numbers, even though I swear I should just eat the whole batch in one sitting! Since we aren’t using any complicated binding agents or weird fillers, this rich treat comes together with simple, standard ingredients. It’s nice to know what you’re putting into your body when you make something completely from scratch.
Here is what we are looking at for one perfectly sized square. Remember, these values are coming from general calculations based on the ingredients listed, so they are a great guide but not exact science!
- Calories: Roughly 180 per serving.
- Sugar: About 18 grams. That dark brown sugar we used definitely adds richness, but it adds up!
- Total Fat: Around 10 grams.
- Protein: A decent punch of about 4 grams, thanks to all that peanut butter!
- Carbohydrates: Just sitting around 20 grams.
You’ll also get small boosts of fiber and cholesterol content listed in the details, but honestly, this is pure, simple indulgence. If you’re ever curious about the difference between this and my other dessert recipes, you can always cross-reference the data!
Print
Simple Peanut Butter Fudge
- Total Time: 1 hour 15 min
- Yield: About 16 pieces 1x
- Diet: Vegetarian
Description
A quick recipe for making creamy peanut butter fudge.
Ingredients
- 1 cup peanut butter
- 1 cup granulated sugar
- 1/2 cup milk
- 1/4 cup butter
- 1 teaspoon vanilla extract
- Pinch of salt
Instructions
- Combine sugar, milk, and butter in a saucepan.
- Heat the mixture over medium heat, stirring until the butter melts and the sugar dissolves.
- Bring the mixture to a boil without stirring. Boil for exactly one minute.
- Remove the pan from the heat.
- Stir in the peanut butter, vanilla extract, and salt until smooth.
- Pour the fudge mixture into an 8×8 inch pan lined with parchment paper.
- Allow the fudge to cool and set completely at room temperature or in the refrigerator before cutting into squares.
Notes
- For a smoother texture, use creamy peanut butter.
- Do not overcook the sugar mixture after it starts boiling.
- Prep Time: 10 min
- Cook Time: 5 min
- Category: Dessert
- Method: Stovetop
- Cuisine: American
Nutrition
- Serving Size: 1 square
- Calories: 180
- Sugar: 18g
- Sodium: 60mg
- Fat: 10g
- Saturated Fat: 4g
- Unsaturated Fat: 6g
- Trans Fat: 0g
- Carbohydrates: 20g
- Fiber: 1g
- Protein: 4g
- Cholesterol: 15mg
Keywords: peanut butter fudge, easy fudge, no bake fudge, quick dessert, peanut butter candy