
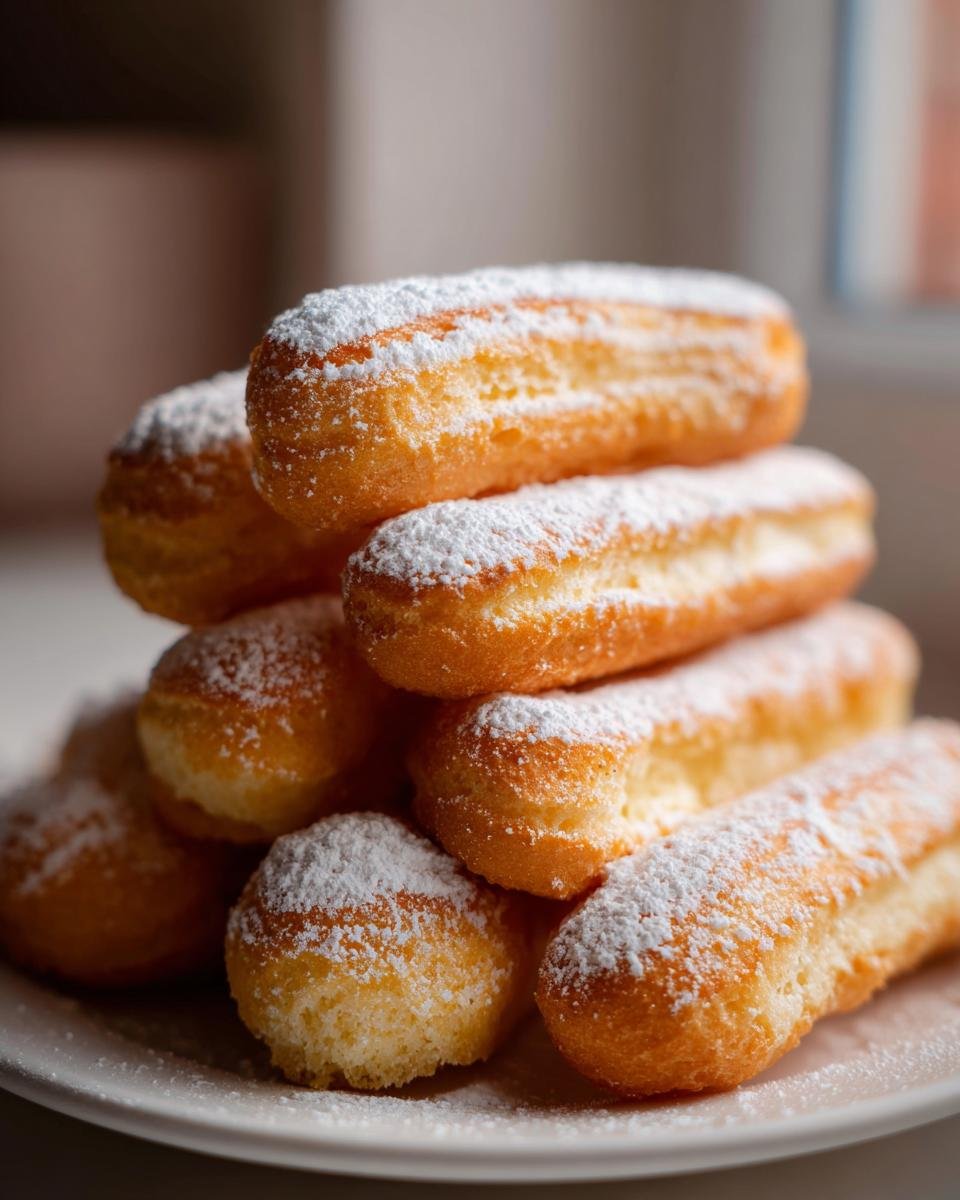
Oh, you guys! Let’s talk about those delicate, slightly crisp, sponge-like cookies you see everywhere—the ones that soak up coffee and liquor like little sponges of joy. I’m talking about ladyfingers, or *savoiardi* if you’re feeling fancy! I used to think these were so complicated, something only a professional pastry chef could pull off, but trust me on this one. After one too many soggy, store-bought layers in my homemade Tiramisu catastrophes, I finally cracked the code.
This is, without a doubt, the simplest, most reliable **Ladyfingers Recipe** you will ever find. We’re only using four main ingredients, separating the mixing process just right, and bam—you have the perfect base for chilling out under cream or eating plain with an espresso. Seriously, if you can whip egg whites to stiff peaks, you can master this recipe today!

Why You Will Love This Easy Ladyfingers Recipe
Forget the dry, crumbly ones from the store! What makes this recipe my go-to is how quickly we whip these up. You read that right, prep and bake time combined is under an hour. Plus, they have that absolutely perfect texture.
- They’re incredibly versatile—ideal for Tiramisu, trifles, or just dunking!
- The texture is spot-on: crisp on the outside, beautifully airy and spongey inside.
- Seriously foolproof, provided you’re careful with those egg whites.
- If you want more baking know-how, you should definitely check out my general baking tips!
Essential Ingredients for the Best Ladyfingers Recipe
Okay, simplicity reigns supreme here, folks! We’re keeping the ingredient list short because the magic is all in the technique, not in loading the batter down with extras. You only need four things, plus a little sugar for dusting the tops, which I think is just crucial for that classic look. If you’re ever curious about common pantry swaps, like what to do if you run out of buttermilk (though you won’t need it here!), I have a little cheat sheet on some buttermilk substitutions.
- Four large eggs, and listen closely—they must be separated!
- We’re using granulated sugar, but we’re dividing it up (half for the yolks, half for the whites).
- Just one teaspoon of pure vanilla extract. Don’t skimp here!
- Half a cup of all-purpose flour, and this absolutely has to be sifted.
- Confectioners’ sugar for that lovely snowy cloud effect on top before baking.
Ingredient Notes and Substitutions for Ladyfingers Recipe
Let’s get serious about those eggs for a second. When I say separate them, I mean *separate* them. Even a tiny speck of yolk in your whites means you won’t get those stiff, glorious peaks we need for volume. Make sure your bowl for the whites is completely clean and grease-free—any oil will crash the party! I usually wipe my mixing bowl down with half a lemon just to be extra sure.
The flour needs to be sifted twice, honestly. It helps aerate it so much, and since we are folding so gently later, we need all the help we can get in that department. If you use non-sifted flour, you’ll end up fighting gluten development when you mix it in, and that’s how you deflate all that beautiful egg air we worked so hard to create!
Step-by-Step Instructions for the Perfect Ladyfingers Recipe
This is where the actual magic happens, and honestly, it’s a dance between speed and delicacy. We have to move quickly once the yolks and whites are mixed, but we can’t rush the whipping process itself. Make sure your oven is preheated to 375°F (190°C) before you even touch the mixer, and have those baking sheets lined with parchment paper. I like to have everything measured out and ready right next to my mixing station—we call that *mise en place*, but really, it’s just making sure I don’t forget the vanilla when I’m excited!
Preparing the Egg Bases for Your Ladyfingers Recipe
First up, the yolks! Put those four yolks into a bowl with half of your sugar (that’s 1/4 cup) and beat them until they look pale yellow, almost creamy, and thick up on the whisk. This takes a good few minutes, but don’t stop early! Stir in your vanilla when it gets nice and thick. Now, clean that bowl—I mean, *spotless*—and tackle those egg whites. Start whipping them until they look foamy, then slowly start sprinkling in the remaining 1/4 cup of sugar. Keep going until you have stiff, glossy peaks. When you lift the beater out, the peak should stand straight up without even thinking about flopping over. That’s the volume we need for these sponge cookies!
Folding and Piping the Ladyfingers Recipe Batter
This is the tricky part, so slow down! To keep the air in, we *always* lighten the yolk mixture first. Take about a third of your stiff egg whites and fold them vigorously into the yolk bowl. Don’t worry about being gentle with this first addition; we are just making the bases buddies. Once that’s mixed, gently fold in the rest of the whites in two additions. Seriously, use a spatula and cut down the middle, then sweep out and under the bowl. See flour streaks? Fold a little more. Once the flour is added—sifted right over the top—use the same gentle folding method until it’s *just* combined.
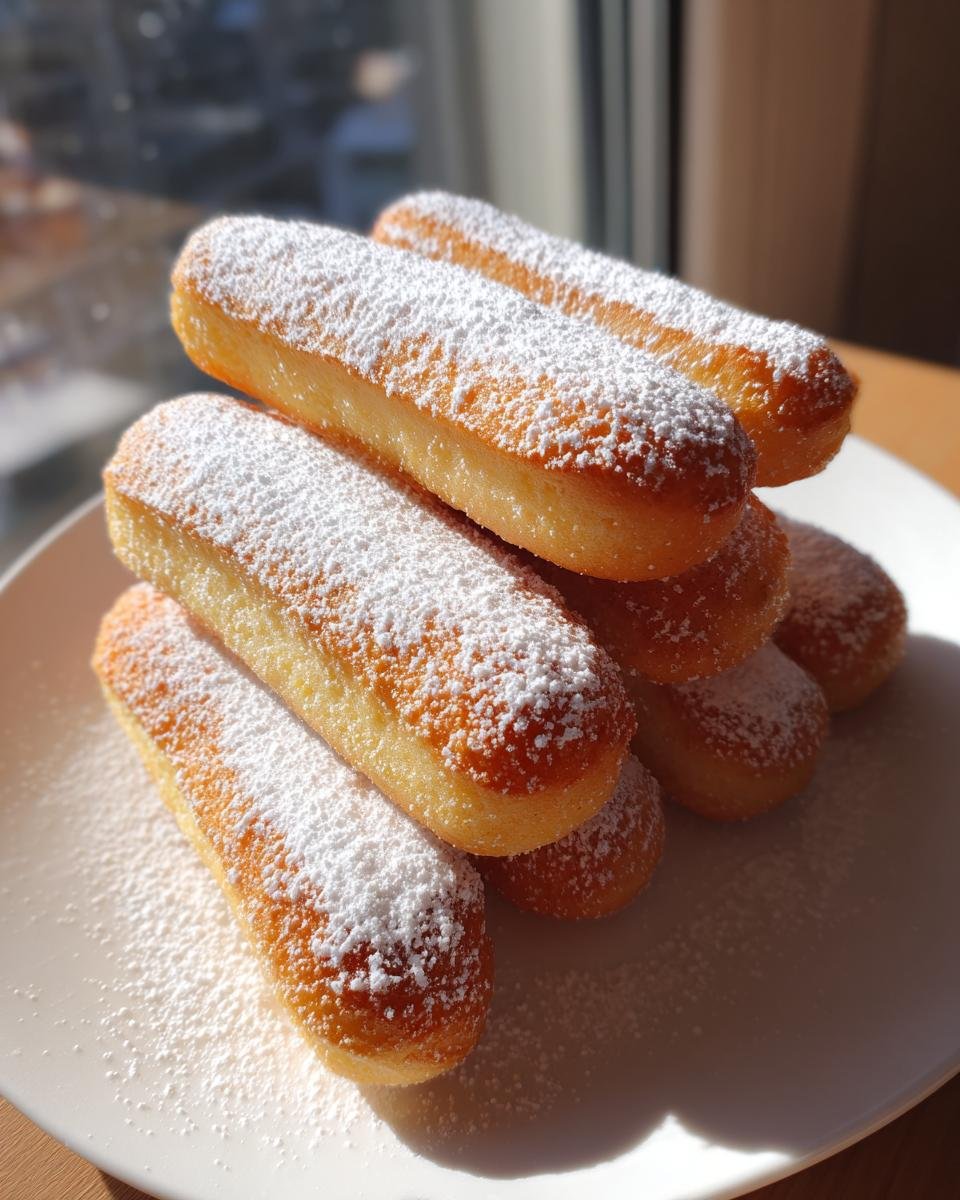
Load that gorgeous, airy batter into your pastry bag—I use a big round tip—and pipe strips about 3 to 4 inches long and about an inch wide. Leave an inch between each one because they puff up a tiny bit. Give them a good dusting of confectioners’ sugar right before they go into that hot oven for 10 to 12 minutes. Watch them closely!
Tips for Success with Your Homemade Ladyfingers Recipe
Even though this is a simple recipe, a few little tricks I’ve picked up over the years can elevate your savoiardi from good to absolutely incredible. My biggest piece of advice centers around moisture control. Remember, these need to be dry enough to hold their shape in tiramisu but still have a little delicate give.
If you want that extra crisp snap—especially if you’re making them ahead of time—go ahead and dust them with confectioners’ sugar *twice*. Don’t worry, it just melts into a delicate shell. I always check the oven temperature with my own little gadget rather than trusting the dial; consistency is key! If you’re looking for general advice on improving your whisking and whipping skills, you might want to peruse my baking tips guide.
Also, be firm but gentle when piping! If your batter is too runny, you’ll get blobs instead of neat little logs. If you beat those egg whites perfectly, though, that batter will hold its shape beautifully on the parchment paper. Don’t be tempted to crowd them; they need breathing room to brown evenly!
How to Store Your Freshly Baked Ladyfingers Recipe Biscuits
You’ve done the hard work, and now we need to protect that perfect texture! Listen, these biscuits are delicate, and they hate humidity. Once they come out of the oven and are cool enough to handle—which is really only a few minutes on the hot pan—you need to get them onto a wire rack immediately. They need total airflow to finish crisping up as they cool completely.
Once they are stone-cold, do not leave them out on the counter! Store your homemade ladyfingers in an airtight container. If you seal them up tight, they stay perfectly good at room temperature for about a week. I know, I know, they disappear faster than that, but this keeps them just right for your next dessert project.
Serving Suggestions for Your Ladyfingers Recipe
So, you have these perfect little sponge cookies—what are you going to do with them? Well, obviously, they are the star of any Tiramisu you ever make! But don’t stop there! They are fantastic layered into a simple trifle, especially one with fresh berries and whipped cream. I also love just having them around for a quick afternoon break.
They are absolutely brilliant alongside a strong cup of coffee, or if you’re making something boozy, you can definitely try soaking them first! If you like rum, you have to look at my rum-soaked cake ideas—you can adapt that liquid perfectly for these biscuits. Or, if you want an even richer pairing, try serving them next to a slice of my mocha cheesecake. They soak up that leftover mocha without getting too soggy.
Frequently Asked Questions About the Ladyfingers Recipe
So many questions pop up when you start baking these for the first time! Don’t worry, I’ve collected all the ones readers ask me most often about getting the perfect result with these savoiardi. We want maximum crispness and zero doughy centers, right?
Can I make this Ladyfingers Recipe without a pastry bag?
Oh yes, absolutely! If you don’t have a pastry bag, just grab a sturdy zip-top bag—like a good quality freezer bag. Snip off just a small corner—start small, you can always make the hole bigger! They might look a little wobbly compared to piped ones, but they taste exactly the same once they are soaked in coffee later!
How do I know if my savoiardi biscuits are baked correctly?
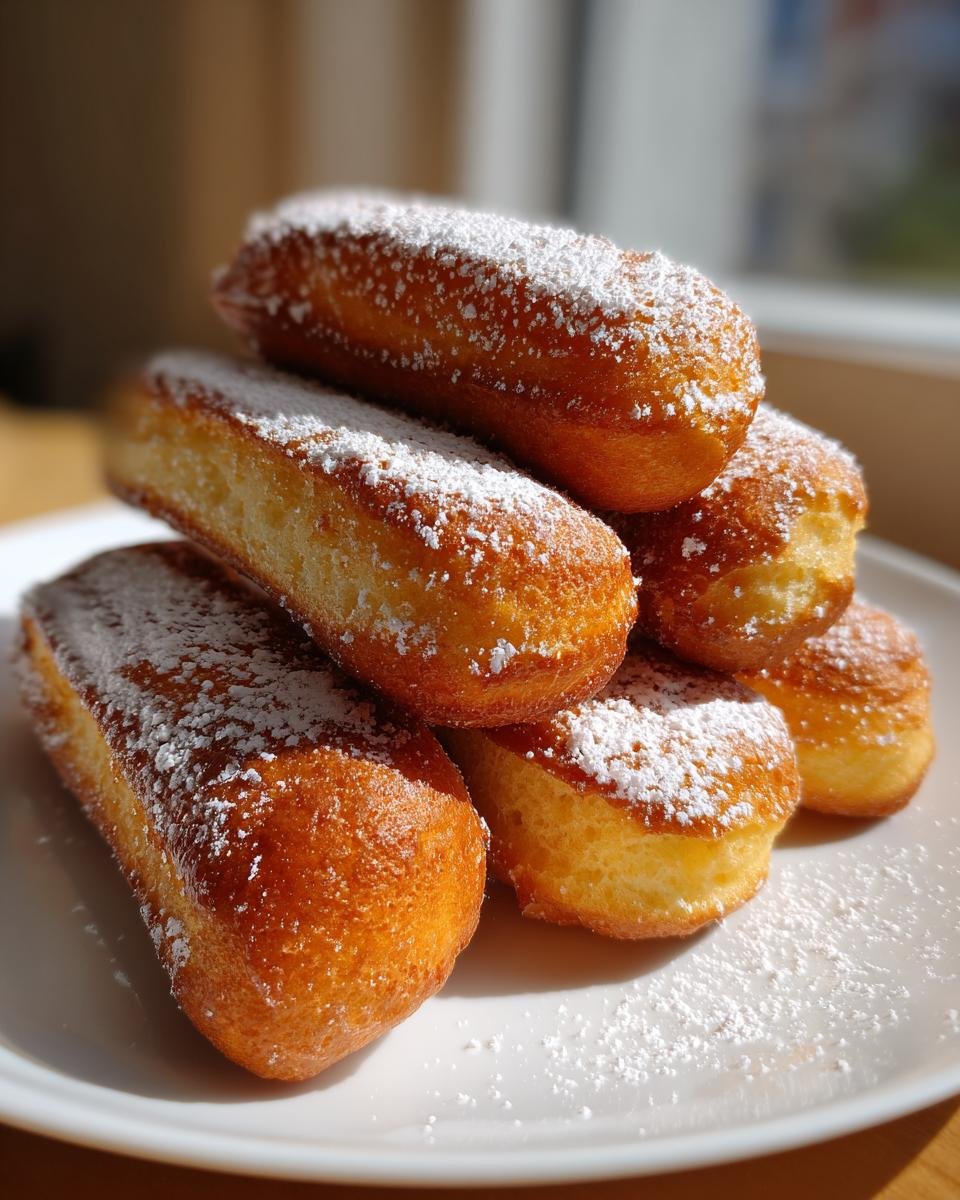
You need to judge them by sight and touch! They should be a lovely golden brown color across the top, not pale. The real test is when you gently touch one; they need to feel firm and dry, not springy or soft in the middle. A little moistness is okay, but you don’t want them gooey!
Can I freeze homemade ladyfingers?
You can, but honestly, I prefer to keep them airtight on the counter. Freezing can sometimes introduce a little extra moisture when you thaw them, which compromises that hard-earned crispness. If you must freeze them, wrap them tightly in plastic wrap, then put that whole package in an airtight container!
Nutritional Estimates for This Ladyfingers Recipe
I know some of you are counting macros or just curious about what’s in these little treats! Since these homemade ladyfingers are mostly eggs and sugar, they come out fairly light, especially considering how much volume they have. Remember, these are just estimates—baking ingredients vary wildly, so take these numbers with a grain of salt. This information is based on a serving size of two cookies.
- Serving Size: 2 cookies
- Calories: 105
- Fat: 1g
- Carbohydrates: 21g (Sugar: 12g)
- Protein: 3g
This data doesn’t account for the confectioners’ sugar dusting, so keep that in mind! Always consult a professional nutritionist if you need precise dietary information, but for a simple homemade biscuit, these numbers are a great starting point.
Share Your Ladyfingers Recipe Creations
I can only talk about how amazing these homemade ladyfingers are so much before I need to see *your* results! Honestly, seeing your successful batches of savoiardi totally makes my day. Did you manage to get those perfect little logs? Did they soak up that coffee just right for your Tiramisu?
If you made this **Ladyfingers Recipe** and loved how light and airy they turned out—or if you found a new way to serve them that I haven’t even thought of yet—please drop a comment below! Tell me how long you baked yours and if you double-dusted them with powdered sugar!
And if you took a picture of the final product—especially if they are nestled beautifully into a layered dessert—please share it over on social media and tag me! I love seeing my recipes come to life in your kitchens. Your feedback and photos help other bakers feel confident trying this out next time!
Print
Simple Ladyfingers Recipe
- Total Time: 32 min
- Yield: About 24 cookies 1x
- Diet: Vegetarian
Description
A straightforward recipe for making classic ladyfingers, also known as savoiardi biscuits.
Ingredients
- 4 large eggs, separated
- 1/2 cup granulated sugar, divided
- 1 teaspoon vanilla extract
- 1/2 cup all-purpose flour, sifted
- Confectioners’ sugar for dusting
Instructions
- Preheat your oven to 375°F (190°C). Line two baking sheets with parchment paper.
- In a medium bowl, beat the egg yolks with 1/4 cup of the granulated sugar until the mixture is pale and thick. Stir in the vanilla extract.
- In a separate clean, dry bowl, beat the egg whites until soft peaks form. Gradually add the remaining 1/4 cup of sugar and continue beating until stiff, glossy peaks form.
- Gently fold one-third of the egg whites into the yolk mixture to lighten it. Then, fold in the remaining egg whites until just combined.
- Sift the flour over the batter and gently fold it in until no streaks of flour remain. Do not overmix.
- Transfer the batter to a pastry bag fitted with a large round tip (or use a sturdy zip-top bag with the corner snipped off).
- Pipe strips about 3 to 4 inches long and 1 inch wide onto the prepared baking sheets, leaving about 1 inch between each cookie.
- Lightly dust the piped cookies with confectioners’ sugar using a fine-mesh sieve.
- Bake for 10 to 12 minutes, or until the tops are golden brown and the cookies are firm to the touch.
- Remove from the oven and let cool on the baking sheets for a few minutes before transferring them to a wire rack to cool completely.
Notes
- For a crispier cookie, you can dust them with confectioners’ sugar a second time just before baking.
- Store cooled ladyfingers in an airtight container at room temperature for up to one week.
- Prep Time: 20 min
- Cook Time: 12 min
- Category: Dessert
- Method: Baking
- Cuisine: French
Nutrition
- Serving Size: 2 cookies
- Calories: 105
- Sugar: 12
- Sodium: 15
- Fat: 1
- Saturated Fat: 0.5
- Unsaturated Fat: 0.5
- Trans Fat: 0
- Carbohydrates: 21
- Fiber: 0.5
- Protein: 3
- Cholesterol: 45
Keywords: ladyfingers, savoiardi, sponge cookies, tea biscuits, homemade ladyfingers