
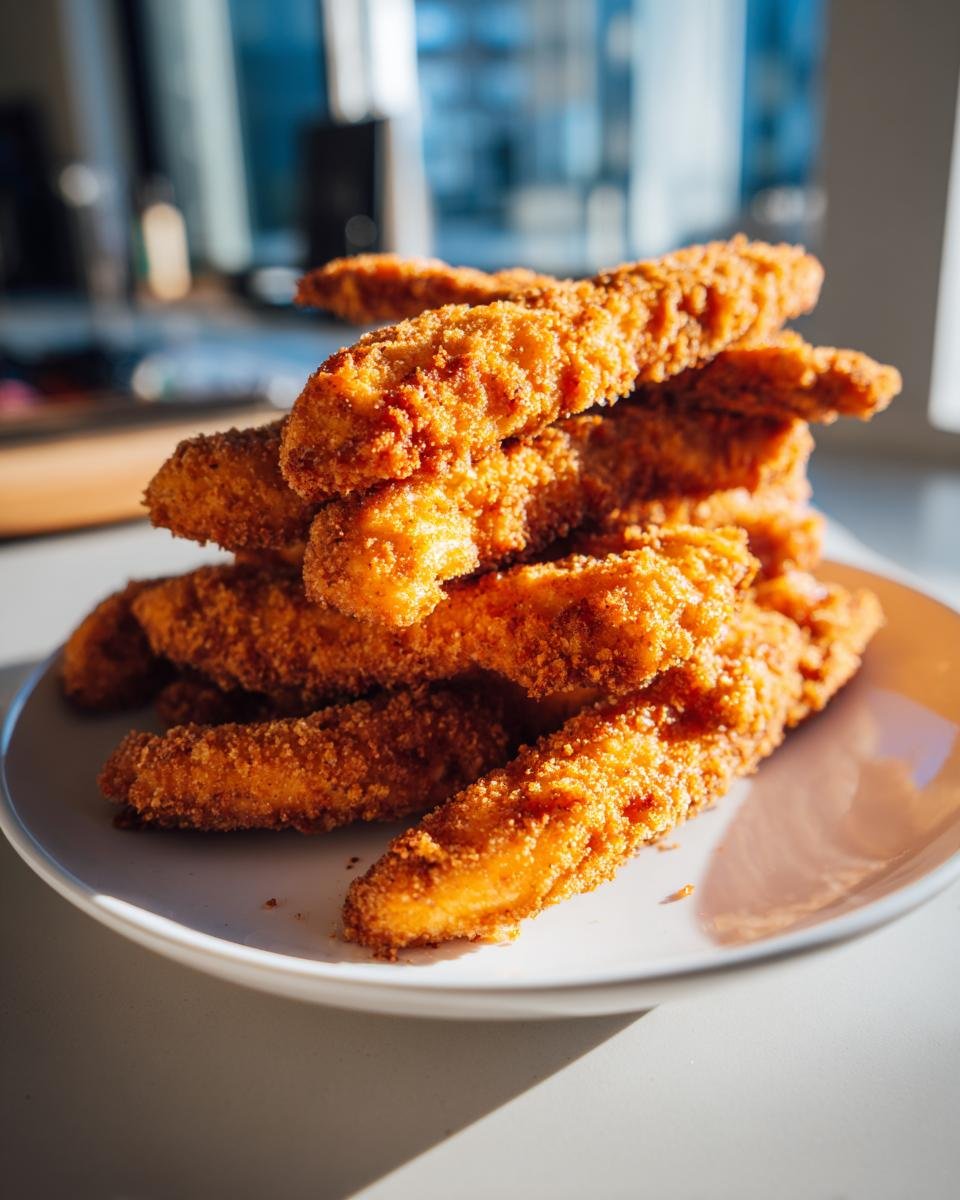
There’s nothing quite like food that just rips the covers off your memory and throws you right back to being six years old. For me, that magic dish is crispy steak fingers! Forget fussy meals; these simple strips of battered beef were the absolute pinnacle of comfort when I was a kid. We’re not aiming for fancy filets here; we are aiming for pure, golden-brown satisfaction. The goal with this recipe is nailing that perfect, loud, satisfying *crunch* on the outside while keeping the tender steak soft inside. Trust me, once you get the breading right, you’ll be making these every time you need a culinary hug!
Why You Will Make The Best Crispy Steak Fingers A Delicious Childhood Treat
I used to think making anything this delicious took all day, but these are shockingly fast! That’s why I know you’ll love sticking to this version. We get that ultimate crunch without hours of waiting.
- Prep time is super speedy—only about 15 minutes!
- The Panko breadcrumbs give you that unbeatable, loud crispiness.
- You probably already have all the simple seasonings you need in your pantry.
- It tastes exactly like the best weekend dinner from your childhood.
If you want to dive into some deeper science on getting things crispy in the kitchen, check out my thoughts on how to get things totally crisp, every time.

Essential Ingredients for Crispy Steak Fingers A Delicious Childhood Treat
Okay, the ingredient list for these steak fingers is gloriously simple, which is exactly how Mom made them! We aren’t messing around with marinades or weird spice rubs here; we’re keeping it pure and focused on that crispy exterior.
You’ll need about one pound of a nice, lean cut of beef. I always grab flank steak or sirloin—the key is cutting it into strips that are about a half-inch thick. Skimping on the flour or egg won’t help you here either; we need three distinct layers for coating.
And seriously, if you can swing it, use Panko breadcrumbs. Standard ones work, sure, but Panko is the secret weapon for that incredible, light crispiness. If you ever need a good backup for milk or eggs in a pinch, I’ve got a fun article on some easy dairy swaps, but stick to the eggs here for dipping!
- One pound of flank steak or sirloin, cut down into strips about 1/2 inch thick.
- One full cup of all-purpose flour.
- One teaspoon of salt—don’t forget this!
- A half-teaspoon each of black pepper and garlic powder for flavor.
- Two large eggs, whisked up well for the wash.
- One cup of breadcrumbs—Panko is the way to get that amazing crisp!
- Vegetable oil—you need about an inch deep in the pan for frying.
Mastering the Prep: How to Prepare Crispy Steak Fingers A Delicious Childhood Treat
Alright, this next part is where we turn tough bits of beef into tender goodness before they ever hit the hot oil. If the breading station is set up right, the actual coating goes super fast. Remember what I always say: a little bit of prep work saves hours of cleanup and disappointment later!
Tenderizing the Beef Strips
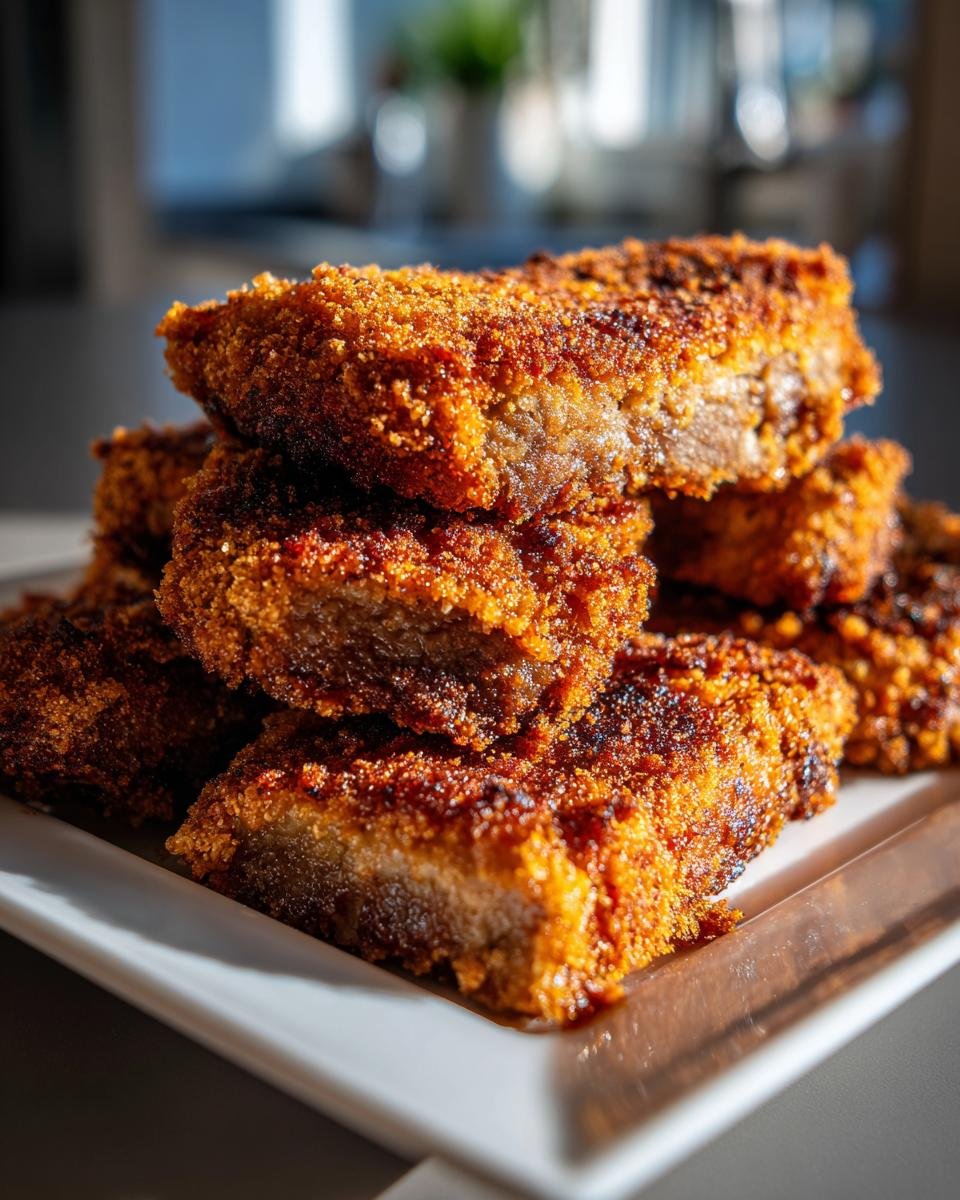
First thing’s first: we have to make sure these steak strips cook evenly and aren’t chewy. Take your half-inch thick strips and put them between two big pieces of plastic wrap. Then, take that meat mallet—yes, the heavy one!—and just gently pound them until they are about a quarter-inch thick. You don’t want to smash them into oblivion, just thin them out a bit so they cook through quickly in the hot oil. This thinness is key for that great texture later.
Setting Up Your Breading Station for Crispy Steak Fingers A Delicious Childhood Treat
Now for the three-step magic trick! You need three shallow dishes lined up in order. Dish one is your dry dredge: that’s the flour mixed with the salt, pepper, and garlic powder. Dish two is just your beaten eggs—the glue! Dish three, the grand finish, is your breadcrumbs. Make sure you press the breadcrumbs on really well, okay? You want to coat every little surface so that oil doesn’t sneak in and make your steak soggy. That firm coating makes all the difference, honestly.
If you followed my tips on baking, you know how important technique is. You can check out some general tips on getting perfect consistency there, which really applies to coating things perfectly, too!
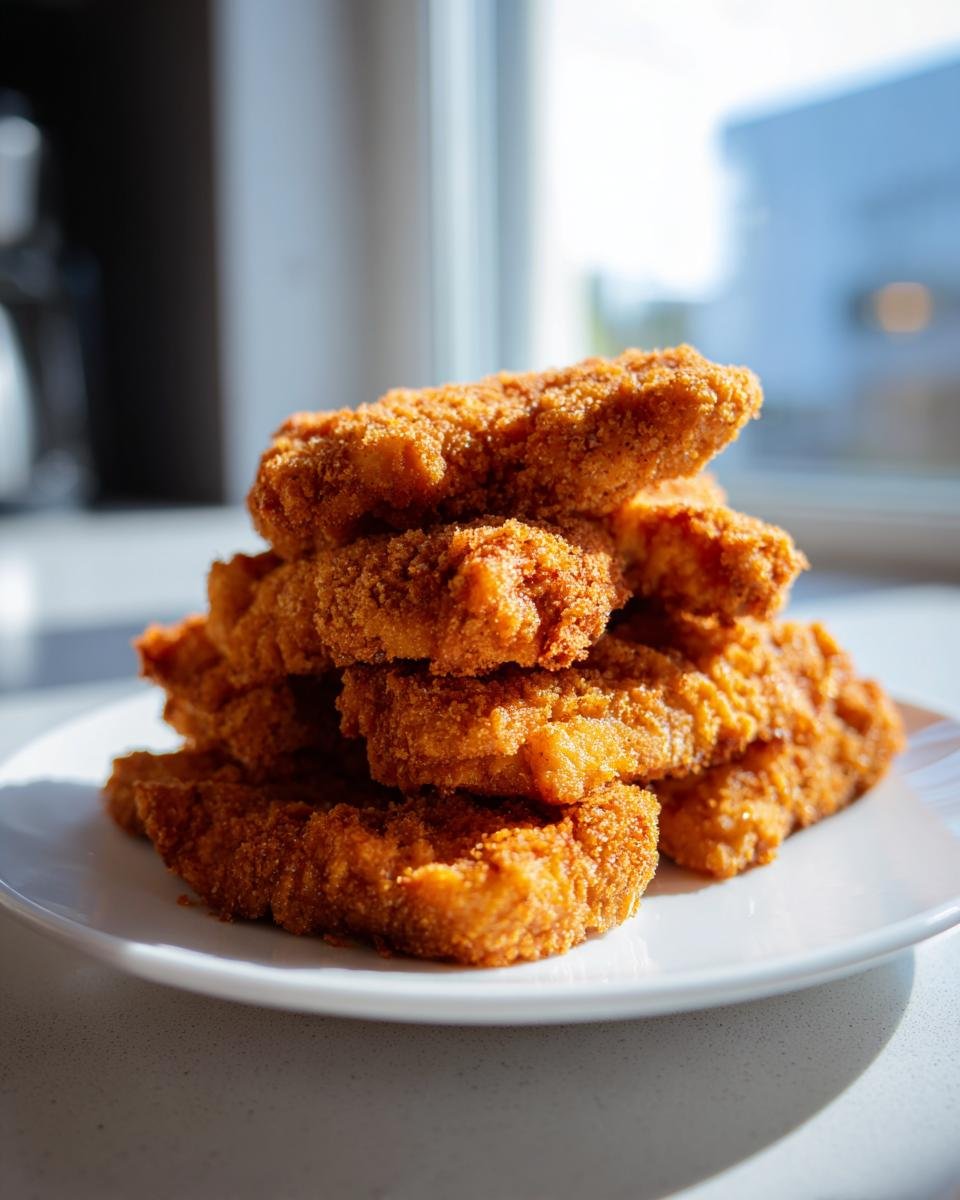
Frying for Perfect Crispy Steak Fingers A Delicious Childhood Treat Texture
This is the moment we’ve been waiting for—the sizzle! Frying correctly isn’t just about cooking the beef; it’s about sealing in that glorious breadcrumb coating so it turns shatteringly crisp, not oily or sad. If you are nervous about deep frying, don’t be! We only need about an inch of oil in a sturdy skillet.
You absolutely must get that oil to 350 degrees Fahrenheit (that’s 175 Celsius). If it’s not hot enough, the coating soaks up the grease like a sponge—yuck! If it’s way too hot, the outside burns before that thin steak gets cooked inside. Use a thermometer if you have one, please! I love talking about seasoning, and I’ve got a whole post over on my go-to steak seasoning that pairs well with these, even though the breading has its own flavor.
When you drop those breaded strips in, you want them to immediately start bubbling furiously. Only put in a few at a time; overcrowding the pan drops the oil temperature too fast. We’re talking 2 to 3 minutes on each side, tops. Keep an eye on them until they are a deep, perfect golden brown.
Oil Temperature Matters for Crispy Steak Fingers A Delicious Childhood Treat
Seriously, I can’t stress this enough about that 350°F mark. Hitting that sweet spot means the breading texture is set almost instantly. When you pull them out, set them on a wire rack, not paper towels if you can help it—the rack lets the air circulate underneath so the very bottom doesn’t steam itself soggy while it drains. That tiny bit of extra air circulation keeps the crunch loud!
Alternative Cooking Methods for Crispy Steak Fingers A Delicious Childhood Treat
Now, I know deep frying isn’t everyone’s jam—and honestly, sometimes my kitchen just smells a little too much like oil afterward! If you want that familiar taste but need to skip the fryer, baking is still totally doable. It won’t be *exactly* the same as the skillet version, but it’s still fantastic comfort food!
For the oven method, you need to keep the heat up high—set your oven to 400 degrees Fahrenheit (around 200 Celsius). Put the fully coated steak fingers onto a wire rack that’s sitting on top of a baking sheet. Remember, the rack is important here so air can get underneath them!
Bake those beauties for about 15 to 20 minutes total. Make sure you flip them halfway through so they brown up evenly on both sides. They should come out golden and much crispier than if you just tossed them on a flat pan!
Serving Suggestions for Your Crispy Steak Fingers A Delicious Childhood Treat
Look, you’ve got these perfectly crispy, savory steak fingers—you can’t just put them next to some sad, wilted lettuce, right? These are a celebration! While the absolute classic pairing is a giant bowl of ketchup or maybe some honey mustard (which is always amazing, by the way), I love thinking about what else made my childhood dinners feel special.
If you’re aiming for a real, hearty meal, you absolutely need mashed potatoes. Not just any mashed potatoes, either—the kind that are creamy enough to get a little puddle on your plate for dipping the steak fingers into. It’s pure heaven. The soft, starchy potato cuts through the fried crust perfectly.
If you want to go a little more grown-up but still keep that comfort vibe, steak fingers actually pair surprisingly well with something tangy. Think about a vinegary coleslaw. The crunch of the slaw next to the crunch of the steak is texturally fabulous. Or, if you’re feeling ambitious and want to make your steak fingers the star meat of a bigger dinner, you could try smothering some of them in onion gravy—you can find my favorite recipe for that right here! Trust me, once you dip that crispy coating into a rich gravy, you won’t look back.
The main thing is the sauce situation. Have at least two bowls out on the table. A little honey mustard alongside some spicy BBQ sauce means everyone finds something they love!
Storage and Reheating Crispy Steak Fingers A Delicious Childhood Treat Leftovers
Oh man, leftovers! That’s the true test of a great fried food, isn’t it? It’s tough not to eat them all in one sitting, but if you do manage to squirrel a few away, we need to treat them right when we bring them back to life. Mushy steak fingers are a crime against comfort food, so listen close!
First off, storing them correctly is half the battle. Once they are completely cooled down—and I mean totally cooled, or you’ll steam them soft—put them in an airtight container. But here’s a pro tip: put a little piece of paper towel or even a paper napkin at the bottom of the container first. This catches any residual moisture that tries to creep up and make the bottom soggy overnight. They usually last three or four days safely in the fridge, maybe five if you were super careful draining them!
Now, reheating them is where most people go wrong. Never, ever use the microwave if you want that “Crispy Steak Fingers A Delicious Childhood Treat” texture back. The microwave is the enemy of crispiness; it just steams everything back to rubber city. We need dry, circulating heat!
The best way, hands down, is using a toaster oven or even your main oven set to about 375 degrees Fahrenheit. Lay the few fingers you want to eat out on a wire cooling rack placed over a baking sheet. Pop them in for about 8 to 10 minutes. You’ll hear them start to *crackle* again as the crust reheats and dries out perfectly. If you have an air fryer, that’s even better—just 5 minutes at about 370°F and they are practically brand new! Just remember, dry heat restores the crunch; wet heat destroys it!
Frequently Asked Questions About Crispy Steak Fingers A Delicious Childhood Treat
I always get a ton of questions when I post this recipe because everyone wants their childhood favorite to be perfect! Here are the things I hear most often when people are cooking up these amazing, tangy beef strips. If I missed yours, shoot me an email or drop a comment below when you finish reading!
What cut of beef works best for Crispy Steak Fingers A Delicious Childhood Treat?
I really recommend sticking to flank steak or sirloin for this one. Those cuts are lean, which is good because we don’t want a ton of fat rendering into the oil. More importantly, they are easy to slice against the grain into strips that are manageable for pounding thin. Trust me, if you pound them thin like I showed, even a slightly tougher cut will come out tender and delicious in under three minutes of frying!
Can I use crushed crackers instead of breadcrumbs?
Oh, absolutely you can! Sometimes you just don’t have Panko on hand, right? If you go the crushed cracker route, Ritz crackers work surprisingly well because they have a bit of salt and fat in them already. Just know that the texture will change a little bit. Crackers tend to give you something a bit denser and less airy than Panko. They still get crispy, but the sound when you bite into it won’t be *quite* as loud. It’s a perfectly acceptable and tasty swap, though!
If you’re interested in other quick ways to enjoy steak without all the hassle, I have a recipe for what I call Crazy Easy Steak that you shouldn’t miss either. Happy cooking!
Estimated Nutritional Snapshot
Because we’re dealing with deep-fried beef, these steak fingers are definitely a treat and not an every-night dinner! I always like to show you what you’re generally looking at per serving when you make these crispy delights. But remember, these numbers are just estimates based on the specific measurements in the recipe card. If you use a different type of oil, or maybe a leaner cut of beef, those numbers will shift around a tiny bit.
We’re looking at great protein content, which is why these hit the spot so well, even if the fat content is a bit higher due to frying, which is what gives us that incredible texture! Here is the quick breakdown for what you can expect in one serving:
- Serving Size: 4 ounces
- Calories: About 350
- Protein: A whopping 30 grams!
- Fat: Roughy 18 grams (Remember, a lot of that is the oil absorbed during the quick fry time.)
- Carbohydrates: Around 18 grams (mostly from the flour and breadcrumbs)
- Sodium: About 350 mg
- Sugar: Very low, just 1 gram!
So, go ahead and enjoy these! You earned that crisp crunch, and you know exactly what you’re eating when you make them right here in your own kitchen.
Share Your Childhood Favorite Recipe Success
Now that you’ve made a batch of these incredible, crispy steak fingers—did they take you right back to being a kid? I truly hope they were everything you remembered them to be! When I pull them out of the oil and smell that perfectly seasoned crust, I’m instantly back at our little kitchen table waiting for dinner.
I absolutely live for hearing how things turned out for you all! Did you serve them with ketchup, or did you go totally wild with some gourmet honey mustard? Did you dust them with extra garlic powder before serving? Tell me everything!
Please take a second to hit those little stars below and rate this recipe if you loved the crispy texture—it helps other folks find this perfect little blast of nostalgia. And if you managed to snap a picture of your beautifully golden fingers, toss it in the comments so we can all admire your work!
If you have any questions while you’re mastering the fry technique, or if you just want to chat about the best side dishes for steak strips, you can always reach out to me through my contact page right here: Let’s get in touch!
Happy cooking, and may your steak fingers always be loud and crunchy!
Print
Crispy Steak Fingers
- Total Time: 25 min
- Yield: 4 servings 1x
- Diet: Low Fat
Description
A recipe for making crispy steak fingers, a simple and satisfying childhood favorite.
Ingredients
- 1 pound flank steak or sirloin, cut into strips about 1/2 inch thick
- 1 cup all-purpose flour
- 1 teaspoon salt
- 1/2 teaspoon black pepper
- 1/2 teaspoon garlic powder
- 2 large eggs, beaten
- 1 cup breadcrumbs (Panko recommended for extra crispiness)
- Vegetable oil for frying
Instructions
- Place the steak strips between two sheets of plastic wrap. Pound them lightly with a meat mallet until they are about 1/4 inch thick.
- Set up a standard breading station: Place flour, salt, pepper, and garlic powder in a shallow dish. In a second shallow dish, place the beaten eggs. In a third shallow dish, place the breadcrumbs.
- Dredge each steak strip first in the flour mixture, shaking off excess.
- Dip the floured strip into the egg mixture, allowing excess to drip off.
- Coat the strip thoroughly in the breadcrumbs, pressing gently to make sure they adhere.
- Heat about 1 inch of vegetable oil in a large skillet over medium-high heat until it reaches 350 degrees Fahrenheit (175 degrees Celsius).
- Carefully place the breaded steak strips into the hot oil, ensuring you do not overcrowd the pan. Fry for 2 to 3 minutes per side, until golden brown and cooked through.
- Remove the steak fingers from the oil and place them on a wire rack or a plate lined with paper towels to drain excess oil.
- Serve immediately.
Notes
- For oven baking instead of frying, place coated fingers on a wire rack set over a baking sheet. Bake at 400 degrees Fahrenheit (200 degrees Celsius) for 15 to 20 minutes, flipping halfway through, until crispy.
- Serve with your favorite dipping sauce, such as ketchup or honey mustard.
- Prep Time: 15 min
- Cook Time: 10 min
- Category: Main Course
- Method: Frying
- Cuisine: American
Nutrition
- Serving Size: 4 ounces
- Calories: 350
- Sugar: 1
- Sodium: 350
- Fat: 18
- Saturated Fat: 5
- Unsaturated Fat: 13
- Trans Fat: 0
- Carbohydrates: 18
- Fiber: 1
- Protein: 30
- Cholesterol: 90
Keywords: steak fingers, crispy steak, fried steak, childhood food, beef strips