
Oh, you know those classic desserts that just *scream* celebration? Red Velvet is definitely at the top of my personal list! But let’s be honest, making a truly fantastic Red Velvet cake—the kind that’s deeply colored, tangy, and unbelievably moist—can feel like chasing a unicorn. So many recipes end up tasting like dyed vanilla cake, and that’s just a tragedy, frankly. Well, stop searching! Because after years of battling dry crumbs and weak color, I finally cracked the code. This guide breaks down exactly how to nail the **Best Red Velvet Recipes**, focusing fiercely on that signature moist texture and perfect cream cheese frosting balance. I once brought this cake to a massive family dinner when my backup dessert completely bombed, and it saved the whole evening. Trust me; this is the one you need in your rotation!
Why This is Among the Best Red Velvet Recipes You Will Find
So, what puts this cake head and shoulders above the standard fare? It’s all about respecting the chemistry that makes Red Velvet famous! We aren’t cutting corners here; we’re diving into the details that guarantee a showstopper every single time. Seriously, once you nail these elements, you’ll wonder why you ever struggled!
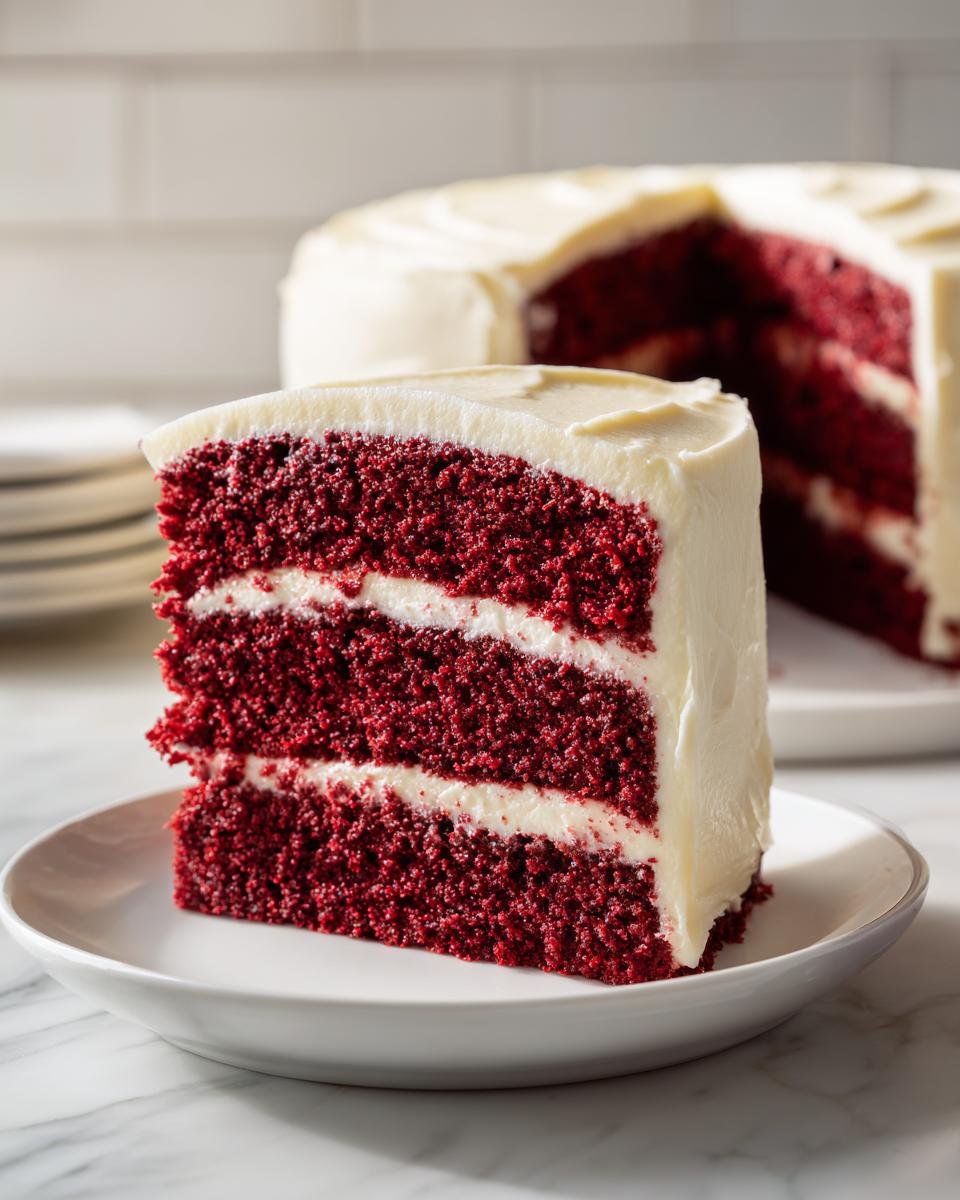
- Unbeatable Moisture: This cake stays tender for days, and it’s not magic, it’s science!
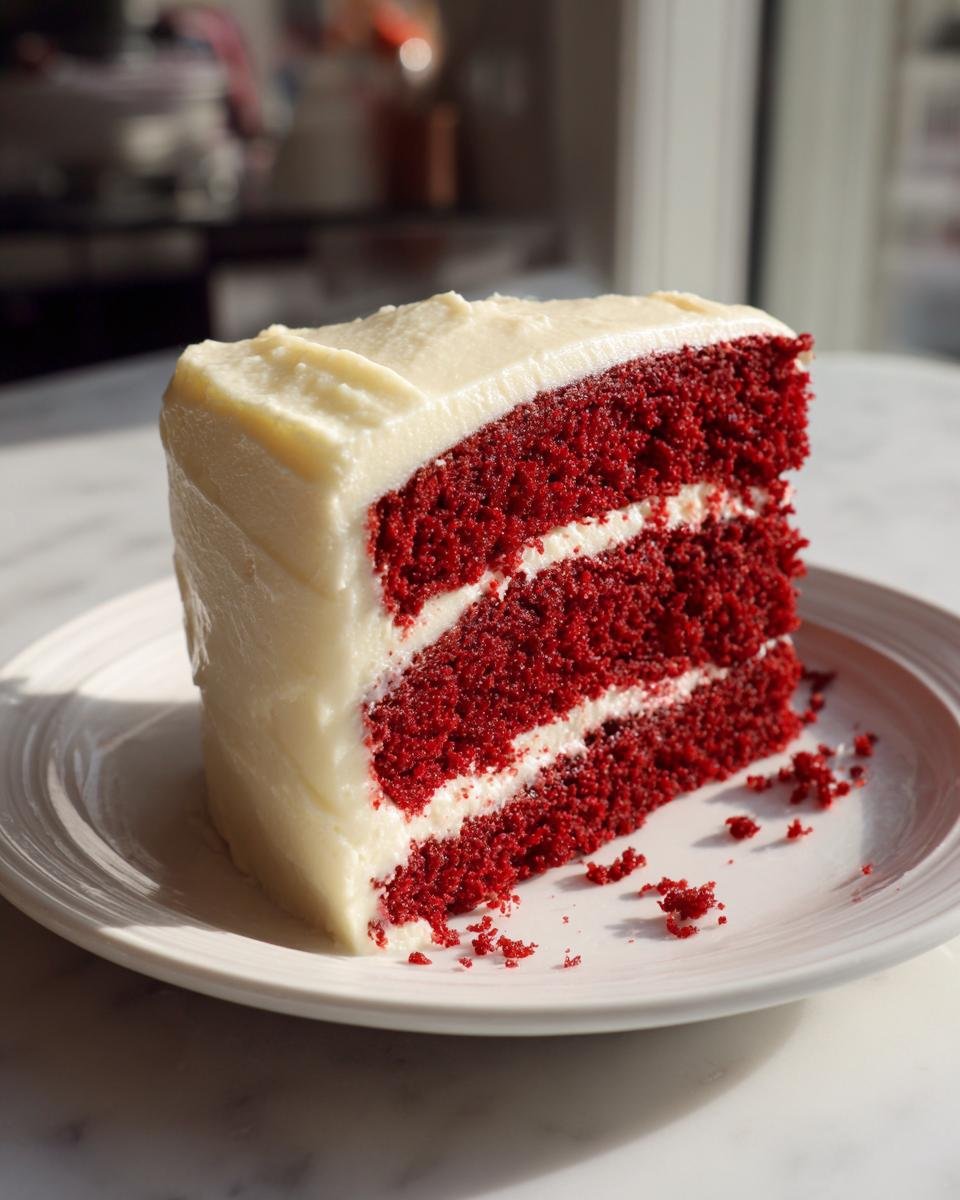
- Color Depth: That signature deep crimson that doesn’t taste like pure dye.
- Perfect Frosting Contrast: A rich, slightly tangy frosting that cuts through the sweetness beautifully.
Achieving the Perfect Moist Texture in Your Best Red Velvet Recipes
The moisture in this version isn’t accidental. It comes from the reaction between the buttermilk and the vinegar hitting the baking soda. That little fizz creates the delicate air pockets we want! My biggest piece of advice? Once that beautiful flour mixture goes in, you mix just enough to combine everything and stop right there. Seriously, stop! Overmixing activates gluten, and gluten gives you a tough, chewy cake, which is the absolute opposite of what we are aiming for in the best red velvet recipes.
The Secret to Deep, Rich Color in Best Red Velvet Recipes
You need high-quality, concentrated red food coloring for that deep, true velvet look—don’t skimp here! While traditional recipes used a tiny bit of cocoa powder reacting with vinegar to activate a *very* faint red hue, we use modern coloring for that vibrant punch. To really make the color pop, I always mix my red coloring right into the buttermilk ahead of time. It gives the dye little drops of liquid to cling to, helping it bloom evenly throughout the batter instead of leaving little streaks later. It’s my little trick for the best red velvet recipes!
Essential Ingredients for the Best Red Velvet Recipes
Okay, time to talk supplies! Having every single thing ready to go before you start mixing is the secret to a calm baking session, especially with a process like Red Velvet where you can’t dawdle once the baking soda gets involved. You want your eggs and buttermilk chilling out on the counter for about 30 minutes before you touch anything. Cold ingredients fight each other, and we need smooth sailing for that luxurious texture. Remember, the high-quality ingredients really shine through in a classic recipe like this. If you happen to be out of buttermilk, don’t panic! You can whip up a quick substitute; check out my notes on how to make buttermilk substitutions right here. Otherwise, make sure you measure your flour carefully—don’t scoop it right out of the bag!
Cake Batter Components
- 2 1/2 cups all-purpose flour, spooned and leveled
- 1 teaspoon baking soda, whisked well
- 1 teaspoon salt, finely ground
- 1 cup unsalted butter, softened perfectly to room temperature
- 1 1/2 cups granulated sugar
- 2 large eggs, brought up to room temperature
- 1 teaspoon vanilla extract
- 1 cup buttermilk, room temperature
- 1 tablespoon vibrant red food coloring (use the concentrated type!)
- 1 tablespoon white vinegar, for activating the rise
Cream Cheese Frosting Ingredients
- 8 ounces cream cheese, softened fully (no lumps allowed!)
- 1/2 cup unsalted butter, softened fully—same temperature as the cream cheese, please!
- 4 cups powdered sugar, often called confectioners’ sugar, sifted if clumpy
Step-by-Step Instructions for Your Best Red Velvet Recipes
Alright, now that we have all our beautiful components ready, it’s time for the assembly line! This process moves fairly quickly once you start mixing the wet and dry together, so make sure your pans are greased and ready to go. Remember our goal: we want fluffy, not tough! If things start happening too fast, just take a deep breath. We’ve got this, and the results are going to be pure velvet!
Preparing the Cake Layers
First things first: get that oven blasting warm at 350 degrees F (175 degrees C). Then, take a minute to generously grease and flour two 9-inch round pans. Don’t leave any bare spots, or you’ll be crying later! In a medium bowl, just whisk together your flour, baking soda, and salt—that’s your dry team. Set them aside.
In your big mixing bowl, get that softened butter and sugar creamed up until it looks genuinely light and fluffy—it should look like pale whipped clouds! Then, you add those room-temperature eggs one by one, beating well after each one kisses the butter mixture. Add the vanilla extract. Now for the balancing act: you’re going to alternate adding your dry flour ingredients with that colorful buttermilk mixture. Crucially, you always start and end with the dry stuff! Mix only until you see everything disappear. I mean it, just combined. Divide that gorgeous batter evenly between those two pans.

Baking and Cooling
Slide those beauties into the oven for about 30 to 35 minutes. You’re checking doneness with a thin wooden pick inserted right into the center—it should come out clean! Don’t be tempted to pull them out early. Once they look done, let them chill out in those pans for exactly 10 minutes. That short rest helps them firm up. After 10 minutes, flip them carefully onto a wire rack to cool completely. And I mean completely cool! If you try to frost a warm cake, you’ll end up with a melted, sad lake of cream cheese on your counter.
Making and Applying the Cream Cheese Frosting
While the cakes are doing their cooling thing, we make the glorious topping. In a clean bowl, beat that soft cream cheese and butter until they are totally smooth—we want zero cream cheese lumps here, so beat them well! Now, add your powdered sugar gradually, beating as you go until that frosting is light and perfectly creamy. You can find more tips on getting amazing frosting textures here: how to make white frosting easy recipe. Once your cakes are stone cold, it’s time to stack them up, cover the sides, and admire your work!

Expert Tips for Mastering the Best Red Velvet Recipes
We’ve covered the basics, but to truly elevate this to the *best* red velvet recipe status, we need to chat about the details that professional bakers obsess over. These aren’t just little suggestions; these are the non-negotiables that keep your cake tender and your color bold. You want that amazing texture that melts in your mouth, right? Then listen up, because temperature and mixing speed are your best friends or worst enemies here!
Ingredient Temperature Matters for Best Red Velvet Recipes
Seriously, if you try to rush this part, I promise you’ll regret it! Your eggs and buttermilk absolutely must be at room temperature. When cold ingredients hit that creamed butter, they seize things up, and you end up fighting the batter instead of mixing it smoothly. A proper emulsion depends on everything being close to the same temperature so that fat and liquid bond correctly. It’s an easy five minutes of waiting, but it saves you from curdled batter!
Avoiding Overmixing in Your Best Red Velvet Recipes
I know I sound like a broken record, but this is where most bakers go wrong. Once you add that final bit of flour mixture, your job is light blending, not developing muscle in your arms! As soon as the flour gets wet, those gluten strands start forming up. We want a velvety, delicate cake texture, which means minimal gluten development. If you see a tiny streak of flour left, that’s totally fine; I actually prefer it! Keep checking my favorite baking tips if you feel nervous about how much mixing is too much.
Variations on the Best Red Velvet Recipes
This classic recipe is sturdy enough to handle a little creative flair! While I’ll always stick to the original for show-stopper birthdays, sometimes you just need to mix things up. Don’t worry, these small changes won’t compromise that moist crumb we worked so hard for. It’s a great way to use up ingredients from the pantry. If you’re looking to get really wild, you could try checking out my recipe for Red Velvet Oreo Cheesecake—that one is seriously decadent!
Flavor Twists for Your Best Red Velvet Recipes
Want a little extra something in the background flavor? Try adding just a quarter teaspoon of almond extract along with your vanilla in the batter. It gives everything a really sophisticated, subtle note that people can’t quite place but know is delicious. Another fun idea, if you’re avoiding intense artificial colors, is using natural beet powder—you won’t get the same deep crimson, but you’ll get a lovely dusty rose color and a tiny bit of earthy sweetness that pairs surprisingly well!
Serving Suggestions for This Best Red Velvet Recipes Cake
So, you have this perfect, tender cake gleaming on the counter. What do you serve next to it? Since the cream cheese frosting is already so rich and tangy, you don’t need much else! For parties, I love topping a slice with a few fresh raspberries or maybe a candied pecan for a little crunch.
If you’re serving it around the holidays, a tiny drizzle of caramel sauce—like the one I use for my pumpkin cupcakes—adds a lovely, non-competing sweetness. Honestly, this cake is stunning all by itself, but a fresh garnish always makes things look extra special for guests. You can see how I make an amazing caramel drizzle right here: pumpkin cupcakes with caramel cream cheese frosting.
Storage and Reheating for Your Best Red Velvet Recipes
Because we used that gorgeous, tangy cream cheese frosting, this cake really needs to live in the fridge once it’s covered. Keep it airtight! It’ll stay perfectly delicious for about three to four days tucked away in there. Don’t worry about it getting cold; that’s normal for this type of frosting.
Now, here’s my biggest secret for serving it: If you’re planning on eating it straight from the fridge, you absolutely have to steal a slice out about 30 minutes before you serve it. Letting it warm up just a tiny bit lets that butter in the cake soften up again, making it taste just as incredible as the day you baked it!
Frequently Asked Questions About Best Red Velvet Recipes
I get so many questions every time I post this cake because everyone wants their red velvet moment to be perfect! It’s totally normal to have little hiccups when you bake, especially with something as specific as Red Velvet. Here are the things I hear most often when people are trying to perfect their own version of the best red velvet recipes.
Can I make the best red velvet recipes without buttermilk?
Oh yes, you can absolutely get around that! If you don’t have buttermilk on hand, you can make a substitute right now. Just take one cup of regular milk—whole milk works best—and stir in one tablespoon of white vinegar or lemon juice. Let that sit on the counter for about five minutes until it looks slightly curdled. Voila! Instant buttermilk substitute for your cake batter.
Why is my red velvet cake not vibrant red?
If your cake looks more pink or brownish than deep red, you likely had one of two issues. First, if you used natural cocoa powder, the acidity can actually dull the red slightly, which is why we rely on the coloring. The main culprit is usually the food coloring itself. You need a good quality, concentrated gel food coloring—the little bottles of liquid dye just don’t have the power to fight that amount of flour and cocoa. Don’t be shy; use a full tablespoon!
How do I prevent the cream cheese frosting from being too runny in this best red velvet recipes version?
This happens when the butter and cream cheese are too warm, or sometimes, if you just had a humid day! If your frosting is soupy, panic first, then grab your powdered sugar. Beat in another half cup slowly until it thickens up. If it’s still loose, try chilling your butter and cream cheese for just 10 minutes before beating them—colder fat whips up much firmer and holds its shape better when the powdered sugar goes in.
Nutritional Estimates for This Best Red Velvet Recipes Cake
Now, I know we bake for love and glorious flavor first, but sometimes people ask about the numbers, so here they are! Just remember, this cake is a treat, meant for special occasions. These estimates are based on our calculations using standard ingredient densities, but honestly, the exact brand of butter or size of the egg can change things. So definitely consider these figures approximations for one slice of this amazing cake!
We’re looking at about 450 calories per slice when divided into 12 generous servings, which isn’t bad for a rich, classic celebration dessert. Here’s a quick breakdown of what’s in that incredible slice:
- Serving Size: 1 slice
- Calories: 450
- Sugar: 55g (That sugar is what makes the velvet structure, remember!)
- Sodium: 300mg
- Fat: 24g
- Saturated Fat: 14g
- Unsaturated Fat: 10g
- Trans Fat: 0.5g
- Carbohydrates: 60g
- Fiber: 1g
- Protein: 4g
- Cholesterol: 75mg
Since this cake relies so much on butter and cream cheese, the fat content is naturally higher, but that’s what gives it that rich mouthfeel we adore! Don’t sweat the numbers too much; just enjoy the moment when you cut that first perfect wedge!
Share Your Best Red Velvet Recipes Experience
Whew! We made it through the deep dive into what makes these the absolute best red velvet recipes. Now it’s your turn to get messy in the kitchen! Seriously, I want to see what you create. Did the color come out perfect? Did your family fight over the last slice like mine always does? Don’t be shy!
Go ahead and bake this cake, and then please, please drop a rating below—tells me how many stars you’re giving it. If you run into any little bumps—or if you discover a new glorious shortcut—let me know in the comments so we can all learn together!
If you had a question while reading or want to send me a picture of your masterpiece (I love seeing your photos!), feel free to reach out directly through my contact page. Happy baking, friends!
Print
Classic Red Velvet Cake
- Total Time: 60 min
- Yield: 12 servings 1x
- Diet: Vegetarian
Description
A simple recipe for a moist red velvet cake with cream cheese frosting.
Ingredients
- 2 1/2 cups all-purpose flour
- 1 teaspoon baking soda
- 1 teaspoon salt
- 1 cup unsalted butter, softened
- 1 1/2 cups granulated sugar
- 2 large eggs
- 1 teaspoon vanilla extract
- 1 cup buttermilk
- 1 tablespoon red food coloring
- 1 tablespoon white vinegar
- 8 ounces cream cheese, softened
- 1/2 cup unsalted butter, softened (for frosting)
- 4 cups powdered sugar
Instructions
- Preheat your oven to 350 degrees F (175 degrees C). Grease and flour two 9-inch round cake pans.
- In a medium bowl, whisk together the flour, baking soda, and salt. Set aside.
- In a large bowl, beat the softened butter and granulated sugar until light and fluffy. Add the eggs one at a time, beating well after each addition. Stir in the vanilla extract.
- In a small bowl, mix the buttermilk, red food coloring, and vinegar.
- Gradually add the dry ingredients to the wet ingredients, alternating with the buttermilk mixture, beginning and ending with the dry ingredients. Mix until just combined.
- Divide the batter evenly between the prepared cake pans.
- Bake for 30 to 35 minutes, or until a wooden pick inserted into the center comes out clean. Let the cakes cool in the pans for 10 minutes before inverting them onto a wire rack to cool completely.
- For the frosting, beat the softened cream cheese and butter until smooth. Gradually add the powdered sugar, beating until the frosting is light and creamy.
- Once the cakes are completely cool, frost the layers and the top and sides of the cake.
Notes
- Use high-quality red food coloring for the best color.
- Do not overmix the batter once the flour is added.
- Ensure all cold ingredients like buttermilk and eggs are at room temperature before starting.
- Prep Time: 25 min
- Cook Time: 35 min
- Category: Dessert
- Method: Baking
- Cuisine: American
Nutrition
- Serving Size: 1 slice
- Calories: 450
- Sugar: 55g
- Sodium: 300mg
- Fat: 24g
- Saturated Fat: 14g
- Unsaturated Fat: 10g
- Trans Fat: 0.5g
- Carbohydrates: 60g
- Fiber: 1g
- Protein: 4g
- Cholesterol: 75mg
Keywords: red velvet cake, cream cheese frosting, classic cake, birthday cake, chocolate cake