
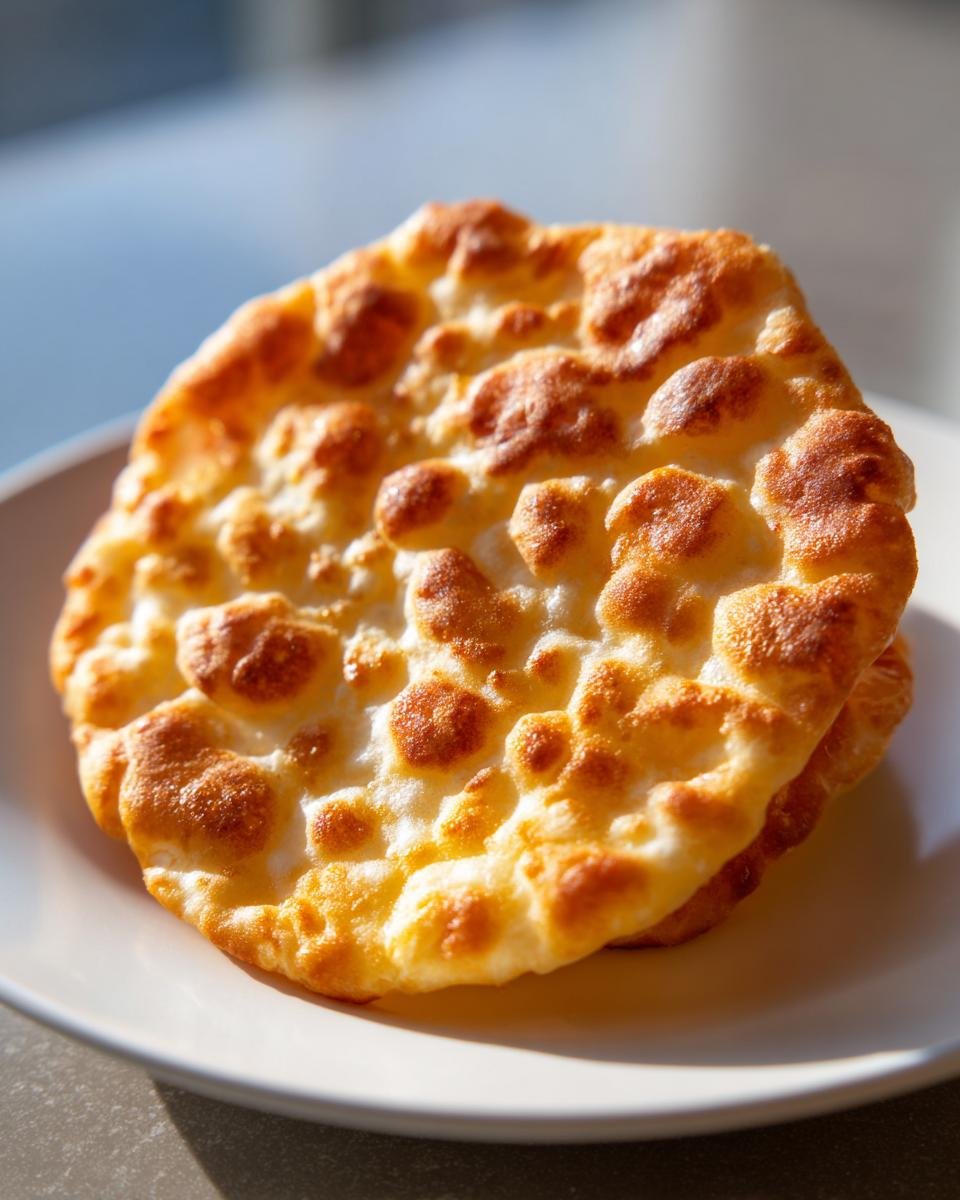
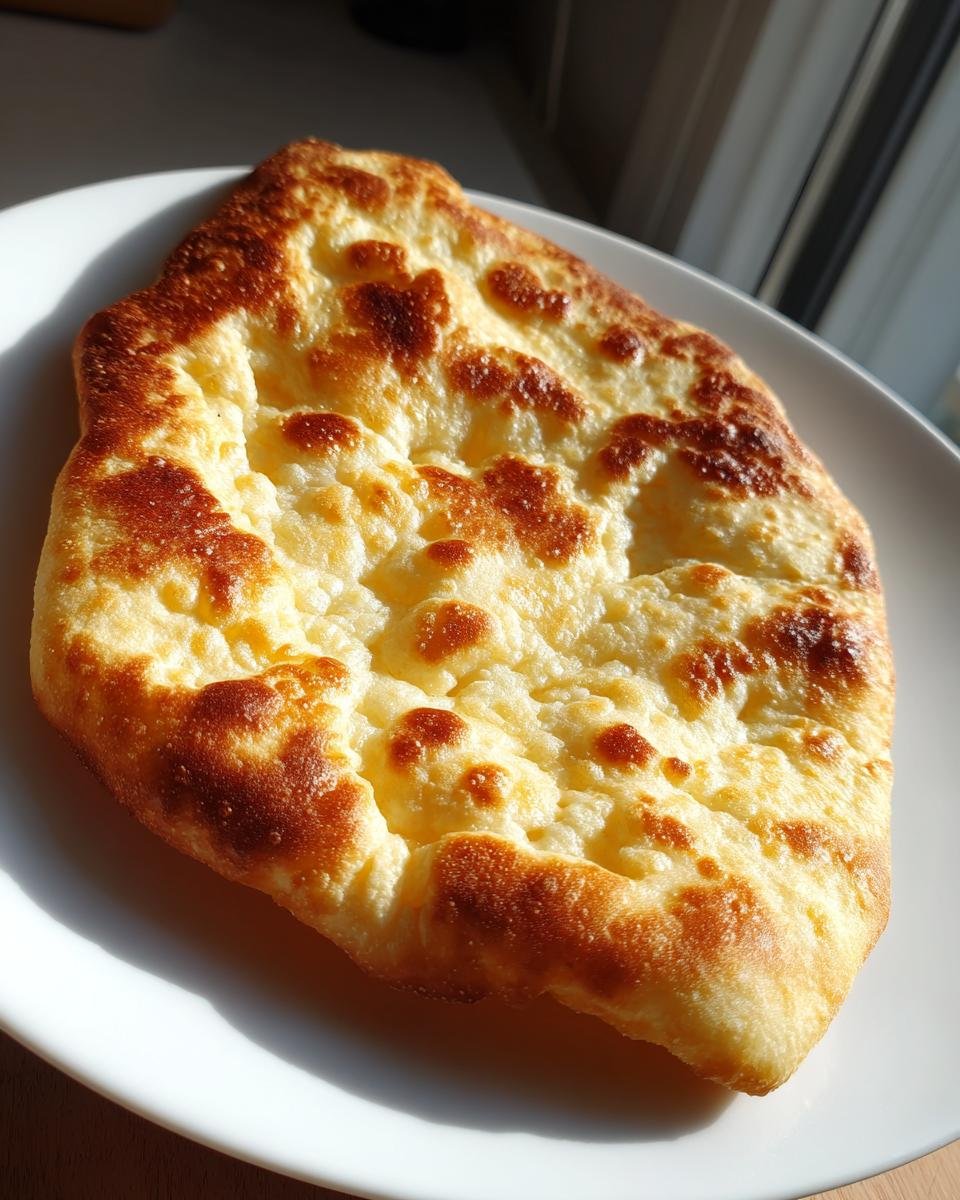
There are some foods that just warm your soul, aren’t there? For me, that’s fry bread. It’s more than just simple dough fried in hot oil; it represents gathering, history, and pure comfort. I remember the first time I tried making it—it was a disaster, honestly! It came out thick and more like a biscuit than a cloud of golden goodness. But I kept trying because the smell alone was captivating. Trust me when I say that starting A Fry Bread Journey Thats More Than Just A Recipe will change how you view quick breads forever. This straightforward method I use every time guarantees that beautiful puffy center and crispy edges, and it’s the only recipe I trust now for that authentic experience.
Embarking on A Fry Bread Journey Thats More Than Just A Recipe: Why This Method Works
When you strip fry bread down to its bones, it relies on just five basic things you probably already have in your pantry. That’s the beauty of it! You don’t need fancy flours or exotic yeasts. The magic in A Fry Bread Journey Thats More Than Just A Recipe isn’t in complexity; it’s in the ratios and the handling. I learned quickly that if you overwork the dough even slightly, it gets tough, and you lose that beautiful internal lift.
My breakthrough moment came when I stopped trying to knead it like a sourdough and started treating it more gently. It was all about getting it smooth enough to roll thin, but leaving enough structure behind for the baking powder to do its job when it hits the heat. For anyone looking to try authentic home baking, I think you’ll find this simple technique really builds confidence. If you want to boost your general baking skills overall, check out some of my favorite tips right baking techniques!
The Essential Components for A Fry Bread Journey Thats More Than Just A Recipe
We are only using flour, salt, baking powder, water, and oil. That’s it! See how straightforward that is? This simplicity is what allows the inherent flavor of the fresh dough to shine once it hits that hot fat. The baking powder is doing all the heavy lifting here, acting fast to create those air pockets we desperately want when we start frying. Don’t try to substitute anything huge because it genuinely messes up the texture we’re aiming for—we need that specific density that only all-purpose flour can give us for this style of bread.
Gathering Ingredients for A Fry Bread Journey Thats More Than Just A Recipe
Okay, let’s talk turkey about what you need to pull off this perfect bread. Remember what I said about simplicity? We aren’t going to be making any fancy buttermilk swaps here, though you can learn about buttermilk alternatives if you’re curious for other recipes!
For this batch, which yields about 8 beautiful pieces, here is exactly what I pull out onto the counter. Precision matters, even with three simple dry ingredients:
- 3 cups of all-purpose flour. Just the regular white stuff works perfectly here.
- 1 teaspoon of salt. Don’t skip this; it helps the flavor pop!
- 1 heaping tablespoon of baking powder. This is your main leavener, so be generous but accurate.
- 1 cup of warm water. I aim for water that feels comfortably warm to the touch, maybe around 105°F. If it’s too hot, it shocks the baking powder.
- 1 tablespoon of vegetable oil, plus lots more for frying. When frying, you’ll want about 1 inch or so of oil in your deep skillet. That’s how you get that glorious puff!
Getting the water temperature right is one of those little secrets that separates the beginners from the pros in A Fry Bread Journey Thats More Than Just A Recipe. It seems minor, but trust me, it makes a difference in how that dough comes together.
Step-by-Step Instructions for A Fry Bread Journey Thats More Than Just A Recipe
This is where the real fun begins! I know instructions can seem long, but these steps are so straightforward. Seriously, if you follow these, you’ll be halfway to understanding A Fry Bread Journey Thats More Than Just A Recipe where the results are pure gold. Don’t feel rushed when you get to the frying part; that’s when you need to move with calm purpose. It’s essential to get your oil heating up while the dough is resting, so everything flows nicely together. You can look at these steps as a great way to streamline your baking once you’ve mastered the timing, much like how some folks manage fast bread recipes.
Mixing and Kneading the Dough for A Fry Bread Journey Thats More Than Just A Recipe
First things first: grab your big bowl. We need to whisk together the dry stuff—the 3 cups of flour, the teaspoon of salt, and the tablespoon of baking powder—just to make sure everything is evenly distributed. Now, pour in that warm water and the tablespoon of oil you set aside. Mix it up with a wooden spoon or your hands until you have what I affectionately call ‘shaggy dough.’ It looks messy, trust me, and that’s okay!
Turn that shaggy mess out onto a lightly floured counter. Now, we knead. You want to work it for about 5 minutes. You’re looking for a transformation here—it should go from looking rough and sticky to feeling smooth and pliable under your hands. That five minutes of kneading is crucial for developing just enough strength in the dough without making it tough.
Resting and Shaping the Dough Balls
Once the dough is beautifully smooth, divide it up. I cut mine into 8 equal pieces. Roll each piece into a nice, tight little ball. If you see recipe writers trying to rush this part, ignore them! You absolutely must cover these little dough balls—a clean kitchen towel works great—and let them rest for a good 30 minutes. This resting period lets the gluten relax, which means rolling them out later is a dream. If you skip this, you’ll spend twice as long fighting the dough.
The Frying Technique: Achieving the Perfect Puff
While the dough is chilling out, get your oil ready. You need about an inch deep in a heavy, deep skillet, and you want that temperature hitting 350 degrees Fahrenheit (that’s 175 Celsius). Use a thermometer if you can, because if the oil isn’t hot enough, your bread will soak it up and get greasy, and we don’t want that in A Fry Bread Journey Thats More Than Just A Recipe!
Take one dough ball, flatten it gently into a 6-inch circle—make sure it’s about 1/4 inch thick. Here’s a key tip: poke a small hole right in the center! This prevents the middle from ballooning up too much. Carefully slide it into the hot oil. It should bubble immediately. Fry it for just 1 to 2 minutes on each side—you want lovely golden brown blisters. Use tongs to flip it, of course! When it’s done, lift it out straight away and let the excess oil drip off onto paper towels. Repeat until you’ve used all 8 balls. Wow, what a smell!

Expert Tips for A Fry Bread Journey Thats More Than Just A Recipe
Now that you’ve got the basic steps down, let me pass along the little tricks I learned through trial and (a lot of) error. These tips are what turn a good fry bread into an amazing one, really cementing that feeling of success during A Fry Bread Journey Thats More Than Just A Recipe.
First thing: don’t panic if your dough feels slightly off. You can adjust that water content! If it seems too dry after the first mix, just splash in a tiny bit more warm water—maybe a teaspoon at a time—until it starts coming together. If it’s truly sticky, add a whisper of flour when you turn it out to knead. The key is feeling it out.
The biggest tip, seriously, is keeping that oil temperature steady around 350°F. If you drop in too much dough at once, the temperature plummets, and your bread gets greasy fast. Fry in batches, always! If you want to learn more general pointers that will help you out in the kitchen beyond just this, you should definitely browse some of my basic baking tips.
Serving Suggestions for Your Fry Bread Journey Thats More Than Just A Recipe
The best part of making fry bread is deciding what to put on it! It’s so versatile—it works as a dessert or a main dish base. My personal favorite sweet treat is a simple dusting of powdered sugar so you can really see the light, puffy texture. If you’re feeling decadent, a drizzle of honey is heavenly.

But don’t forget the savory side of A Fry Bread Journey Thats More Than Just A Recipe! For a really hearty meal, spooning that rich, slow-cooked savory chili right over the top is amazing. A little cheese sprinkled on top of the hot bread melts beautifully. You just can’t go wrong, whether you treat it like a puffy taco shell or a delicious dessert bread!
Storage and Reheating Instructions for A Fry Bread Journey Thats More Than Just A Recipe
Listen, if you manage to have leftovers—which is rare in my house—you need to store them right so you can keep enjoying that wonderful texture later. Pop any cooled fry bread into an airtight container. You can just keep them on the counter at room temperature for a day or two; they surprisingly hold up well!
Now, reheating is important. If you use the microwave, you’re going to end up with sad, soft bread, and that ruins the whole point of embarking on A Fry Bread Journey Thats More Than Just A Recipe! Instead, I highly recommend waking them back up in the oven or a toaster oven set to about 350°F for just five minutes. That little bit of dry heat brings back the crisp edges without turning them greasy again. Seriously, give the nice toaster oven a try!
Common Questions About A Fry Bread Journey Thats More Than Just A Recipe (FAQ)
Can I bake fry bread instead of frying it?
Oh, I get asked this a lot! People are always trying to cut down on oil, and I totally respect that. You can bake it, but I have to be honest: it changes the entire experience. When you bake it—say, at 400°F—you end up with something much more like a biscuit or a dense scone. It won’t get that wonderful, immediate puff and crisp texture that defines true fry bread. For the authentic experience of A Fry Bread Journey Thats More Than Just A Recipe, you really need that deep, hot oil.
Why didn’t my fry bread puff up properly?
If your bread came out flat, that almost always points to two things, in my experience. First, check your oil temperature! If it wasn’t hot enough (under 350°F), the dough sits there sadly absorbing oil instead of rapidly expanding. Second, check that resting time. If you didn’t let the dough rest for those crucial 30 minutes, the gluten is too tight, and it resists puffing up when it hits the heat. It needs that relaxation time!
What is the traditional name for this bread?
That’s a wonderful question that gets to the heart of A Fry Bread Journey Thats More Than Just A Recipe. What we call fry bread is truly a testament to tradition and adaptation. It’s widely recognized across many Native American nations, though specific tribal names vary greatly. It’s a form of quick bread, often referred to simply as Native American bread derived from historical circumstances. Learning the context behind this simple fried dough really deepens the appreciation for every bite.
How thick should I roll the individual pieces?
I aim for about 1/4 inch thick across the entire circle before frying. If it’s much thicker than that, the outside risks burning before the inside cooks through completely, or you end up with a thick, doughy center. If it’s too thin, it might just end up crispy like a cracker! Fourth of an inch gives you that perfect balance between a delicate crisp edge and a soft, chewy interior.
Nutritional Estimates for This Fry Bread Recipe
Now, I try not to obsess over nutrition labels when I’m making something this comforting, but since you asked, I figured I should give you a rough idea of what’s in a serving of this delicious fry bread.
Look, this is fried dough, guys, so it’s going to have more fat than, say, a nice baked potato! These numbers are based on dividing the recipe into 8 equal pieces—one piece per serving. And I need to stress this: since we are deep-frying, how much oil your specific piece soaks up can change things wildly. Please take these figures as a general idea rather than a strict guarantee!
Here’s the breakdown for one piece, based on the ingredients listed:
- Calories: About 250
- Total Fat: Roughly 12 grams (This includes about 3 grams of Saturated Fat, so enjoy responsibly!)
- Carbohydrates: Around 30 grams
- Protein: About 5 grams
See? It’s a simple bread, and the carbs are straightforward—that’s the flour at work! The zero cholesterol is a nice bonus, but again, because we’re frying, the oil you choose plays a huge role in the final numbers. Try serving it with less sugary toppings like chili instead of a huge glob of honey if you’re watching that sugar intake!
Share Your Fry Bread Experience
Wow, we made it through A Fry Bread Journey Thats More Than Just A Recipe together! I hope you’re already reaching for your flour bin because I truly believe this recipe is a winner. Now that you’ve tasted the authentic difference that simple technique makes, I absolutely want to hear about it.
Did you stick exactly to the recipe, or did you get creative with your toppings? Did you serve yours with savory stew or just a mountain of powdered sugar? Please don’t be shy—head down to the comments box and give me your star rating! Hearing about your successes or even just telling me how long it took for your dough to rest is the best inspiration for me.
And if you snapped a glorious picture of your puffy, golden-brown creations, I want to see them! Tag me on social media when you post it. Seriously, seeing your bread makes my day. If you have any specific questions that popped up while you were frying—like, say, the temperature of your oil—feel free to reach out via my contact page too. Happy cooking, and thanks for sharing this journey with me!
Print
Simple Fry Bread Recipe
- Total Time: 60 min
- Yield: 8 servings 1x
- Diet: Vegetarian
Description
A basic recipe for making traditional fry bread at home.
Ingredients
- 3 cups all-purpose flour
- 1 teaspoon salt
- 1 tablespoon baking powder
- 1 cup warm water
- 1 tablespoon vegetable oil, plus more for frying
Instructions
- In a large bowl, whisk together the flour, salt, and baking powder.
- Add the warm water and oil to the dry ingredients. Mix until a shaggy dough forms.
- Turn the dough out onto a lightly floured surface. Knead for about 5 minutes until the dough is smooth.
- Divide the dough into 8 equal pieces. Roll each piece into a ball.
- Cover the dough balls and let them rest for 30 minutes.
- Heat about 1 inch of oil in a deep skillet to 350 degrees Fahrenheit (175 degrees Celsius).
- Take one dough ball and flatten it into a circle about 6 inches wide and 1/4 inch thick. Poke a small hole in the center.
- Carefully place the dough into the hot oil. Fry for 1 to 2 minutes per side, until golden brown and puffed.
- Remove the fry bread with tongs and place it on a paper towel-lined plate to drain excess oil.
- Repeat with the remaining dough.
Notes
- You can adjust the amount of water slightly if the dough seems too dry or too sticky.
- Serve warm with your preferred toppings, such as honey, powdered sugar, or savory chili.
- Prep Time: 40 min
- Cook Time: 20 min
- Category: Dessert
- Method: Frying
- Cuisine: Native American
Nutrition
- Serving Size: 1 piece
- Calories: 250
- Sugar: 1
- Sodium: 300
- Fat: 12
- Saturated Fat: 3
- Unsaturated Fat: 9
- Trans Fat: 0
- Carbohydrates: 30
- Fiber: 1
- Protein: 5
- Cholesterol: 0
Keywords: fry bread, Native American bread, quick bread, fried dough, simple recipe