
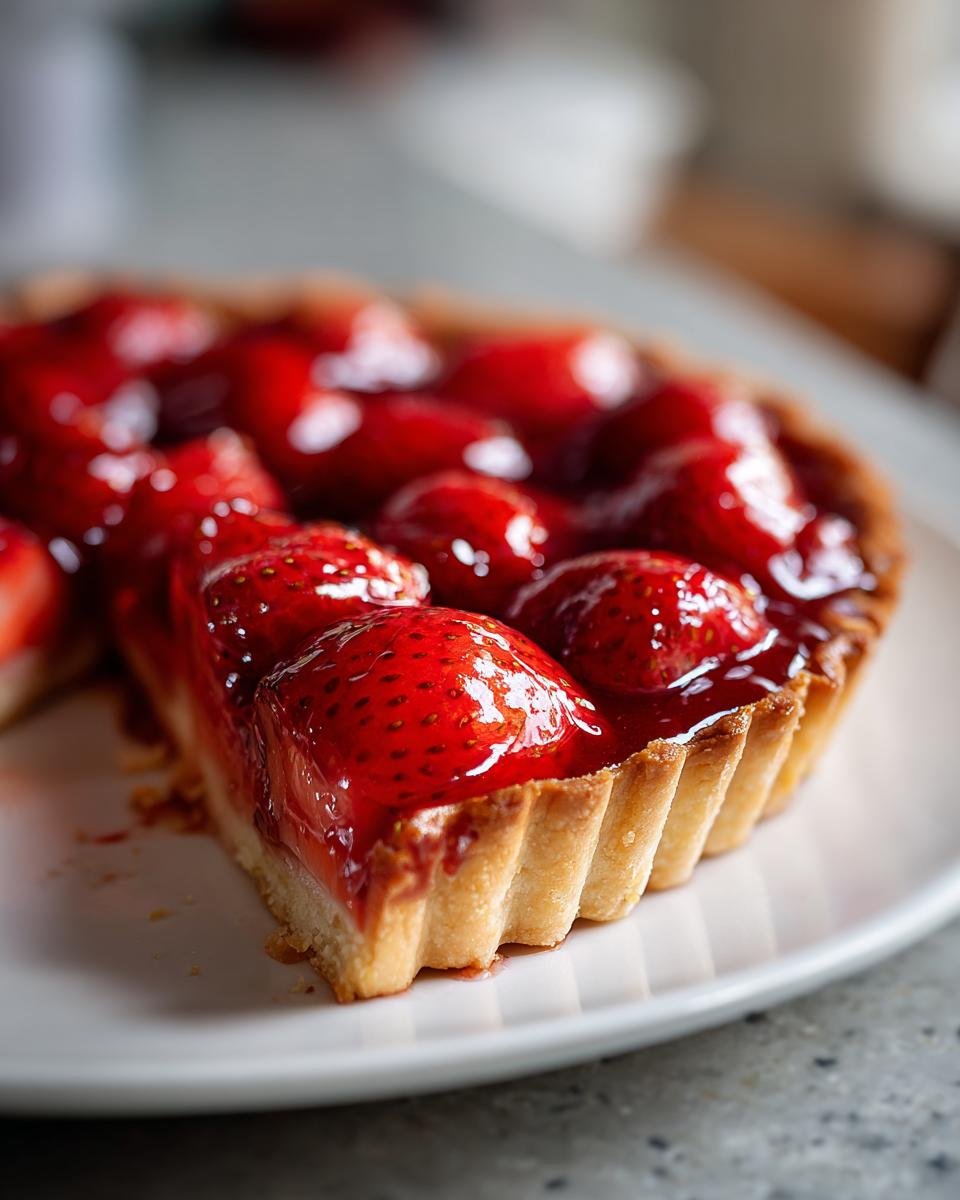
When the summer heat hits, forget heavy cakes and fussy pastries! All I want is something bright, cool, and bursting with fresh fruit. This easy recipe changed my life when I first tried it years ago—it’s my absolute go-to Strawberry Pie. I was so intimidated by pies back then, assuming the filling would turn into a pool of sweet mush, but that’s where the glaze comes in, folks. This recipe gives you that gorgeous, shatteringly clean slice every single time. Honestly, if summer had a flavor, it would be this sweet, tart, brilliant red filling sitting in a crisp crust. Trust me, you won’t need any fancy skills for this one.
We make this whenever the strawberries are perfect at the local farm stand. I always link to my favorites for other fun strawberry ideas when I’m feeling lazy later in the week!
Gathering Ingredients for Your Perfect Strawberry Pie
Okay, let’s talk ingredients because that’s half the battle, right? Getting the right things ready before you start mixing makes the whole process feel calm instead of chaotic. And when you’re dealing with beautiful, fresh fruit, you want everything else to be just as simple so the strawberries really shine. The beauty of this particular Strawberry Pie is that we aren’t fussing with making dough or baking the fruit filling from scratch. It’s all about speed!
Before you even think about rinsing berries, pull out your list. You’ll want to have everything measured and waiting. For tips on general oven management while you bake that crust ahead of time, I always refer back to my favorite piece of advice on making smarter baking decisions!
Ingredient List for Simple Strawberry Pie
Here’s what you need on hand. Remember, I stress prepping the strawberries first—get those hulls off and slice them uniformly so they sit nicely in the crust later!
You need one pre-made 9-inch pie crust that has already been fully baked until golden brown. Then, grab about 6 cups of your beautiful fresh strawberries, making sure they are hulled and sliced. For the glaze, get one cup of granulated sugar, 1/4 cup of cornstarch, one cup of water, and 1/4 cup of bright, fresh lemon juice. Finish it off with just one tablespoon of butter, and if you want that super vibrant, electric red color, grab some red food coloring, but that part is totally optional!
Expert Tips for Making the Best Strawberry Pie Glaze
Listen up, because the glaze is the backbone of this entire fresh Strawberry Pie adventure. If the glaze isn’t right—too thin, too gloppy—your beautiful berries just slide right out when you try to serve it. And nobody wants a sliding pie! That said, this magic glaze comes together faster than you can find a spatula.
My biggest tip when it comes to the berries themselves? Use strawberries that smell amazing! If they don’t smell sweet in the carton, they won’t taste sweet in the pie. Don’t even bother. Also, make sure you’re whisking as you go. I’ve broken too many things by walking away for “just a second.” Don’t make my mistakes!

Achieving the Right Consistency in Your Strawberry Pie Glaze
This is where many cooks lose the battle, but you won’t! When you mix that sugar and cornstarch together first—and please, make sure it’s zero lumps before adding the water—you are setting yourself up for success. Now, here’s the non-negotiable part: once that liquid starts to bubble, you have to let it boil for a full minute while stirring constantly. Seriously, set a timer if you have to! That minute is what activates the cornstarch and ensures that shiny, firm set we’re looking for. If you pull it off the heat too soon, it’ll just weep out later.
Right after that minute of boiling, kill the heat immediately. Throw in that small tablespoon of butter—it gives the final glaze that gorgeous, professional mirror-like shine. If you want to dive deep into common pantry swaps, check out my notes on milk substitutes; sometimes a little thinking outside the box helps with backups!
Step-by-Step Instructions for Assembling Your Strawberry Pie
Alright, we’ve got our pre-baked crust waiting patiently, and our beautiful, shiny glaze is just coming off the heat. It’s time to put this masterpiece together! Honestly, the steps are so straightforward, you’ll wonder why you ever bought a store-bought pie before. Just follow this assembly line approach, and you won’t go wrong.
First things first, you need to arrange your sliced berries. Gently place all those gorgeous, sliced strawberries right into your cooled, pre-baked pie crust. Don’t just dump them in! Try to get them layered beautifully; it makes such a difference when you finally slice that first piece. Think of it like creating a little fruit bed.
Next, while the glaze is still warm—not scorching hot, but definitely warm—slowly pour it evenly over the whole bed of berries. You want every single berry coated in that sweet, lemony shine. Be careful not to disturb the berries too much when you pour; just try to drizzle it so it fills in all the gaps.
Now, the hardest part, and I mean this from the bottom of my heart: you have to wait. This wonderful, fresh Strawberry Pie needs time to set! Pop the whole thing into the refrigerator for a minimum of three hours. I usually leave mine overnight if I can resist. That chilling time is crucial; it firms up that cornstarch glaze so you get that perfect, clean slice you’ve been dreaming about. Rushing this means you end up with a sticky mess on your plate, and we aren’t having that!
When it’s finally time to serve, just slice it cold. If you want some extra pointers on general oven handling and how to manage your timing better next time, I highly recommend reading through my notes on baking tips. It really helps keep the kitchen stress-free!
Why This Fresh Strawberry Pie Recipe Works So Well
I know you want to know why this simple Strawberry Pie beats all those fancy layered desserts, and I’m happy to tell you! It’s all about maximizing flavor without spending hours fussing over complicated techniques. When you use the absolute best, ripe strawberries, you don’t need much else to make a showstopper. Plus, since we are using a pre-baked shell, you cut out about 45 minutes of work right there!
It’s the perfect recipe when you need a stunning dessert fast, or if you’re just starting out and want a guaranteed win. If you’re interested in how to dress up your fruit desserts even more, check out my notes on strawberry champagne cake for a completely different kind of celebration!
Key Benefits of This Easy Strawberry Pie
Here are the big reasons why I keep coming back to this recipe, year after year:
- Super Quick Prep Time: Seriously, the active time is less than 30 minutes. You can be done mixing before the kettle even finishes boiling for your post-pie coffee!
- Seasonal Flavor Focus: This recipe honors truly ripe, fresh fruit. It doesn’t try to hide anything behind heavy spices or baked-in flavors. It’s pure summer.
- Reliable Setting Glaze: That cornstarch method is a workhorse! It sets up perfectly every time, meaning no more sad, soupy slices swimming in liquid.
- Beginner Friendly: If you can boil water and whisk things, you can make this pie perfectly. It’s foolproof, which is exactly what I needed when I first started baking!
Ingredient Notes and Substitutions for Your Strawberry Pie
Now that you’ve mastered the technique, let’s chat about maximizing the ingredients for your Strawberry Pie. Remember those notes I mentioned? They hold the key to making sure this pie tastes exactly how you expect it to.
The most important rule is prioritizing the fruit. If you can only find strawberries that look pale and let off no scent, maybe hold off a day or two until you hit a better market. Freshness is everything here! If you absolutely have to cook them slightly to sweeten them up before glazing, do that gently—don’t boil them raw!
And what about sugar? If you tasted a raw berry and thought, “Wow, that’s tart,” you can go ahead and reduce that main cup of sugar down to 3/4 cup. It’s your pie, so make it suit your mouth! Just remember to taste the glaze mixture before you pour it over the fruit, just in case you need that extra touch of sweetness.
If you’re out of lemon juice—which provides that essential bright pop to cut through the sugar—don’t fret over running to the store! You can almost always swap it right out for lime juice. It gives a slightly different zest, but it still provides that acidic backbone the glaze needs to balance everything out. For general pantry backups and how to handle things when you’re missing one key item, I often share my thoughts on substitutions, like when I talk about how to manage without buttermilk—the same thinking applies!
Finally, don’t forget the crust—this recipe calls for a baked shell. If you’re using your own favorite homemade recipe, make sure it’s fully cooled before you start arranging the berries. A warm crust will melt that beautiful, shiny glaze before it even gets a chance to set up completely!
Serving Suggestions for This Classic Strawberry Pie
This Strawberry Pie is stunning all on its own, especially when the fruit is perfectly ripe, but sometimes you just need that little something extra on top, right? I always insist that this pie must be served cold. If you try to serve it warm, the glaze just doesn’t hold up its structure, and we worked too hard on that beautiful shine!
Once it’s thoroughly chilled, you can dress up individual slices for the ultimate dessert experience. If you want something light and airy, you can’t beat fresh, lightly sweetened whipped cream. For a classic flavor bomb, a scoop of good quality vanilla ice cream slowly melting down the sides is heaven.
Perfect Pairings for Fresh Strawberry Pie
Honestly, the tartness of the fresh berries and lemon really cuts through creamy richness, so stick to simple accompaniments.
- Whipped Cream: Homemade is best, just a touch of sugar and vanilla!
- Vanilla Ice Cream: The perfect temperature contrast since the pie must be cold.
- Crème Fraîche: If you want something less sweet than straight whipped cream, a dollop of crème fraîche is sophisticated and tangy.
If you feel like making another sweet treat alongside your beautiful pie, you should totally check out my recipe for strawberry milkshakes!
Storage and Reheating Instructions for Strawberry Pie
Okay, once your gorgeous Strawberry Pie is set and you’ve enjoyed that first perfect slice, what do you do with the leftovers? The answer is simple: the fridge! Because this filling relies on cornstarch and chilling to hold its beautiful shape—it’s not a baked custard, remember—it needs to stay cold to stay firm.
Keep any remaining pie tightly covered in the refrigerator. It’s usually best eaten within two to three days, max, because those fresh berries start to get a little soft. Now, listen closely: do NOT try to reheat this pie! Seriously, don’t even try it. Heating it up will completely liquefy that lovely glaze we worked so hard on, turning your beautiful slices back into sweet strawberry soup. Just pull out what you need and enjoy that cold, refreshing slice!
Frequently Asked Questions About Making Strawberry Pie
Sometimes even the easiest recipes leave you with a few nagging questions once you start baking, right? Don’t stress! We’ve all been there staring at a bowl of strawberries thinking, “Is this shiny enough? Will it set?” This section is all about making sure your next attempt at this Strawberry Pie is a total slam dunk. If you’re stuck on anything—like maybe you can’t find your pie dish or you need to track down a missing ingredient—I’ve got a spot where I keep all my general kitchen helps linked up, just check out my general recipe finder!
Troubleshooting Your Fresh Strawberry Pie
Here are the common hiccups I hear about most often when people are making their first delicious, fresh strawberry pie. The key is always patience in that chilling stage!
Q: My glaze turned out way too runny! What did I do wrong?
A: Oh, that’s almost always because you skipped that one full minute of boiling time! Cornstarch needs that full, rolling boil to activate its thickening power. If you pull it off the heat too early, it will look thin going over the berries and stay sad and liquid in the fridge. Next time, set a timer for 60 seconds once it starts bubbling vigorously.
Q: If I use my own homemade pie crust instead of pre-made, does that change anything?
A: Not a thing, as long as you remember the golden rule: the crust must be completely baked and cool before you even think about adding the glaze and berries. If the crust is even a tiny bit warm, it acts like a heater and prevents that cornstarch glaze from ever firming up properly. It’s all about temperature control!
Q: Can I make this pie ahead of time? I need an easy pie for a party tomorrow.
A: Yes, you can, but you must keep it refrigerated! This isn’t like a baked apple pie that sits on the counter. Because it has fresh fruit and a gelled glaze, it needs that cold environment. It’s actually best made the day before you serve it—that gives the glaze maximum time to firm up, which is essential for getting beautiful slices.
Q: Can I swap the lemon juice for something else? I really don’t like that tartness.
A: You absolutely can, but you must replace it with an acid! The lemon juice isn’t just for flavor; it helps the overall texture. If you hate lemon, use lime juice (my go-to swap!) or even a splash of white wine vinegar if you trust your balance. Just try not to skip the acid entirely, or the glaze can sometimes taste flat.
Share Your Simple Strawberry Pie Experience
Whew! We did it! We conquered the fresh fruit season with the easiest, prettiest, and most rewarding Strawberry Pie you can imagine. Now that you’ve got a beautiful slice (or three!) chilling in your fridge, I absolutely want to hear about it!
Tell me everything! Did your glaze set like a dream on the first try? Did your family devour it before you could even get a picture? Don’t keep the joy to yourself! Drop a rating below—five stars if you think this deserves a spot at every summer BBQ you host from now on. I can’t wait to see your creations!
Snap a picture of that clean slice and share it with me on social media! Tagging me lets me see how you brought this summery treat to life in your own kitchen. If you ran into any strange issues or had a brilliant little tweak, spill the beans in the comments section; we all learn from each other, and I always check in!
If you need anything else, or maybe want to send me a picture directly, you can always head over to my contact page. Happy baking, everyone, and enjoy every single bite of that perfect summer flavor!
Print
Simple Strawberry Pie
- Total Time: 2 hours 30 min
- Yield: 8 servings 1x
- Diet: Vegetarian
Description
A straightforward recipe for a fresh strawberry pie with a simple glaze.
Ingredients
- 1 pre-made 9-inch pie crust, baked
- 6 cups fresh strawberries, hulled and sliced
- 1 cup granulated sugar
- 1/4 cup cornstarch
- 1 cup water
- 1/4 cup lemon juice
- 1 tablespoon butter
- Red food coloring (optional)
Instructions
- Place the sliced strawberries in the baked pie crust.
- In a medium saucepan, whisk together the sugar and cornstarch.
- Gradually whisk in the water until smooth.
- Cook the mixture over medium heat, stirring constantly, until it thickens and boils. Boil for one minute.
- Remove the saucepan from the heat. Stir in the lemon juice and butter until the butter melts.
- If desired, stir in a few drops of red food coloring for a brighter color.
- Pour the warm glaze evenly over the strawberries in the crust.
- Chill the pie in the refrigerator for at least 3 hours, or until the filling is completely set.
- Slice and serve cold.
Notes
- You can use fresh, ripe strawberries for the best flavor.
- If you prefer a less sweet pie, reduce the sugar to 3/4 cup.
- Chill the pie completely before slicing to get clean cuts.
- Prep Time: 20 min
- Cook Time: 10 min
- Category: Dessert
- Method: Chilling
- Cuisine: American
Nutrition
- Serving Size: 1 slice
- Calories: 320
- Sugar: 40g
- Sodium: 150mg
- Fat: 12g
- Saturated Fat: 4g
- Unsaturated Fat: 8g
- Trans Fat: 0g
- Carbohydrates: 52g
- Fiber: 2g
- Protein: 3g
- Cholesterol: 5mg
Keywords: strawberry pie, fresh strawberry pie, easy pie, summer dessert, fruit pie