
Oh, you know those days, right? When you’ve been outside working in the garden forever, or maybe you just got over one of those nasty summer stomach bugs—you feel completely wiped out. Water just isn’t cutting it! I used to panic when I felt that crash coming on, always running to the store for those brightly colored, neon-flavored drinks packed with stuff I couldn’t pronounce. A few years back, after running a marathon in surprisingly hot weather, I hit a wall and realized I needed a real solution, fast. So, I figured out my tried-and-true formula for a **DIY Natural Electrolyte Drink** right there in my own kitchen. It’s so simple, ready in five minutes, and I control every drop that goes in. Trust me, once you taste this bright, natural blast of hydration, you won’t go back to the sugary stuff!
Why This DIY Natural Electrolyte Drink is Your Best Hydration Choice
Seriously, the stuff they sell in the big bottles might taste good, but wow, the sugar content is shocking! Why would I want to recharge after a workout only to flood my system with high-fructose corn syrup? That’s why I’m so dedicated to this homemade version. When you make your own **DIY Natural Electrolyte Drink**, you bypass all the weird colors and artificial flavors. It’s just pure, clean energy replenishment.
I love knowing exactly what I’m putting into my body, especially when I’m already feeling a bit run down. Plus, I can tweak it morning, noon, or night depending on what I need. It’s adaptable! You just can’t beat that control.
- It uses whole, recognizable ingredients—nothing weird lurking in there.
- The sweetness comes from natural sources, giving you a quicker boost without the crash.
- You control the salt level, which is key when replacing sweat loss!
Ingredient Benefits for Your DIY Natural Electrolyte Drink
Every single thing in this mixture has a job, which is what makes this a truly effective sports drink, not just fancy flavored water. The sea salt is crucial; it’s your main source of sodium, helping your body actually hold onto the water instead of just flushing it out. Those beautiful fresh citrus juices—the orange and lemon—are packed with natural potassium and vitamin C, which are super important fighting fatigue.
And that little bit of maple syrup? That’s your easy-to-access energy. It’s simple carbohydrate fuel that your body recognizes right away when you are depleted. It gives you just enough sweetness to make chugging down salty water actually enjoyable!
Gathering Ingredients for Your DIY Natural Electrolyte Drink
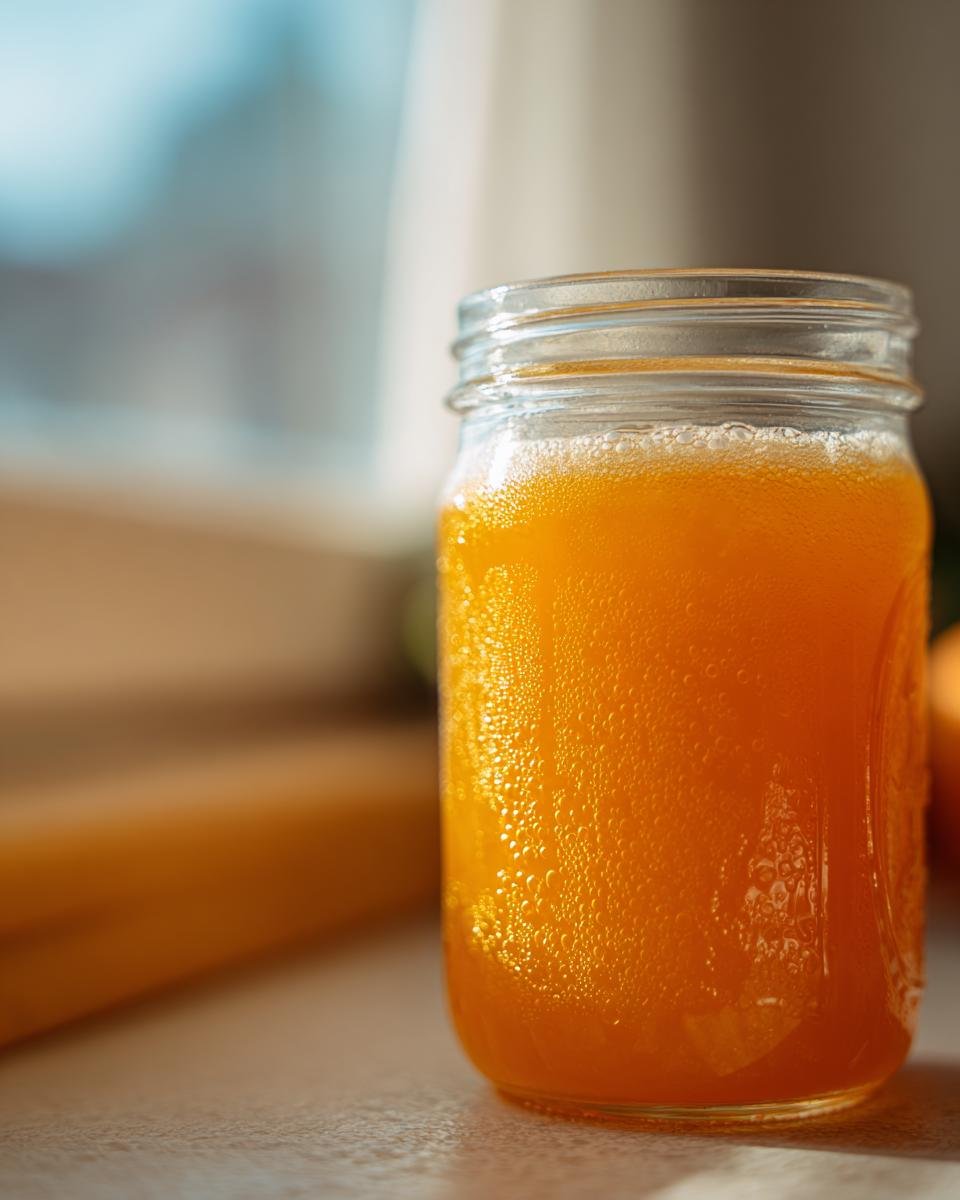
Okay, let’s get gathering! The beauty of this **DIY Natural Electrolyte Drink** is that you probably have most of this stuff lurking around already. We aren’t messing around with powders or weird processed bases here. You need to grab a clean jar or a shaker bottle because we’ll be mixing right in there. I need you to be specific when you measure this out, especially with the salt—too much and you’ll regret it!
Here’s the shortlist for one good, strong serving:
- One full cup of plain old water—filtered is best if you have it!
- A generous half-cup slice of fresh orange juice. Don’t even think about grabbing that concentrate carton.
- A quarter cup of tart fresh lemon juice for that extra zing.
- Exactly one-eighth of a teaspoon of sea salt. Remember, we need the minerals!
- One tablespoon of either pure maple syrup or honey. This is our natural energy source.
Ingredient Notes and Substitutions for the DIY Natural Electrolyte Drink
When I first started making this, I used regular table sugar, but that’s a no-go! The molasses in dark maple syrup or the complexity of honey really helps the flavor profile of this **DIY Natural Electrolyte Drink**. If you’re watching your sugar intake very closely, you can totally swap the maple syrup for a few drops of liquid stevia—just maybe start with three drops, taste it, and go up from there because stevia is potent!
Also, don’t forget those little extra flavor boosters the recipe mentions! I often toss in a couple of thin slices of fresh ginger root right into the jar before I shake everything up. The ginger adds a wonderful warming kick. If you’re drinking this on a hot summer afternoon, a few torn-up mint leaves are unbelievable. It adds a whole new layer of refreshment!

Step-by-Step Instructions to Make Your DIY Natural Electrolyte Drink
Making this **DIY Natural Electrolyte Drink** couldn’t be easier, but the order you put things in *does* matter a little bit if you’re using a shaker bottle. We want everything dissolved, and that usually means tackling the solids first!
First things first: Grab your jar or shaker for mixing. I always dump in the water first—this prevents the salt and syrup from sticking stubbornly to the bottom later on. Next, toss in that tiny bit of sea salt and your tablespoon of maple syrup or honey. You absolutely need to stir or shake this combination really well right away. If that salt doesn’t dissolve now, you end up with a gritty mouthful later, which is never refreshing!
The Crucial Step: Tasting and Adjusting Your DIY Natural Electrolyte Drink
Once the salt and sweetener are gone, go ahead and pour in your fresh orange juice and sharp lemon juice. Then, seal that jar up tight! Give it a really vigorous shake—don’t be shy. Since we aren’t using any fancy emulsifiers, you need speed to get that citrus working with the water and salt properly. You can check out these other great hydrating fruit punch ideas while you’re shaking!
Now for the confidence builder! This is where you transform it from a recipe into *your* perfect **DIY Natural Electrolyte Drink**. Take a small sip. Does it taste a little flat or just a bit too “salty”? That means you need a tiny bit more maple syrup to balance the flavor. Is it screaming lemon at you? Go ahead and add another splash of water to dilute it slightly, or just a pinch more salt if the flavor seems muted rather than tart.
It’s super important to trust your own taste buds here. I like mine slightly tarter, but maybe you need it sweeter after a really sweaty bike ride. Once it tastes just right to *you*, pop the lid on securely and send it straight into the fridge. Chilling it makes all those bright flavors really wake up!
Making Your DIY Natural Electrolyte Drink Ahead of Time
One of the best parts about this **DIY Natural Electrolyte Drink** is that you can totally make a batch *before* you realize you need it. I usually mix up a double batch on Sunday afternoons while I’m doing meal prep for the week. It’s such a lifesaver when someone in the house starts coming down with a nasty cold, or when the weather forecast suddenly jumps twenty degrees!
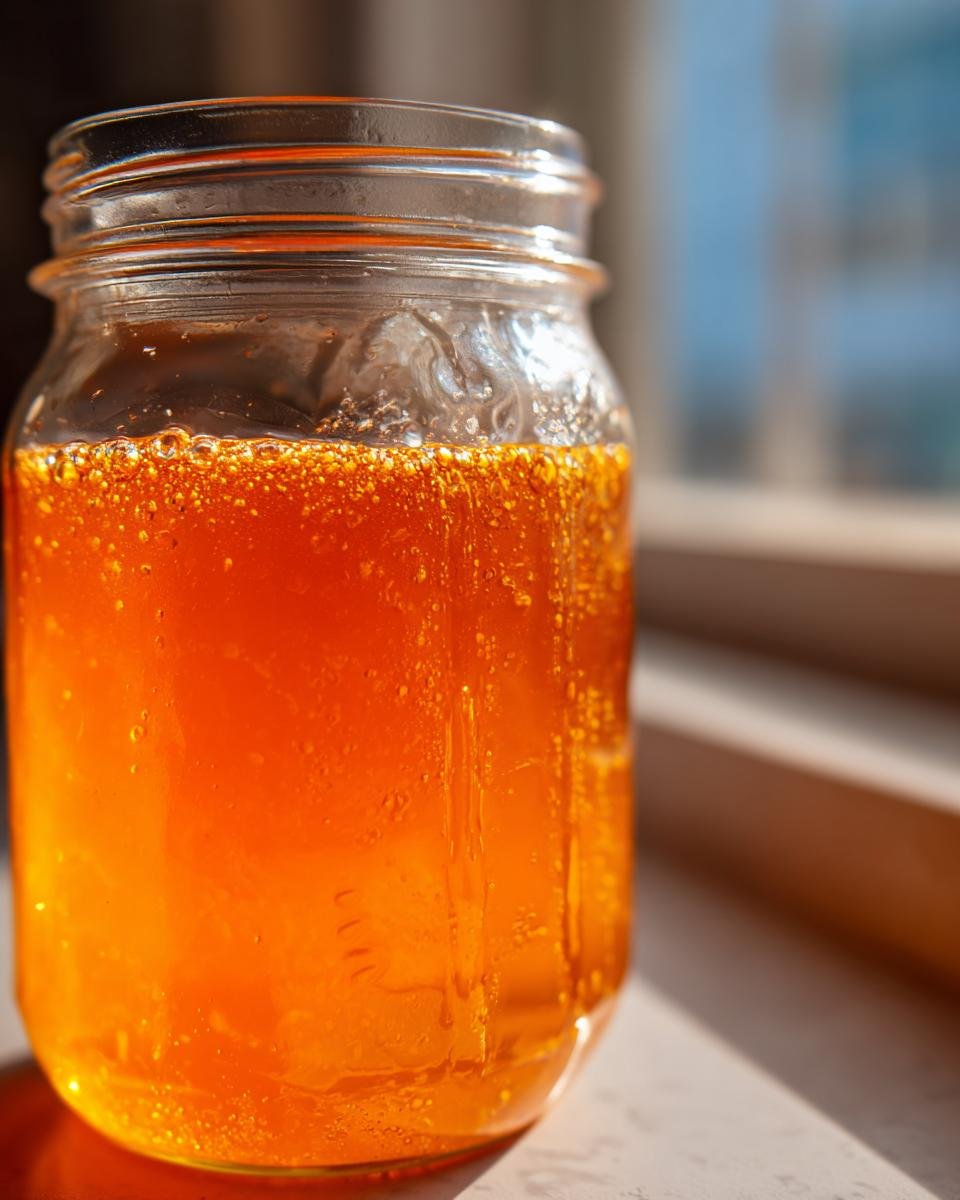
The key to making it ahead is storage. You need something truly airtight. A Mason jar with a tightly sealed lid works perfectly, or any good shaker bottle you have lying around. Since we are dealing with fresh citrus juice, you want to keep as much air out as possible to maintain the freshness and the vibrancy of the flavor. I actually find that if I mix it up and let it sit in the fridge for at least an hour, it tastes even better than if I drink it right away!
It stays perfectly good, tasting bright and fresh, for about three or maybe even four days in the coldest part of your refrigerator. After that, the fresh juice starts to lose its punch. If you notice the color lightening up too much, that’s your visual cue that it’s time to mix up a new batch. But honestly, with how fast these disappear in my house, I rarely have leftovers past day two!
Tips for Perfecting Your DIY Natural Electrolyte Drink Consistency
The flavor profile is one thing, but the actual consistency of this **DIY Natural Electrolyte Drink** matters just as much, especially if you’re using it to replace serious sweat loss. Sometimes, I make this after a really long hike, and I need something much stronger than what the base recipe gives me. Other times, if I’m just sipping on it to stave off afternoon sluggishness, I definitely want it lighter.
This is where you get to be the alchemist! Remember those notes about adjusting the water amount? That’s your lever for consistency. If you want a super concentrated, intense hit of minerals and citrus—maybe after a tough gym session when you feel totally depleted—cut the water back to half a cup instead of the full cup the recipe calls for. Be careful, though; that tiny bit of salt is going to hit harder!
On the flip side, if you’re just looking for a gentle, flavorful way to encourage more fluid intake throughout the day, don’t be afraid to add a little extra water. I’ve gone up to a cup and a half of water when I’m just using it as a midday refresher. It waters down the flavor, sure, but it stretches the batch out, and you still get those essential minerals.
Here’s an absolute pro-tip that I only learned after fighting with the flavor for ages: water quality matters! If your tap water has a strong chlorine or metallic taste, it’s going to completely ruin the clean, bright taste of your citrus. I strictly use filtered water, especially because this drink just sits there with no cooking involved to mask those off-flavors. It makes the orange and lemon zing so much more vibrant. If you have some interesting flavored water recipes laying around, like that pineapple guava refresher mix, you can borrow their idea of using less water entirely for an even punchier result!
Serving Suggestions for Hydration and Flavor
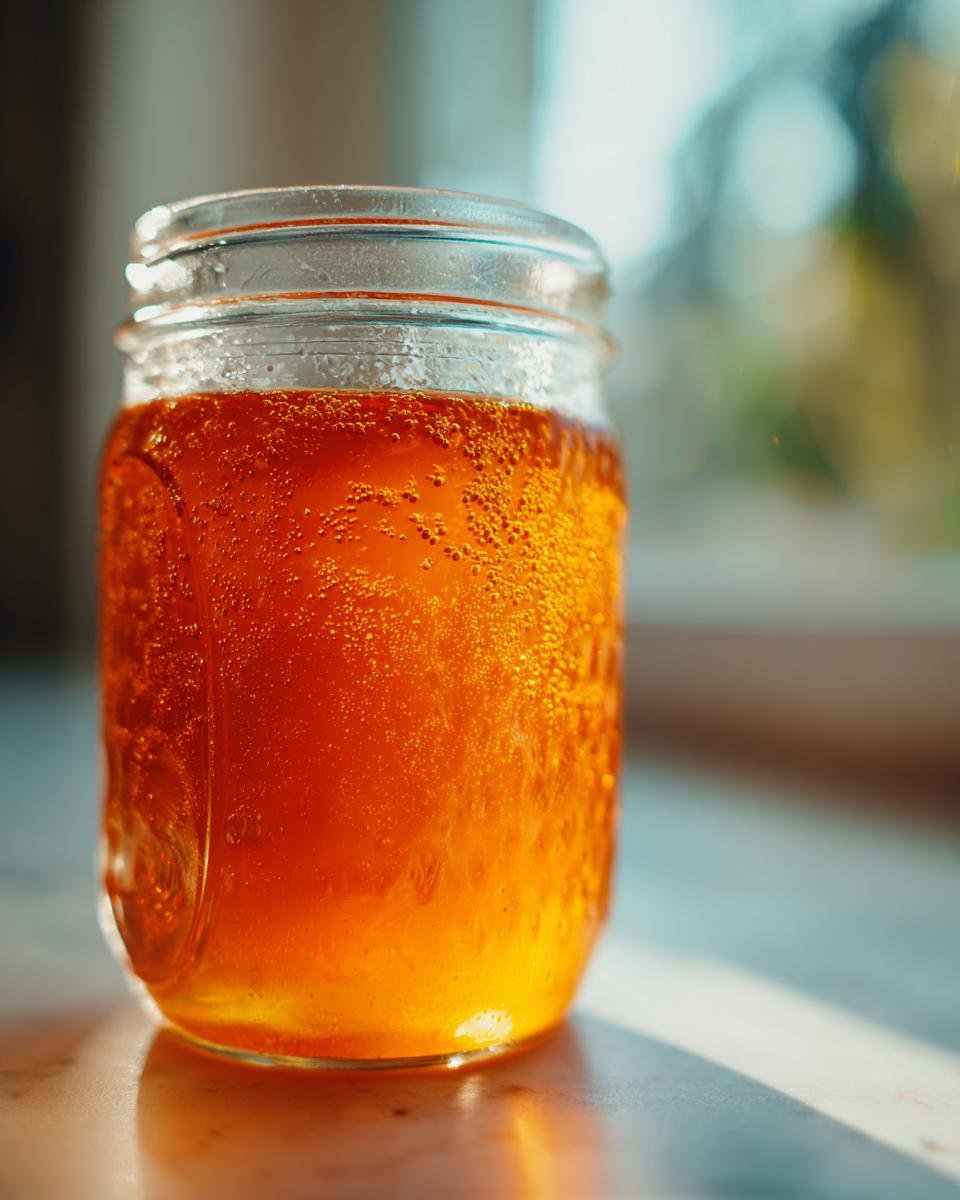
Now that you’ve mixed up your golden potion, we have to serve it right! Honestly, the flavor of this DIY Natural Electrolyte Drink is so much better when it’s properly cold, so don’t skip the chilling step we talked about. I almost always serve mine over ice. The ice dilutes it just a hair as it melts, perfectly mellowing out that little bit of saltiness, resulting in the most refreshing sip imaginable when you’re hot and sweaty.
Presentation matters, even if it’s just you sitting on the porch recovering from yard work! I’m a big believer in garnishes because they make it feel special, like you’re treating yourself instead of just chugging medicine. Always keep a few fresh lemon or orange slices in the fridge just for this purpose. Dropping one of those wheels into the glass makes it look gorgeous.
And if you have mint? Grab a sprig! Rub the mint between your hands once before dropping it in. That little action releases the essential oils and gives you this incredible, cool aroma every time you lift the glass to take a drink. It elevates the whole experience, turning simple hydration into a little spa moment for your body. If you’re looking for other ways to jazz up simple citrus drinks, check out my notes on making that refreshing pink lemonade recipe; the garnishing techniques are similar!
Common Questions About Homemade Electrolyte Drinks
I know you might be looking at this recipe and thinking, “Is this really enough?” or maybe wondering how it stacks up against the stuff you see advertised constantly. It’s completely normal to have questions when stepping away from branded purchases! I’ve been making this mixture for years now, and I’ve picked up a few things along the way that might help you feel totally confident about using this **DIY Natural Electrolyte Drink** for everything from post-hike recovery to helping the kids through a rough stomach bug. Dealing with dehydration needs confidence, and hopefully, these answers help build that up!
How does this homemade sports drink compare to commercial options?
The biggest, best difference is what we leave out! Commercial options often rely heavily on refined sugar or artificial sweeteners to make them taste good, and they are usually loaded with artificial coloring—that’s where most of the empty calories come from. My homemade **sports drink** is primarily water, natural fruit juice for the flavor, and just that tiny bit of honey or maple syrup for quick fuel. You get essential minerals without drowning your system in high fructose junk. It’s cleaner fuel, plain and simple.
Can I add more potassium sources to this DIY Natural Electrolyte Drink?
Oh, absolutely, you can boost that potassium! If you’re sweating buckets, you definitely want to increase that intake. The citrus helps, but if you want a serious surge of potassium in your **DIY Natural Electrolyte Drink**, try swapping out half of the plain water with unsweetened coconut water. Coconut water is a potassium powerhouse! You might need to cut back on the maple syrup a tiny bit since coconut water is naturally sweeter, but it blends beautifully.
Another trick I sometimes use when I’m feeling really depleted is to add just the smallest pinch—like, honestly, a quarter of a teaspoon—of cream of tartar to the mix. It’s loaded with potassium bitartrate, which is fantastic for recovery. Just be careful with that one; it is potent! If you want to dive deeper into the science behind some of the best natural hydration options out there, I read a really interesting dive into why using natural ingredients for **natural hydration** works so well, over here.
Is this recipe suitable for kids needing natural hydration?
Yes, I think it’s fantastic for kids! When my little niece was sick last summer, this was the only thing she’d take, which definitely beats sugary sodas. The main thing you need to watch is the zestiness from the lemon and lime, and obviously, the sweetness level. For younger kids, I always recommend skipping the lemon juice entirely in their serving and perhaps scaling the maple syrup up just a tiny bit more than the recipe calls for, just to make it taste more like a sweet orange drink than a sour sports drink. Or, try adding a splash of plain grape juice instead of the lemon for a milder flavor profile while keeping that sodium level balanced.
Estimated Nutritional Snapshot of This DIY Natural Electrolyte Drink
Okay, let’s talk macros for a second, but please keep in mind I’m not a nutritionist! These numbers are just based on the standard measurements for a single serving of this **DIY Natural Electrolyte Drink** using maple syrup—they are close estimates based on what the nutrition calculator spits out.
I’m making this list so you can see why I love it compared to those commercial options; it’s low fat, zero cholesterol, and the sugar is coming from fruit and maple, not processed junk!
- Serving Size: 1 cup
- Calories: Around 70—that’s a steal for that much natural energy!
- Sugar: About 16 grams (This seems high, but remember it’s natural fruit sugar and maple, not refined white sugar!)
- Sodium: Roughly 290 mg—the essential mineral you’re looking for!
- Fat & Cholesterol: Zero across the board, which is perfect.
- Carbohydrates: Totaling around 18g.
- Protein & Fiber: Essentially zero, since this is purely a hydration and mineral replenishment drink.
Now, before you go trying to adjust your entire diet based on these numbers, remember this: this is a snapshot! If you load yours up with extra honey or use orange juice from concentrate instead of fresh, those numbers are going to shift on you. Plus, the exact mineral content relies heavily on the specific salt and fruit you start with. So take these as a general guide for your homemade **DIY Natural Electrolyte Drink**, not gospel straight from a lab report!
Share Your Homemade DIY Natural Electrolyte Drink Experience
Phew! We did it! You now officially have the power to mix up the most refreshing, natural boost of energy and amazing hydration whenever you need it. I’m so excited for you to try this **DIY Natural Electrolyte Drink** formula. Seriously, the next time you’re feeling sluggish, instead of reaching for that synthetic stuff, mix up a batch of this instead!
Now that you’ve tried it, I really, really want to hear what you think! This recipe is built on love and good science, but every kitchen is a little different, and I thrive on hearing about your tweaks. Did you go wild with the mint? Did you try using lime instead of lemon? Maybe you used monk fruit instead of maple syrup? Tell me everything! Drop a star rating right down below so other folks know how much you loved this easy homemade sports drink.
If you snapped a picture of your finished glass—especially if you garnished it beautifully with that mint sprig—please tag me online! I always love seeing my recipes come to life in your homes. You can send any thoughts, praises, or maybe even minor critiques about how I measured my salt over to my contact page if you prefer a direct line: Get in touch with me right here. Happy hydrating, friends! You deserve to feel fantastic!
Print
DIY Natural Electrolyte Drink
- Total Time: 5 min
- Yield: 1 serving 1x
- Diet: Vegetarian
Description
A simple recipe for a homemade electrolyte drink using natural ingredients.
Ingredients
- 1 cup water
- 1/2 cup fresh orange juice
- 1/4 cup fresh lemon juice
- 1/8 teaspoon sea salt
- 1 tablespoon maple syrup or honey
Instructions
- Combine water, orange juice, lemon juice, sea salt, and sweetener in a jar or shaker.
- Stir or shake well until the salt and sweetener dissolve completely.
- Taste the mixture and adjust sweetness or saltiness if needed.
- Chill before serving for best results.
Notes
- You can substitute maple syrup with honey or another preferred natural sweetener.
- For added flavor, add a few slices of fresh ginger or mint leaves.
- Adjust the amount of water to control the intensity of the flavor.
- Prep Time: 5 min
- Cook Time: 0 min
- Category: Beverage
- Method: Mixing
- Cuisine: General
Nutrition
- Serving Size: 1 cup
- Calories: 70
- Sugar: 16
- Sodium: 290
- Fat: 0
- Saturated Fat: 0
- Unsaturated Fat: 0
- Trans Fat: 0
- Carbohydrates: 18
- Fiber: 0
- Protein: 0
- Cholesterol: 0
Keywords: DIY, natural, electrolyte, drink, homemade, sports drink, hydration, low sugar