
Oh, that wonderful sound! You know the one—that distinct *crack* when you tap a spoon against ice cream that’s been drizzled with that perfect, snappy chocolate shell. It brings me right back to being eight years old, standing on a kitchen stool waiting for the topping to set. Honestly, the stuff in the jar always tastes a little waxy, right? That’s why making your own Homemade Magic Shell is an absolute game-changer.
It’s shockingly easy, too. I’m talking about something that takes literally three minutes from start to finish. Forget reading the back of the box; you only need two ingredients! My favorite part is watching the transformation—that warm, liquid chocolate suddenly goes solid the second it hits the cold ice cream. Trust me on this, once you make your first batch of Homemade Magic Shell, you’ll never go back to the bottled stuff again. It just tastes cleaner and richer!
Why You Will Love This Homemade Magic Shell Topping
There’s just no contest between this simple recipe and the stuff sitting on the shelf at the grocery store. It’s faster, it tastes way better, and you control exactly what goes into it. This is the topping your ice cream deserves!
- It sets instantly—magic, I tell you!
- Total prep time is about three minutes flat.
- You can easily tweak the flavor for fun variations.
Instant Hardening Texture
The real secret here is the coconut oil. When that slightly warm, melted chocolate hits the super-cold ice cream, the oil snaps solid right away. It’s just chemistry, but it feels like actual wizardry when you’re a kid watching it happen. That hard shell is the whole point!

Speed of Preparation for Homemade Magic Shell
Seriously, you can whip up a batch while the ice cream is still softening on the counter. We’re talking two minutes of mixing, maybe one minute in the microwave if you’re quick. It’s so fast, you won’t even bother with the pre-made stuff next time. It’s practically instant gratification!
Essential Ingredients for Perfect Homemade Magic Shell
You only need two things for this recipe to work its magic, and honestly, they are probably already in your pantry somewhere. It’s so simple it feels almost criminal how good it turns out. We’re using semi-sweet chocolate chips because they give you that classic dark shell flavor. Then, the second ingredient is the MVP: coconut oil.
You need exactly 1/2 cup of those semi-sweet chips and 1/4 cup of the coconut oil. Measure that out, and you are 90% done. I like to keep my ingredients near the stove because you want to work fast once you start melting them together.
Ingredient Quality Matters for Homemade Magic Shell
When I first tried this, I used whatever coconut oil was in the cupboard, and honestly, my ice cream tasted a little bit like sunscreen one time—Oops! So, here’s the difference you need to know about the oil. If you want your topping to taste purely like chocolate, grab the *refined* coconut oil. You won’t taste coconut at all, which is great if you’re serving picky eaters.
But, if you happen to have the *unrefined* or virgin coconut oil, go ahead and use it! It gives the topping just a tiny, subtle coconut background note that goes surprisingly well with chocolate. I actually prefer the unrefined version myself, but keep it in mind if you’re avoiding coconut flavor profiles. It’s the only real choice you have to make here!
Step-by-Step Instructions for the Best Homemade Magic Shell
Okay, this is the part where you get your reward for buying only two ingredients! Getting the melting just right is key so you don’t scorch the chips, and that’s where pacing yourself comes in. Grab your microwave-safe bowl—I always use that little glass one that’s just the right size—and add your 1/2 cup of chocolate chips and 1/4 cup of coconut oil. Don’t worry about stirring them yet; we’re going to let the microwave do the heavy lifting first.
For those of you who want all the best baking tips, I’ve got a great resource that helped me step up my game regarding timing and temperatures, which is actually crucial even for this super-easy recipe! You can check out some fantastic tips to make you a better baker while you’re here.
Melting Technique for Homemade Magic Shell
Pop that bowl in the microwave, but don’t hit ‘High’ power! I always use Medium power, and we start small: a quick 30 seconds to get things going. When the timer beeps, pull it out immediately. It might not look fully melted, but trust me, it’s hot enough to start working. Stir it really well with a rubber spatula until everything combines. If you still see solid chunks, pop it back in for short 15-second bursts. You must stir after every single blast!
Resist the temptation to keep microwaving if it’s still chunky. Too much heat turns chocolate grainy, and then you’ve ruined your Homemade Magic Shell before you even taste it. Just keep stirring patiently between those short intervals until it shines like a mirror and there’s zero resistance when you stir. That smooth texture is non-negotiable!
Applying Your Homemade Magic Shell Topping
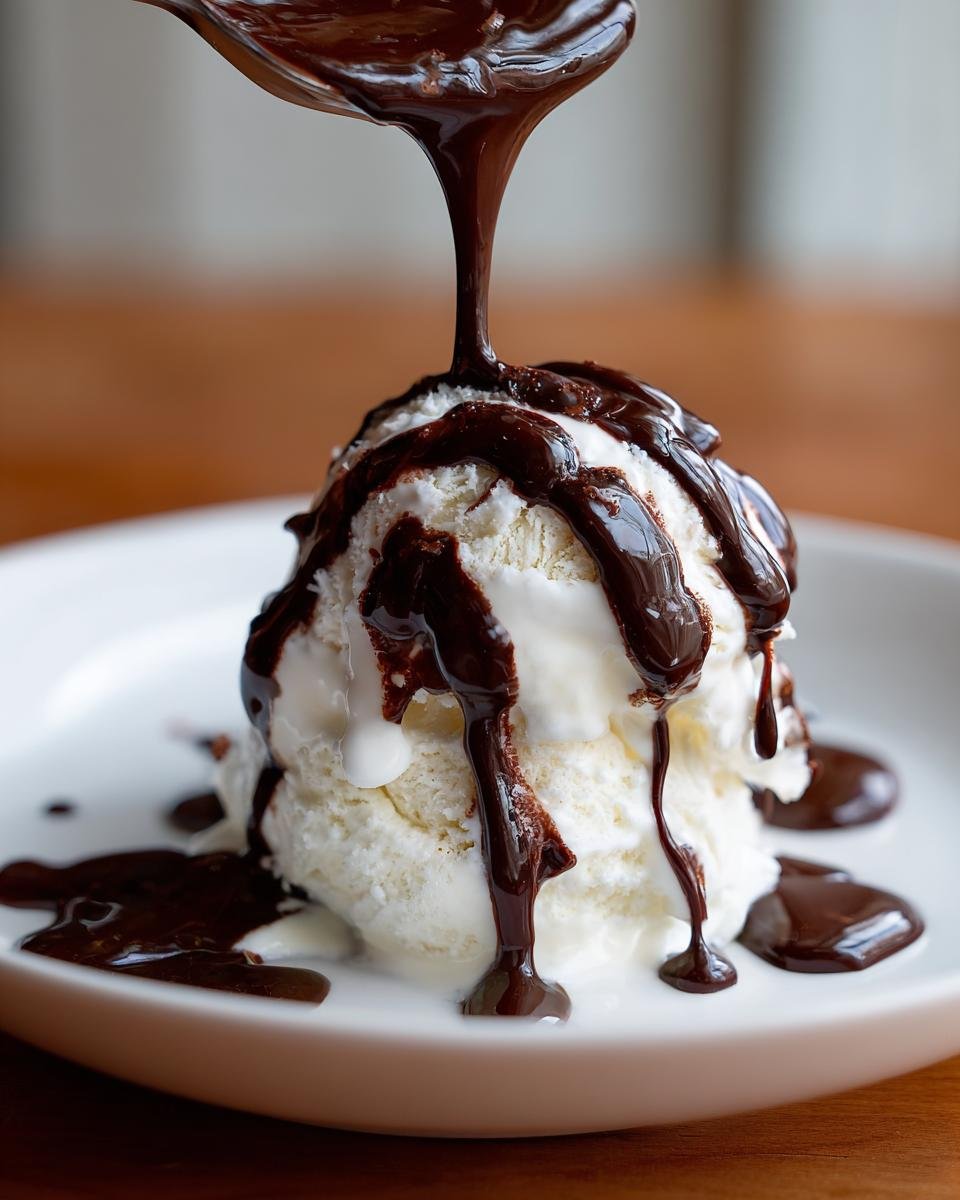
This is the moment of truth! You cannot wait around once the chocolate is completely smooth. It needs to be warm when you pour it. Take your bowl straight to the freezer where your ice cream is waiting. Pour it slowly and steadily over your scoop—vanilla is my go-to for testing a batch.
Watch the magic! It should harden almost instantly against the cold. If it pools and stays soft like a regular chocolate sauce, your ice cream wasn’t cold enough, or your mixture cooled down a bit too much while you were stirring. Always make sure that ice cream is freezer-cold for that perfect snap!
Tips for Success When Making Homemade Magic Shell
Now that you know the basic melt-and-pour method, let’s talk about rescuing your topping when things go slightly awry. Because this is an oil-based topping, it’s very forgiving! Unlike traditional sauces, it’s hard to ruin completely, but you might get the thickness wrong one day. That’s totally normal; I’ve done it myself when counting out the coconut oil in a hurry.
The beauty of only using two ingredients is how simple it is to tweak the final product. Remember, the texture comes entirely from the ratio of chocolate to oil. If you mess it up, don’t panic and throw it out! A quick little adjustment and you’re back in business, ready to cover some dairy goodness.
Adjusting the Consistency of Homemade Magic Shell
If you discover, after your first test drizzle, that the shell isn’t quite snapping the way you want—maybe it’s too thick and cracking off in huge chunks—don’t toss the bowl! It just means you had slightly more chocolate, or perhaps your coconut oil was clumpier than usual. To thin it out, simply add just a tiny bit more melted coconut oil. I mean a *teaspoon* at a time, stirring well after each addition, until it flows off the spoon beautifully.
Conversely, maybe you added a little too much oil, and now your topping is running across the ice cream like a regular chocolate syrup without hardening up properly. That means you need more chocolate! Pop the bowl back under low microwave heat briefly, and stir in maybe a teaspoon of extra chocolate chips. You just need enough to shift that ratio back toward the chocolate side. It’ll come back together fast, I promise. It requires just a little bit of kitchen intuition, which you’re already developing!
Storage and Reheating Homemade Magic Shell
Since we aren’t messing around with all those stabilizers and extra sugars that the store-bought stuff uses? Well, that means our Homemade Magic Shell actually solidifies when it gets cool! I keep mine in a small jar right on the counter, not even in the fridge. It’s shelf-stable because it’s just oil and chocolate—no dairy means no spoilage worries here.
When you go to use it next time, it’ll probably look like a solid block of chocolate fudge, which is exactly what you want! Don’t worry, you don’t need to refrigerate it at all. Just leave it on the counter for about 30 minutes, and it usually softens up enough to pour right over your dessert. If you’re impatient like me, though, you’ll need to reheat it gently.
You can’t just throw that solid block back into the microwave on high power, or you’ll scorch it instantly. That quick melt technique we used before? We’re going to use a gentler version of it. Put your jar (make sure it’s microwave-safe!) back in the microwave on Low or Medium power for just 10-second zaps. You need to stir thoroughly between every single zap.
I mean it! Stirring is how you distribute the heat evenly through that thick oil and chocolate mixture. It might seem like it’s taking forever, but you’re just warming it enough to become pourable again, not melting it down to baking temperature. As soon as it flows smoothly off your stirring spoon, it’s ready to use again over your cold treat. And poof! Instant hard shell, resurrected from its solid state!
Fun Variations for Your Homemade Magic Shell
Once you’ve mastered the basic two-ingredient shell, you realize just how much fun you can have with this recipe! It’s such a perfect, sturdy base that it really takes on other flavors like a dream. I get bored using the same semi-sweet chocolate all the time, so I love experimenting during the summer months. This is where you stop just following instructions and start making the recipe truly *yours*.
It’s the perfect base to transform, especially since we know how to get that perfect texture just right thanks to the coconut oil. If you are looking for more inspiration on tweaking classic recipes, I actually found some great ideas for modifying ingredients without brown sugar that could apply to other chocolate projects around here!
Flavoring Your Homemade Magic Shell
Forget just plain chocolate! If you want something that tastes like it came from a fancy dessert parlor, this is the easiest upgrade you can make. While the chocolate is totally melted and hot, right before you pour, stir in whatever flavor bomb you’re feeling that day. A single drop of good quality peppermint extract turns this into a fantastic holiday shell that cracks over mint chip ice cream like a vision.
Or, if you’re feeling whimsical, try swapping out your semi-sweet chips entirely! White chocolate chips work amazingly well, though you might need to add an extra half teaspoon of coconut oil just because white chocolate can sometimes be a bit thicker. Melt those white chips down, maybe add a tiny splash of vanilla, and suddenly you have a gorgeous white shell. Imagine that over strawberry ice cream! Don’t go crazy with extracts, though; I learned the hard way that too much peppermint extract can make the whole thing taste like toothpaste—just a drop or two is all you need to flavor that whole batch!
Serving Suggestions for Your Homemade Magic Shell
Okay, now that you have this near-perfect, snappy chocolate topping, the only real question is: what are you going to put it on? While I firmly believe that topping a scoop of simple vanilla bean ice cream is the ultimate test of a good Homemade Magic Shell, there are so many other wonderful ways to use it. That hard shell adds such a satisfying crunch that it improves almost any frozen dessert.
My kids are obsessed with drizzling it over their frozen yogurt cups—it sets up the same way, which is just fantastic. It offers that same crackle without the super-heavy feel of traditional fudge. It’s just so versatile!
Here are a few things I always reach for when I’ve got a fresh batch ready to go:
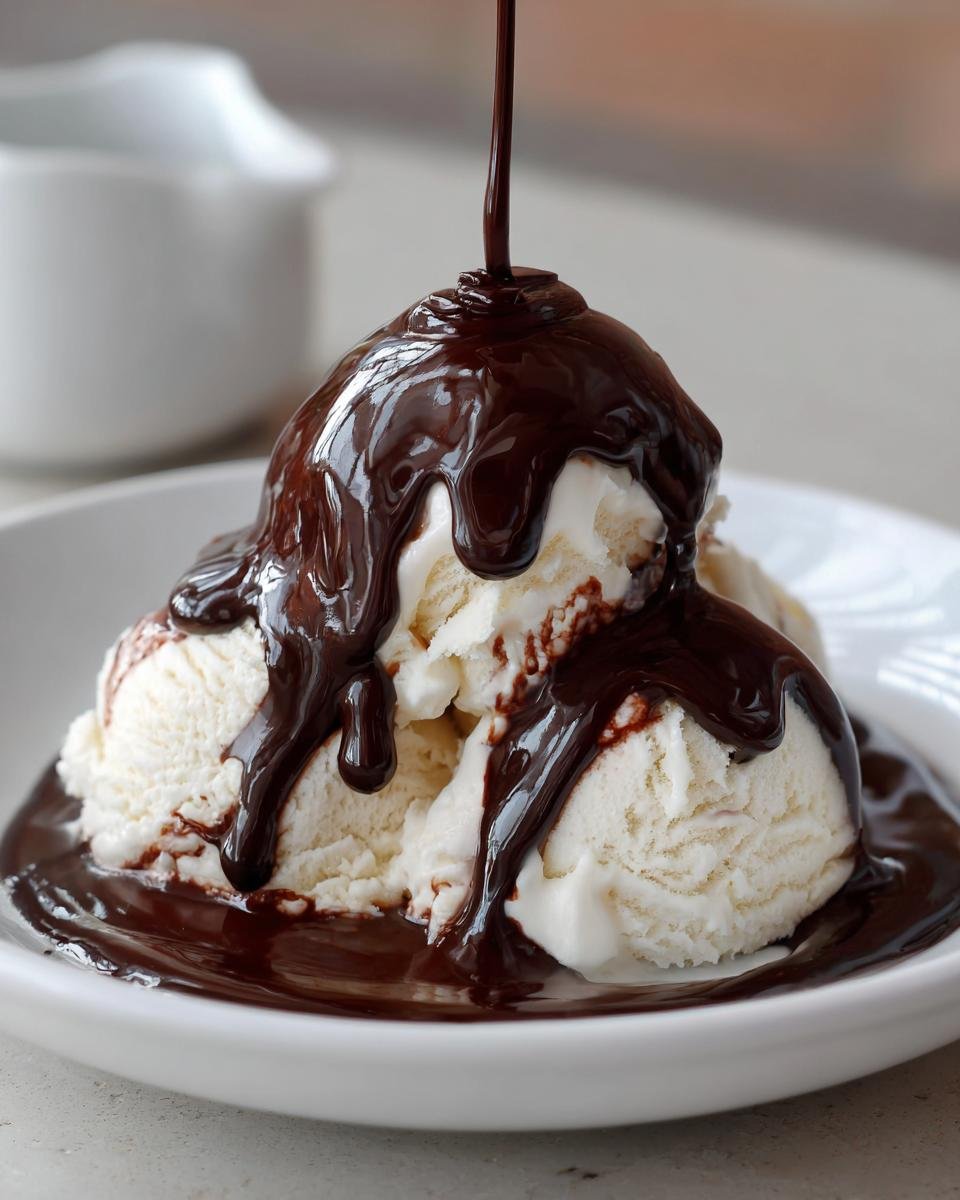
- Classic Vanilla Bean Ice Cream: This is the gold standard. The way the warm chocolate hits the cold, creamy vanilla and instantly hardens? Pure nostalgia on a cone.
- Frozen Yogurt: Whether it’s tart Greek yogurt or my daughter’s favorite lemon flavor, the chocolate provides the perfect foil to the tanginess. It sets up great, just like on ice cream.
- Banana Splits: We take my classic recipe for banana splits—which you can check out for the full setup my fave childhood banana split—and instead of the standard syrup, we do the magic shell drizzle right at the end. It makes the whole presentation look fancy!
- Ice Cream Sandwiches: If you’re feeling ambitious, dip the sides of your homemade ice cream sandwiches right into the topping. It hardens up and gives you a fantastic chocolate crunch coating all the way around. Perfect for keeping your fingers clean!
Whatever you choose, just make sure it’s cold! That’s the main secret weapon for getting the best, snappiest result every single time.
Frequently Asked Questions About Homemade Magic Shell
I get asked the same questions about this recipe all the time, usually right when someone is melting their first batch! It’s totally normal since we are using oil instead of some of the stabilizers you find in the store-bought stuff. Don’t worry, though; I’ve hammered out all the kinks over the years, so you don’t have to make my mistakes! Here are the big ones I always hear about making the best chocolate topping.
Can I use butter instead of coconut oil for Homemade Magic Shell?
This is the number one question, and the answer is a firm, resounding no, sweetheart! I tried it once when I was out of coconut oil, and it was a total disaster. Butter has water and milk solids in it, and those things hate to mix with pure melted chocolate when trying to do the hardening trick. Coconut oil is what allows that instant snap because it’s all fat, which reacts perfectly with the freezer temperature. Stick to the oil for that snappy result!
Why didn’t my Homemade Magic Shell harden?
Ugh, the dreaded pool of melted chocolate at the bottom of the bowl! If this happens, it almost always comes down to one of two things, and usually, it’s the temperature of the ice cream itself. Are you pouring it onto rock-solid ice cream straight from the back of the freezer? If the ice cream is even slightly soft, the topping cools down too slowly and stays liquid.
The other culprit is the topping cooling down too much in your bowl while you were admiring your perfect melt job. If it sits for more than a minute or two after you stir it smooth, it starts to solidify slightly, and then it won’t snap. Work quickly! If it pools, just pop the bowl back in the microwave for 5 seconds and drizzle right away.
How long does Homemade Magic Shell last?
This is the best part about only using chocolate and coconut oil—it’s practically immortal! Since there’s no water content or dairy in there, it is completely shelf-stable. You can store your leftovers in a jar on the counter, and it will last for ages. I’m talking months! It will turn solid, just like a chocolate bar left in the pantry, but don’t worry about it going bad. Just follow the gentle reheating tip whenever you want to use it again!
Nutritional Estimate for Homemade Magic Shell
Now, before you worry too much about diving headfirst into that bowl, let’s talk quick numbers for this Homemade Magic Shell. Remember, we’re only dealing with chocolate chips and coconut oil here, so the fat content is going to be higher than something made with corn syrup, but that’s what makes it *work*, right? This is just a rough estimate, of course, since the final nutrition depends on exactly which chocolate chips you decide to use, but it gives you a general idea per serving size.
We calculated this based on a serving size of two tablespoons, which is a decent drizzle for a big bowl of ice cream. Doesn’t the joy of that crackle outweigh the calories just a little bit? I know mine does!
- Serving Size: 2 tablespoons
- Calories: About 180 (that’s a small price to pay for perfect texture!)
- Fat: Around 15 grams
- Carbohydrates: About 14 grams
- Protein: Roughly 2 grams
I always tell people not to stress too much over the exact numbers when indulging in something this simple and happy. This is a treat, and it’s so much better than the highly processed, shelf-stable stuff you buy in the tall plastic squeeze bottles. Enjoy it guilt-free—or at least, with slightly less guilt!
Print
Homemade Magic Shell Topping
- Total Time: 3 min
- Yield: About 3/4 cup 1x
- Diet: Vegetarian
Description
A simple recipe for chocolate topping that hardens instantly when poured over cold ice cream.
Ingredients
- 1/2 cup semi-sweet chocolate chips
- 1/4 cup coconut oil
Instructions
- Place chocolate chips and coconut oil in a microwave-safe bowl.
- Microwave on medium power for 30 seconds.
- Stir the mixture well.
- Continue microwaving in 15-second intervals, stirring after each, until the chocolate is completely melted and smooth.
- Pour immediately over cold ice cream.
Notes
- Use refined coconut oil for a neutral flavor, or unrefined for a slight coconut taste.
- Store leftover topping at room temperature; it will solidify. Reheat gently before use.
- Prep Time: 2 min
- Cook Time: 1 min
- Category: Dessert Topping
- Method: Microwaving
- Cuisine: American
Nutrition
- Serving Size: 2 tablespoons
- Calories: 180
- Sugar: 12
- Sodium: 5
- Fat: 15
- Saturated Fat: 12
- Unsaturated Fat: 3
- Trans Fat: 0
- Carbohydrates: 14
- Fiber: 1
- Protein: 2
- Cholesterol: 0
Keywords: magic shell, chocolate topping, hard shell, ice cream topping, homemade chocolate sauce