
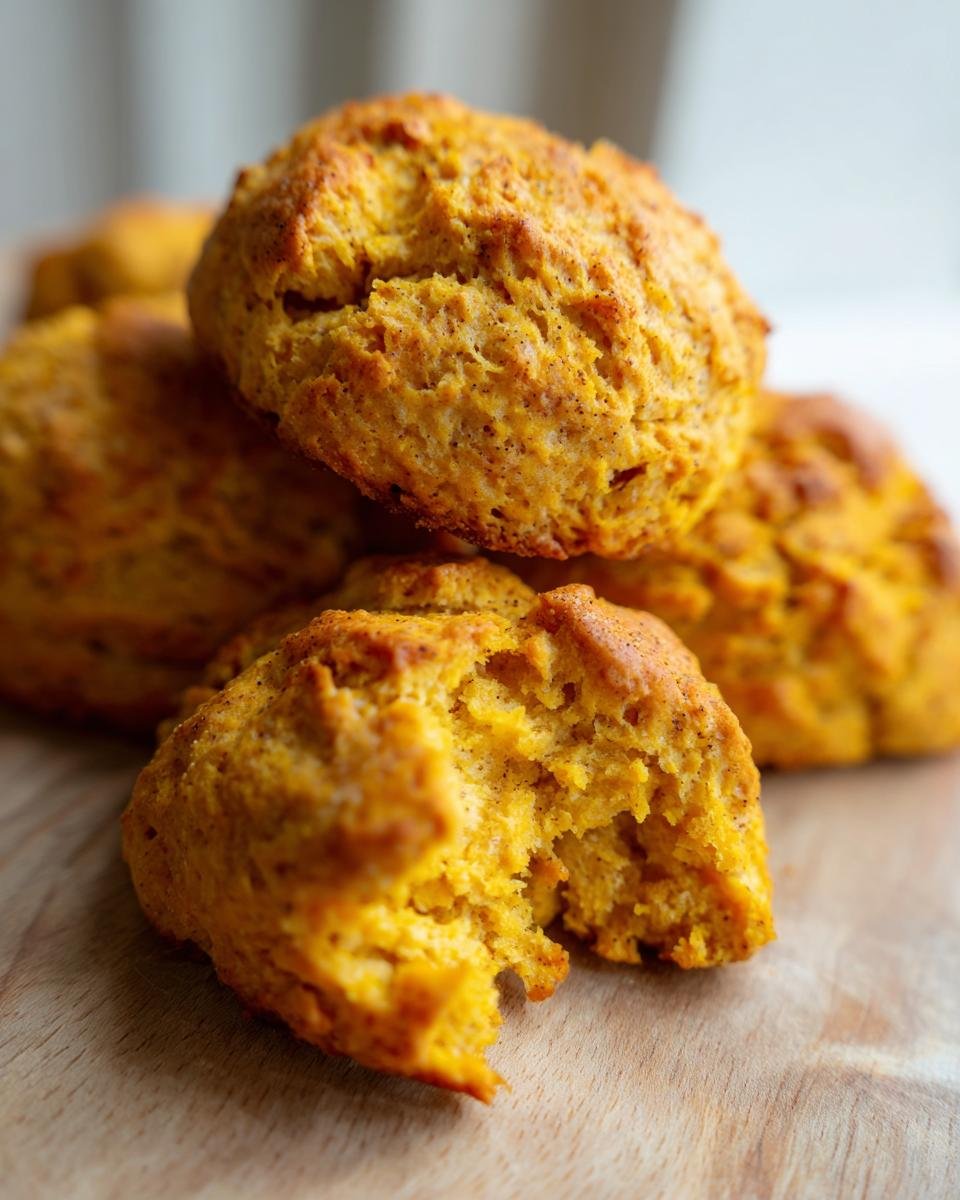
Oh, fall is finally here, and you know what that means—it’s time for that deeply comforting scent of cinnamon and pumpkin to take over the whole house! I absolutely live for mornings that start with fresh baked goods, and trust me, nothing beats these incredibly easy Pumpkin Scones.
We’re not messing around with fussy folding techniques or chilling dough for hours. These are the classic, buttery, perfectly spiced treats we all crave, but ready so fast you’ll wonder why you waited so long to bake them. Seriously, the aroma alone is worth the ten minutes of prep work!

Why You Will Love These Pumpkin Scones
I’ve tried a million scone recipes over the years, and these ones are the reigning champions in my kitchen, especially when I need a quick crowd-pleaser. They just hit different, you know? Don’t worry about needing professional skills; you’ve totally got this.
- They are insanely fast! Prep time is under 15 minutes, and they bake up in less than 17 minutes. That means hot scones before the coffee even cools down.
- The spice blend is spot on. That mix of cinnamon, nutmeg, and a whisper of ginger makes them taste like you spent all day in the kitchen. It’s true fall comfort in every bite.
- We are working with cold butter, which is the secret weapon for getting that classic, slightly crumbly, wonderfully light texture that good scones need. No more dense pucks!
- These are perfect for beginners. There’s no kneading, no complicated folding—just stir, cut, and bake. If you’re looking to boost your general baking confidence, start right here. I covered some general baking flow tips over here at my baking tips page if you want to check them before starting!
- They freeze beautifully! Bake a batch on Sunday, and you’ve got breakfast ready for weekday mornings just by popping one in the toaster oven.
Essential Ingredients for Perfect Pumpkin Scones
Okay, let’s talk about what makes these Pumpkin Scones work so well. When you’re working with just a few main players, quality and precision really matter. Don’t just grab anything from the pantry; these little details elevate them from good to absolute perfection.
First up, you need exactly two cups of all-purpose flour, and remember we need that leavener—a full tablespoon of baking powder—to make them puff up nicely. For sweetness, we use about a quarter cup of regular granulated sugar. Don’t try to skip the half teaspoon of salt; it balances all that lovely pumpkin flavor!
The spice section requires us to be specific: half a teaspoon of cinnamon, a quarter teaspoon each of nutmeg and ginger. If tracking those down seems like too much work, check out the next section where I talk about using pumpkin pie spice instead. The fat is crucial: remember, half a cup of cold unsalted butter, cut into small pieces. Keep that butter tiny and freezing—seriously, don’t let it soften!
For the moisture, we rely on three-quarters of a cup of pumpkin puree (not pumpkin pie filling). I write that in caps because pie filling has extra sugar and water which will mess up your texture! You’ll also need one large egg and a splash of vanilla extract. Finally, for the prettiest finish, we brush the tops with just two tablespoons of heavy cream right before they go in the oven. If you ever wonder about making dairy swaps, I’ve got some thoughts on things like buttermilk over here at how to handle dairy substitutions.
Expert Tips for Making the Best Pumpkin Scones
Look, getting great Pumpkin Scones isn’t about having the fanciest tools; it’s about understanding how the ingredients behave. I’ve learned a few tricks over the years that take these from good to absolutely legendary. Pay attention to these little details, and you’ll never have a flat, dense scone again!
The absolute number one rule for any good scone is keeping everything cold. I mean *cold*. When you cut the butter into the flour, treat it like it’s ice cream! If your butter starts melting before it hits the oven, you lose those little pockets of fat that turn into steam, which creates the flaky layers. If your kitchen is hot, put your mixing bowl in the freezer for ten minutes before you start.
Also, please, please, please listen when I say *do not overmix*. When you add the wet pumpkin mix to the dry ingredients, just stir it with a fork until you see no more dry streaks. The dough will look shaggy, maybe a little dry—that’s perfect! Overmixing develops the gluten, and suddenly, instead of a tender scone, you’ve got a chewy biscuit situation. We want tender here!
Another thing about that pumpkin puree: use the thick stuff! If your puree seems really watery, let it sit in a fine-mesh sieve for about 15 minutes before you measure it out. Too much water equals a sticky dough that spreads out instead of rising up. If you want more general blending advice, check out my main baking tips page; I cover binder consistency there too.
Ingredient Notes and Substitutions for Pumpkin Scones
Sometimes you’re staring at the spice rack and realize you’re totally out of ginger, or maybe you’re fresh out of heavy cream. Don’t panic! We can adapt.
For the spices, if you don’t want to measure out cinnamon, nutmeg, and ginger separately, just swap it all out for one teaspoon of pre-mixed pumpkin pie spice. It’s usually a very close match, though sometimes I add just a tiny pinch more cinnamon because I like it bold.
What about that heavy cream we brush on top? That’s just for shine and a bit of color, so it’s not strictly essential, but it helps. If you don’t have heavy cream, whole milk works just fine for brushing. If you are making a glaze later and run out of milk, one single tablespoon of water often does the trick for thinning out the powdered sugar without making it too runny.
Step-by-Step Instructions for Fluffy Pumpkin Scones
It’s time to put it all together! While the process is super straightforward, timing is key, especially when you’re trying to get these babies out of the oven fast. First things first, make sure your oven is humming along at 400 degrees Fahrenheit. You’ll want to have a baking sheet lined with parchment paper ready to go—this saves you from scrubbing later, which is always a win in my book!
If you need a refresher on technique before you dive in, I walked through my general fast-baking standards on my baking tips page, but honestly, these short scones are hard to mess up.
Preparing the Dough for Your Pumpkin Scones
Grab your biggest bowl and whisk together all the dry stuff—flour, sugar, baking powder, salt, and all those wonderful spices. Once they look perfectly mixed, it’s butter time. Use a pastry blender or your fingers—and work fast!—to cut that cold butter into the flour until you have coarse crumbs. See those little pea-sized bits of butter? That’s what you are aiming for!
In a separate little bowl, quickly whisk the pumpkin puree, the egg, and vanilla. Now, pour that wet pumpkin mixture right into your dry ingredients. And here’s the crucial part I mentioned before: mix it with a fork until it just comes together. I mean it! Stop mixing when you still see a few flour streaks hanging around. If you overmix, those beautiful, tender Pumpkin Scones turn into something tough. We’re aiming for soft, not stretchy!
Shaping and Baking the Pumpkin Scones
Dump the shaggy dough onto a lightly floured surface. Gently pat it down—don’t roll it too thin or push too hard—until it’s about 3/4 of an inch thick. Think rustic, not perfectly even! Cut that into 8 wedges, almost like you’re slicing a pizza. Arrange them on your parchment-lined sheet.
Now for the flourish! Lightly brush the tops of each scone wedge with that heavy cream. It gives them a gorgeous golden crust when they bake. Pop them into your 400°F oven and set a timer for 14 minutes. Check them around that 14-minute mark; they should be lightly golden brown on top and take about 14 to 17 minutes total. Pull them out, let them rest on the sheet for just a few minutes before moving them to a wire rack to cool down a bit. That slight cooling time stops them from crumbling apart when you handle them!

Serving Suggestions for Your Delicious Pumpkin Scones
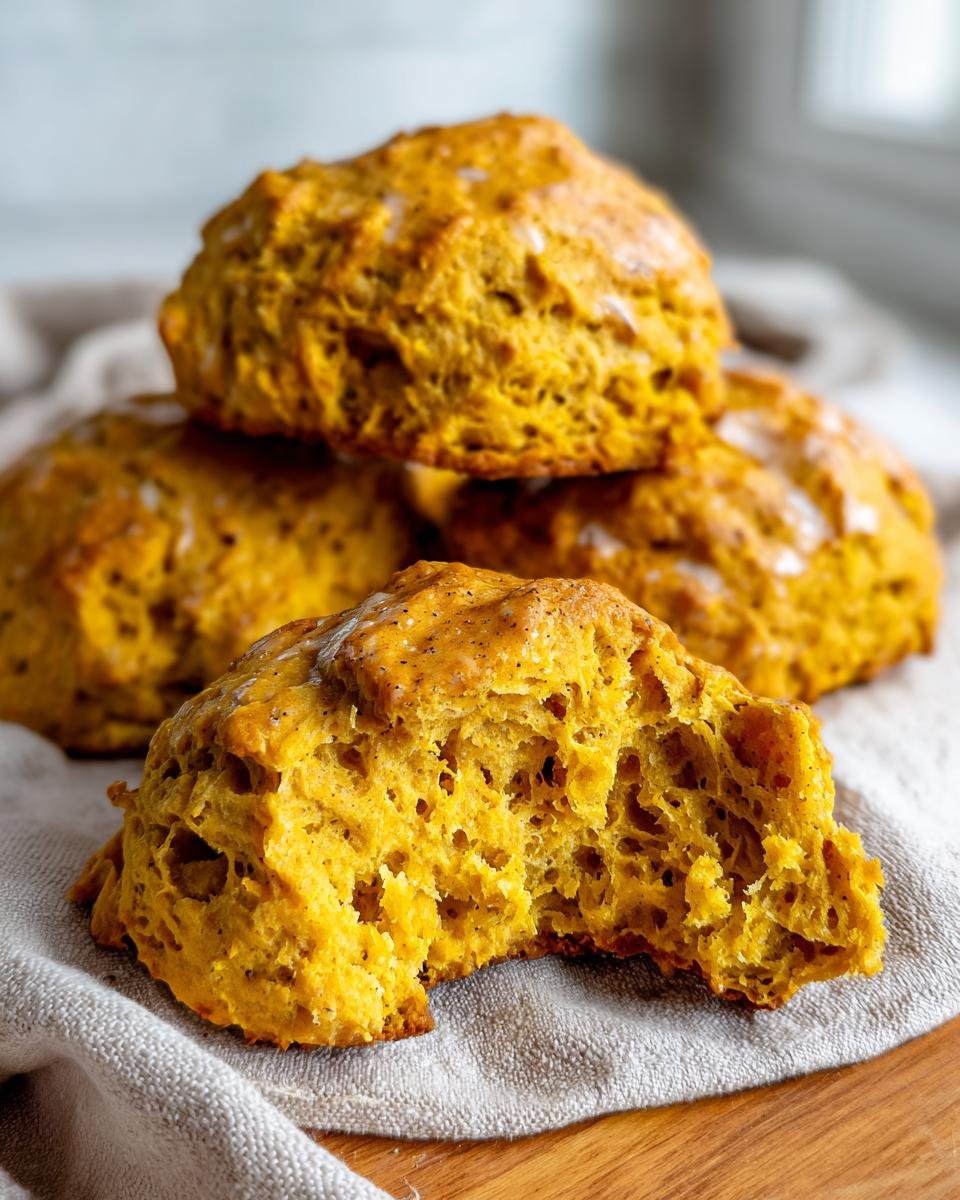
Honestly, I think most baked goods are best eaten the same day they come out of the oven, and these Pumpkin Scones are definitely no exception. There’s nothing better than grabbing one when it’s still warm—maybe even still slightly warm from the cooling rack—and pairing it with a big, steaming mug of coffee or maybe a spicy chai tea!
If you’re feeling like these need just a little extra something, you absolutely have to try the simple glaze mentioned in the notes. It takes two minutes and makes them look incredibly professional, but tastes just homey enough. It’s the perfect finish!
To whip up that glaze, all you need is about a half cup of powdered sugar. Whisk that together in a small bowl with one tablespoon of milk. You are looking for a thick ribbon when you lift your whisk, not something watery. If it’s too thick, add the tiniest splash more milk—seriously, just a drop at a time!
Once your Pumpkin Scones are completely cooled—and I do mean completely cool, otherwise the glaze melts right off—drizzle that sweet mixture liberally over the tops. For an extra little zing that plays so nicely with the pumpkin, sometimes I’ll add a tiny bit of vanilla extract to that glaze recipe—you can find my basic vanilla frosting blueprint over at this link if you want to see how I tweak it!
If you aren’t into gooey icing, don’t stress! Even just a light sprinkle of coarse sugar on top before baking adds a lovely textural crunch. Either way, you’re set for a cozy breakfast!
Storage and Make-Ahead Tips for Pumpkin Scones
So, what happens when you actually manage *not* to eat all eight marvelous Pumpkin Scones in one sitting? Don’t sweat it! These come out tasting just as good the next day, provided you store them right. The key is keeping the air away from those crumbly edges.
At room temperature, you’ll want to store any leftovers in an airtight container. I try to line the bottom of the container with a paper towel first—this just helps wick away any tiny bit of condensation that might form overnight. They should stay perfectly fresh for two to three days this way. Don’t put them in the fridge if you can help it! Refrigeration tends to dry things out, and we worked really hard to get that perfect moisture level.
Now for my favorite storage trick: the freezer! These Pumpkin Scones freeze like a dream. Once they are fully cooled—and I mean stone cold—wrap each scone individually tightly in plastic wrap, and then place them all together in a sturdy freezer bag. You can easily keep them good for up to three months this way. It’s perfect for those days when you need a quick fall fix!
When you’re ready to enjoy one straight from the deep freeze, the reheating process is super easy and brings back that fresh-baked fluffiness. Don’t even bother with the microwave; it just makes them tough! Take the frozen scone, still wrapped in its plastic, and pop it into a toaster oven or a conventional oven set to about 350 degrees Fahrenheit for about 5 to 7 minutes. When you unwrap it, it will be warm, tender, and honestly, it smells like you just pulled them out of the oven ten minutes ago. Trust me on the toaster oven trick!
Frequently Asked Questions About Pumpkin Scones
I always get so many questions when I post pictures of these beauties because everyone wants to make them perfectly the first time! Here are some things I hear a lot when people are making their own batch of these fantastic fall treats. Don’t worry if something goes slightly differently; baking is all about learning your oven!
Can I use canned pumpkin pie filling for these Pumpkin Scones?
Oh, please don’t! I know it seems easier, but those cans of pumpkin pie filling are already loaded up with sugar, water, and all the spices mixed in. Our recipe relies on pure, thick pumpkin puree to give us the right texture and sweetness level. If you use the pie filling, your dough will get way too sticky, and your scones will likely spread into little flat pancakes instead of rising up nicely. Stick to plain puree!
Can I add mix-ins like chocolate chips or nuts to these scones?
Yes, absolutely! I love throwing in about a half cup of mini chocolate chips right when I’m doing the final mix—you know, when the dough is just coming together. Mini chips melt just a little bit and create these wonderful little pockets of chocolate flavor. If you go the nut route, toasted pecans or walnuts are amazing; make sure they are chopped up reasonably small so they don’t throw off the structure of the dough too much when you cut them.
Since we are talking about mixing things in, I actually have a recipe for chocolate chip cookies that uses a similar spice profile if you ever want to pivot to cookies next time! You can find my take on pumpkin chocolate chip cookies right here on the site.
How do I keep my Pumpkin Scones moist longer?
Our recipe is designed to be quite moist already because pumpkin is fantastic that way! But if you’re making them ahead of time, the very best trick is to store them in an airtight container at room temperature, as I mentioned earlier. The real trick for moisture, though, is the glaze! While a glaze adds sweetness, the sugar coating also locks in the freshness of the scone underneath.
If you’re worried about them drying out, try brushing them with a little extra milk or a melted butter wash right before you serve them the next day. That extra moisture helps bring back that softness we love so much!
Do I really need to use heavy cream to brush the tops?
You don’t *have* to, but I highly, highly recommend it! Heavy cream gives you that beautiful, slightly crackled, rich golden-brown top when they bake at 400 degrees. If you skip the cream, the tops might bake up a bit pale or dry. If you’re out of cream, just use regular milk, or even a tiny splash of water will help them brown a little bit more than if you left them completely plain. It’s a tiny step that makes a huge visual difference for these Pumpkin Scones!
Estimated Nutritional Breakdown for Pumpkin Scones
Now, let’s be real—we bake these because they taste incredible, not because we’re focusing on macros! But if you’re curious about what’s going into these lovely Pumpkin Scones, I gathered the estimated numbers for you right here. Keep in mind these are just ballpark figures based on the ingredients I used, especially since some things like butter brands can vary slightly.
This information is based on a recipe yield of 8 servings. If you slice yours bigger or smaller, obviously the numbers will change. Use this as a general guide for what you’re enjoying!
- Serving Size: 1 scone
- Calories: 250
- Fat: 13g (with 8g being saturated fat)
- Carbohydrates: 30g
- Sugar: 9g
- Protein: 4g
- Fiber: 2g
- Cholesterol: 50mg
We do okay on the sugar front, especially if you skip the heavy glaze I showed earlier! These are generally a quick weekday breakfast treat or a lovely afternoon snack paired with tea. If you’re making them healthier, the best thing you can do is probably just stick to not adding any extra icing on top, but honestly, a little sugar makes life better, right?
Share Your Perfect Pumpkin Scones Experience
Okay, you know I’ve given you all my best tips and tricks, from keeping the butter cold to when to stop mixing, so now it’s your turn! Once you’ve pulled these beautiful Pumpkin Scones out of the oven and smothered them in glaze (or just left them plain, you rebel!), I absolutely want to know how they turned out.
Baking is a community effort, I always say! I put so much love into refining this recipe over the years, and seeing your results truly makes my day. Did you try adding walnuts? Did you experiment with maple syrup in the glaze? Tell me every little detail!
Please take a moment to leave a star rating right here on the site—it really helps other home bakers know what to expect. You can drop your review by clicking on the rating system near the top of the page. If you managed to snap a photo, tag me on social media! I love seeing these golden beauties on your breakfast tables. If you are looking for another fun fall bake to try out after this, maybe check out my recipe for another favorite treat on the site too!
Don’t be shy about your triumphs or even your kitchen oopsies; we all learn together. Happy baking, and enjoy every tender, spiced bite of these easy Pumpkin Scones!
Print
Simple Pumpkin Scones
- Total Time: 32 min
- Yield: 8 servings 1x
- Diet: Vegetarian
Description
A straightforward recipe for making classic pumpkin scones.
Ingredients
- 2 cups all-purpose flour
- 1/4 cup granulated sugar
- 1 tablespoon baking powder
- 1/2 teaspoon salt
- 1/2 teaspoon ground cinnamon
- 1/4 teaspoon ground nutmeg
- 1/4 teaspoon ground ginger
- 1/2 cup cold unsalted butter, cut into small pieces
- 3/4 cup pumpkin puree (not pumpkin pie filling)
- 1 large egg
- 1 teaspoon vanilla extract
- 2 tablespoons heavy cream (for brushing)
Instructions
- Preheat your oven to 400 degrees Fahrenheit. Line a baking sheet with parchment paper.
- In a large bowl, whisk together the flour, sugar, baking powder, salt, cinnamon, nutmeg, and ginger.
- Cut the cold butter into the dry ingredients using a pastry blender or your fingers until the mixture resembles coarse crumbs.
- In a separate small bowl, whisk together the pumpkin puree, egg, and vanilla extract.
- Pour the wet ingredients into the dry ingredients. Mix gently with a fork until just combined. Do not overmix.
- Turn the dough out onto a lightly floured surface. Gently pat or roll the dough into a 3/4-inch thick circle or square.
- Cut the dough into 8 wedges or squares. Place them on the prepared baking sheet.
- Brush the tops of the scones lightly with heavy cream.
- Bake for 14 to 17 minutes, or until the tops are lightly golden brown.
- Cool on the baking sheet for a few minutes before transferring to a wire rack to cool completely.
Notes
- For a glaze, mix 1/2 cup powdered sugar with 1-2 tablespoons of milk and drizzle over cooled scones.
- You can substitute pumpkin pie spice for the individual spices listed.
- Prep Time: 15 min
- Cook Time: 17 min
- Category: Breakfast
- Method: Baking
- Cuisine: American
Nutrition
- Serving Size: 1 scone
- Calories: 250
- Sugar: 9
- Sodium: 200
- Fat: 13
- Saturated Fat: 8
- Unsaturated Fat: 5
- Trans Fat: 0
- Carbohydrates: 30
- Fiber: 2
- Protein: 4
- Cholesterol: 50
Keywords: pumpkin scones, breakfast pastry, fall baking, quick bread