
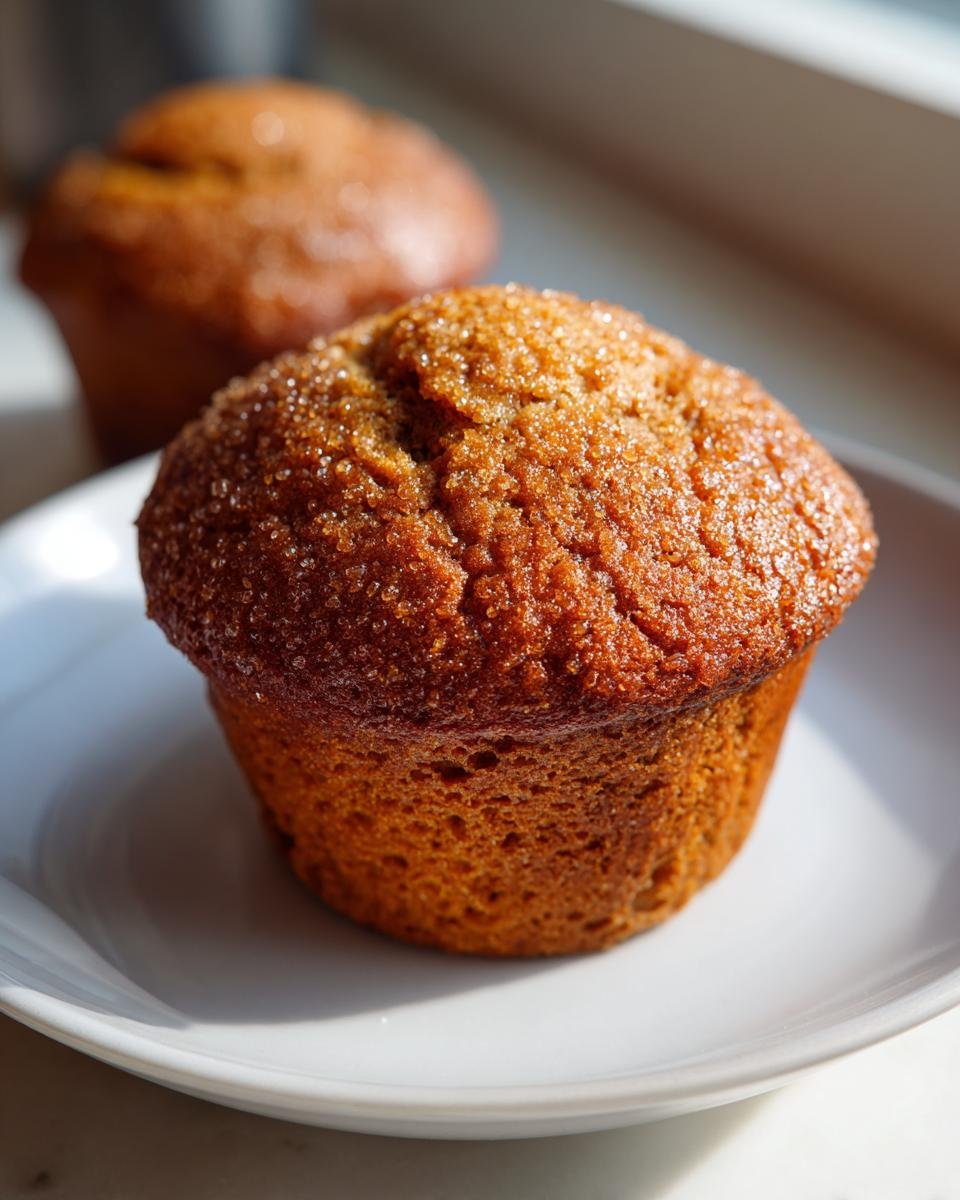
Oh, there is just nothing that beats the smell of sweet, warm peanut butter baking, is there? Nothing! When I need a quick comfort fix, I turn straight to these Peanut Butter Muffins. Seriously, forget those dry little hockey pucks you get at the coffee shops. My recipe is all about achieving that perfect, moist crumb, and I’m not kidding when I say they are the easiest, most foolproof **Peanut Butter Muffins** you will ever tackle.
I remember sneaking spoonfuls of the batter when I was a kid—Mom always made me wait until they were fully cooled, of course! These muffins are my go-to for busy mornings or when unexpected guests pop over. Since they come together in under 15 minutes of prep, you get that incredible homemade flavor without spending half your morning in the kitchen. Trust me on this one; they disappear fast!
Why You Will Love These Peanut Butter Muffins
Honestly, these muffins hit every mark. I make them when I need a win in the kitchen without any fuss. They are perfect for a quick breakfast or an afternoon snack!
- They’re incredibly fast—ready in just over 30 minutes total!
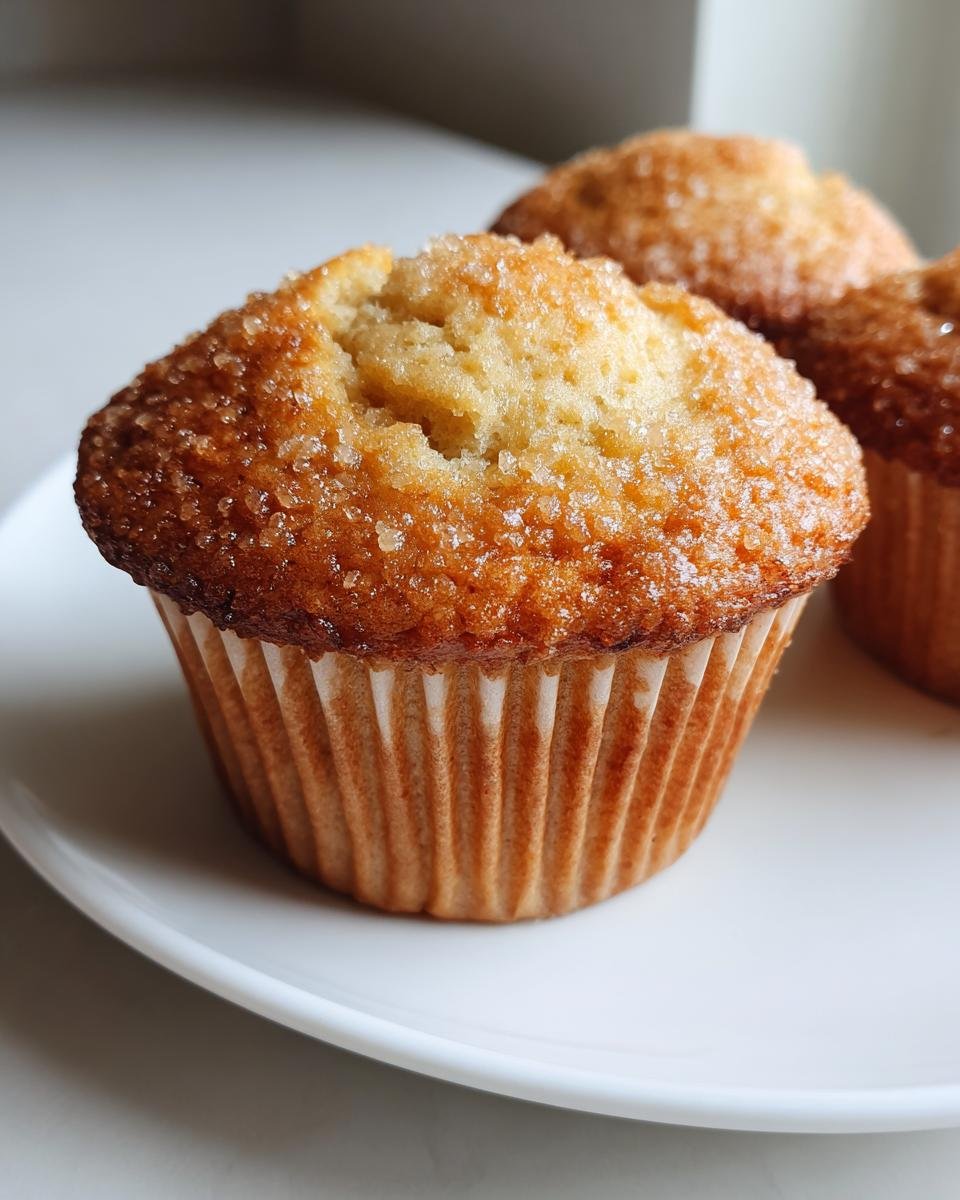
- The texture is unbelievably soft and moist, never crumbly.
- They use pantry staples, so you can whip them up right now.
- That deep, rich peanut butter flavor just sings, especially with coffee.
If you want to see how to improve your general baking game along the way, check out these essential baking tips!

Essential Ingredients for Perfect Peanut Butter Muffins
You don’t need fancy items for these babies, just standard pantry friends. Because we want these Peanut Butter Muffins to be perfectly rich and tender, make sure your butter is soft but not melted. See, a good foundation makes all the difference!
Here is what you need to gather up before we even think about turning on the oven:
- 1 3/4 cups all-purpose flour
- 1 teaspoon baking soda
- 1/2 teaspoon baking powder
- 1/2 teaspoon salt
- 1/2 cup unsalted butter, softened
- 1/2 cup granulated sugar
- 1/2 cup packed brown sugar (this is key for moisture!)
- 1/2 cup creamy peanut butter
- 2 large eggs
- 1 teaspoon vanilla extract
- 1/2 cup milk
If you happen to be out of milk and need a quick fix, check out my rundown on buttermilk substitutions—sometimes you just have to work with what you have on hand!
Step-by-Step Instructions for Making Peanut Butter Muffins
Okay, now the fun part! Getting these light and fluffy muffins into the oven takes virtually no time at all. Remember, the entire trick to making sure these Peanut Butter Muffins stay soft is being gentle with the batter once everything comes together. Don’t stir it like you’re trying to churn butter!
Preparation and Dry Ingredient Mixing
First things first, we need to get that oven fired up. Preheat to 375 degrees F—that standard temperature works perfectly for these. While it’s heating, line up your muffin tin with paper liners or just give it a really good grease job. Safety tip: Greasing is fine, but liners make cleanup a dream!
In a medium bowl, just whisk your flour, baking soda, baking powder, and salt together. Set that aside right near your mixing station. That’s step one done!
Creaming Wet Ingredients and Combining Batter for Peanut Butter Muffins
In your bigger bowl, cream that softened butter with both the granulated and brown sugars until it looks genuinely light and fluffy—like a perfect cloud. Then, beat in the peanut butter until they are totally mixed. Add your eggs one at a time, making sure each one is mixed in before adding the next, and finish that off with the vanilla.
Now for the alternating part! Gradually add your dry mixture and the milk, always starting and ending with the dry stuff. This keeps everything from going wonky. Here’s my insider baking tip: Mix only until the flour streaks *just* disappear. If you keep mixing to get it perfectly smooth, you will get tough Peanut Butter Muffins. Seriously, don’t overmix!
Baking and Cooling Your Peanut Butter Muffins
Spoon that gorgeous batter into your prepared cups until they are about two-thirds full. This gives them room to crown prettily. Pop them into that hot oven for about 18 to 20 minutes. You know they are ready when a toothpick stuck in the center comes clean or just has a few moist crumbs clinging to it.
Let them hang out in that hot tin for just five minutes—no more! Then, carefully move them over to a wire rack to cool completely. If you leave them in the tin too long, the bottoms can get soggy. If you need more general advice on timing and technique for baking, I always refer back to my baking tips page!
Tips for Achieving the Best Peanut Butter Muffins
I’ve made these Peanut Butter Muffins so many times I’ve lost count, and after a few experimental batches (and a couple of minor disasters!), I figured out the shortcuts to perfection. You want that deep, salty-sweet flavor and a texture so tender you barely need to chew, right? Here are the things I swear by.
First, let’s talk about the peanut butter itself. If you want that really intense, classic peanut butter punch that takes you right back to childhood, you absolutely must try using natural, unsweetened peanut butter. The process of stabilizing regular peanut butter adds a sweetness we don’t really need here. Natural tends to be runnier, but that actually works out great when we mix it in!
Second, temperature control is vital, just like in any good quick bread. Make sure your butter is truly softened—you should be able to press your finger into it easily without resistance. And for your eggs? Bringing them to room temperature allows them to incorporate into the batter much better during that creaming stage. Cold eggs can shock the butter mixture, make it curdle just a bit, and you lose some of that lovely air we worked so hard to whip in!
Oh, and if you decide to fold in those mini chocolate chips I mentioned earlier, make sure they are frozen or very cold. Throwing chips into a room-temperature batter causes them to melt slightly while you stir, and trust me, you want defined little pockets of chocolate, not one big muddy smear throughout your muffin.
For even more deep-dive advice on perfecting your baking technique across the board, especially when dealing with tricky fats and temperatures, take a look at my general baking tips page!
Variations to Customize Your Peanut Butter Muffins
These Peanut Butter Muffins are amazing straight out of the oven, but honestly, they are such a great base for playing around! Half the fun of baking is making a recipe your very own, right? You don’t have to stick to the standard batch; a few little additions can turn this into a totally different experience.
The absolute classic substitution everyone asks about is chocolate, and yes, you totally should do it. Fold in about a half cup of those tiny mini chocolate chips right at the very end before you scoop the batter. They distribute so much better than the regular size ones, and you get chocolate everywhere without huge chunks! If you want to get really obsessed with the combo, I have a whole different recipe just for Peanut Butter Chocolate Chip Muffins.
But don’t stop there! If you have pecans or walnuts sitting around, give them a rough chop and add a handful along with your chips. The crunch against that soft muffin texture is just fantastic. For flavor boosters, try mixing half a teaspoon of cinnamon into your dry ingredients. It complements the peanut butter beautifully.
Another great thing to try is a swirl! If you make a simple powdered sugar glaze as a separate topping, you can reserve just a tiny spoonful of peanut butter, warm it up so it’s runny, and drizzle it over the tops *after* baking. It looks fancy, but it takes zero extra effort!
Storing and Reheating Your Homemade Peanut Butter Muffins
The biggest problem with these Peanut Butter Muffins is getting them to last long enough to need storing, let’s be honest. But if you manage to keep a few aside for later, you need to treat them right so they don’t dry out. They are just quick breads, so they prefer a little bit of TLC when cooling and storing.
First, you absolutely must let them cool completely on that wire rack. Do not, I repeat, do not try to put them in a container while they are even slightly warm! That steam gets trapped, and suddenly, your lovely muffins get gummy on the bottom. Nobody wants a gummy bottom!
For room temperature storage, keep them in an airtight container. If your kitchen is really dry, I suggest sticking a small piece of bread in the container with them. It sounds weird, I know, but the muffins will “borrow” the moisture from the bread, keeping them soft for about three days. I always do this—it’s an old trick!
If you know you won’t eat them within three days, freezing is your best bet. Wrap each muffin individually tightly in plastic wrap first, then tuck them all into a freezer bag. They stay perfect for about two months. When you need one, just pull it out!
To reheat them and bring back that fresh-from-the-oven warmth, the microwave is fastest. Pop one on a plate for about 15 to 20 seconds. If you want to bring back that super soft texture, wrap the thawed muffin in a lightly damp paper towel before microwaving. That steam works magic and makes them taste like they were just baked this morning!
Serving Suggestions for Peanut Butter Muffins
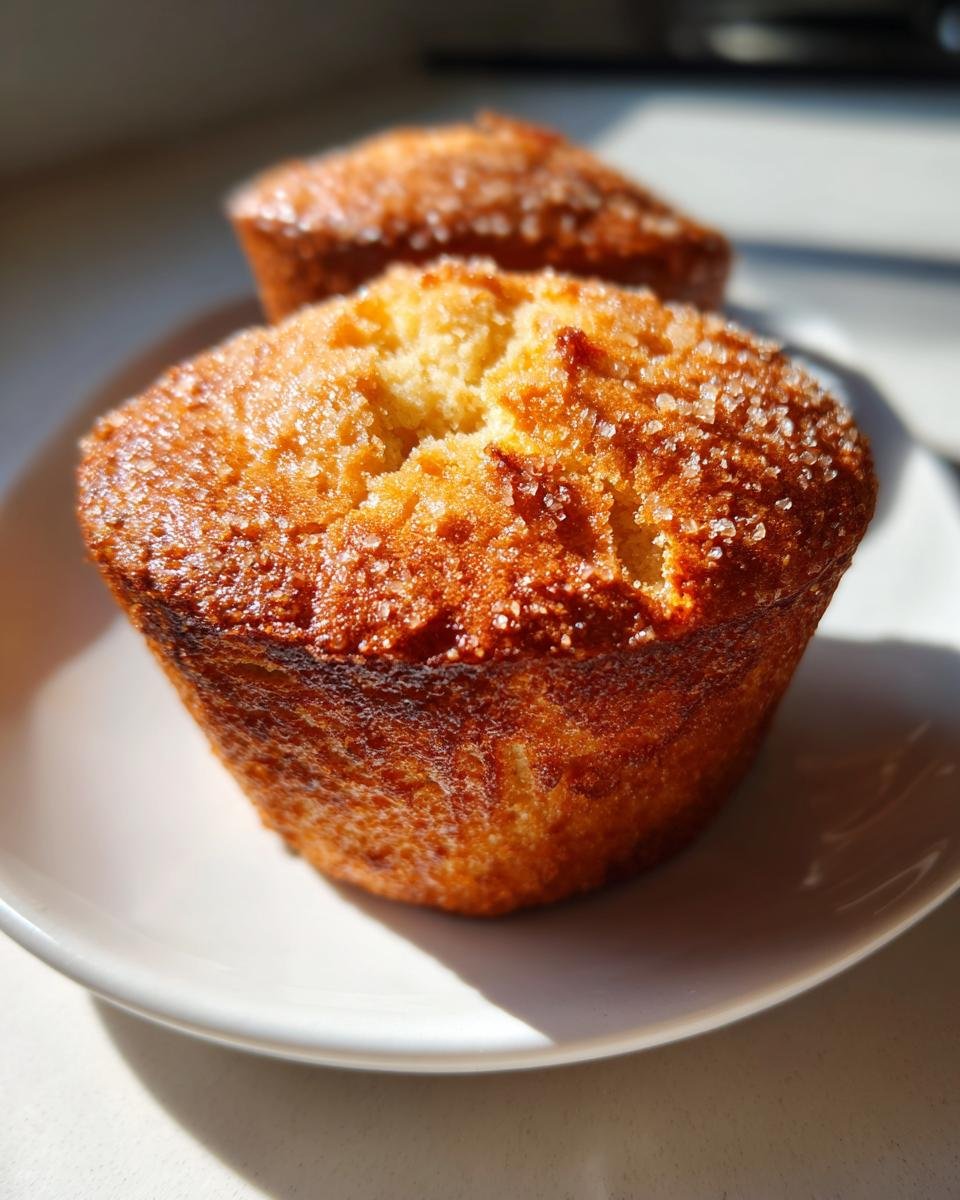
Now that you have these golden, gorgeous Peanut Butter Muffins cooling on the rack, the final question is: how are you going to eat them? Because they are so richly flavored on their own, you don’t need much fuss, but a little something extra just elevates the whole experience, doesn’t it?
Picture this: It’s a gloomy Tuesday morning, you have five minutes to breathe, and you’re reaching for a hot mug of coffee. A warm Peanut Butter Muffin alongside that steaming cup? Perfection! The slight bitterness of the coffee cuts through the richness of the sugar and peanut butter beautifully.
If you’re feeling a little sweeter, a thin smear of quality fruit jam can be amazing. Strawberry jam is a classic pairing for peanut butter, but I’ve experimented with raspberry, and wow, that tartness is intense! You only need a tiny bit; remember, these muffins are already perfectly sweet.
If you’re serving these to the kids (or yourself) in the afternoon, a tall glass of cold milk is non-negotiable. Peanut butter and milk are just soulmates. You can even dunk the muffin a little bit if you’re feeling nostalgic! For more amazing peanut butter-themed treats that you can serve up anytime, you should definitely check out my recipe for Peanut Butter Cookie Cake when you’re done with these muffins!
Frequently Asked Questions About Peanut Butter Muffins
It’s funny how many questions pop up after baking, even for something as simple as these amazing Peanut Butter Muffins! I’ve gathered a few things readers often ask me when they are mixing up their first batch. If you have other questions, drop them below!
Can I substitute the milk in these Peanut Butter Muffins?
Oh, absolutely! If you need to cut out the dairy, don’t panic. You can use almond milk, soy milk, or even oat milk without any issue at all. The liquid content is what matters most here. Just make sure whatever you use is unflavored so it doesn’t clash with that wonderful peanut butter flavor we’re aiming for!
What is the best type of peanut butter for these muffins?
This is where you get to choose your own adventure, but for the absolute best, most intense peanut flavor, I push everyone toward natural peanut butter. You know, the kind where the oil rises to the top and you have to stir it around? We talked about it before, but its bolder flavor really shines through the simple batter. If you use the regular, sweetened kind, it will still be great, but the peanut taste won’t be quite as strong.
Another common concern I hear is about sinking. A sunken muffin usually means the structure couldn’t support itself near the end of baking, often caused by overmixing or underbaking. Make sure you give those eggs and butter a good, light, fluffy cream—that’s where your structure starts! And don’t pull them out early; if the toothpick doesn’t come clean, those poor things will collapse once they cool down.
Estimated Nutritional Facts for Peanut Butter Muffins
Now, nobody bakes these Peanut Butter Muffins because they are worried about counting calories—we bake them for pure joy, right? But because so many families have asked for it, I wanted to include the estimated nutritional breakdown here just so you have the information handy.
Keep in mind that since I bake seasonally and use whatever butter or sugars I have on the counter, these numbers are definitely an approximation! If you use natural peanut butter instead of the conventional kind, or if you fold in a boatload of chocolate chips, those figures are going to shift around a bit.
This information is based *only* on the base recipe provided and is an estimate per single muffin serving:
- Serving Size: 1 muffin
- Calories: About 250
- Total Fat: Around 13g
- Saturated Fat: About 5g
- Total Carbohydrates: Roughly 30g
- Sugar Content: That’s about 18g of sugar
- Protein: Approximately 6g
- Cholesterol: Around 35mg
So, that’s a nicely rounded, satisfying little breakfast treat! They pack a good punch to keep you going until lunch, which is exactly what a good homemade muffin should do.
Print
Simple Peanut Butter Muffins
- Total Time: 35 min
- Yield: 12 muffins 1x
- Diet: Vegetarian
Description
A straightforward recipe for moist peanut butter muffins.
Ingredients
- 1 3/4 cups all-purpose flour
- 1 teaspoon baking soda
- 1/2 teaspoon baking powder
- 1/2 teaspoon salt
- 1/2 cup unsalted butter, softened
- 1/2 cup granulated sugar
- 1/2 cup packed brown sugar
- 1/2 cup creamy peanut butter
- 2 large eggs
- 1 teaspoon vanilla extract
- 1/2 cup milk
Instructions
- Preheat your oven to 375 degrees F (190 degrees C). Line a 12-cup muffin tin with paper liners or grease it well.
- In a medium bowl, whisk together the flour, baking soda, baking powder, and salt. Set aside.
- In a large bowl, cream together the softened butter, granulated sugar, and brown sugar until light and fluffy.
- Beat in the peanut butter until combined.
- Add the eggs one at a time, beating well after each addition. Stir in the vanilla extract.
- Gradually add the dry ingredients to the wet ingredients, alternating with the milk, beginning and ending with the dry mixture. Mix until just combined; do not overmix.
- Divide the batter evenly among the muffin cups, filling each about two-thirds full.
- Bake for 18 to 20 minutes, or until a toothpick inserted into the center comes out clean.
- Let the muffins cool in the tin for a few minutes before transferring them to a wire rack to cool completely.
Notes
- For a stronger peanut flavor, use natural peanut butter.
- You can fold in 1/2 cup of mini chocolate chips before baking.
- Prep Time: 15 min
- Cook Time: 20 min
- Category: Breakfast
- Method: Baking
- Cuisine: American
Nutrition
- Serving Size: 1 muffin
- Calories: 250
- Sugar: 18g
- Sodium: 200mg
- Fat: 13g
- Saturated Fat: 5g
- Unsaturated Fat: 8g
- Trans Fat: 0g
- Carbohydrates: 30g
- Fiber: 1g
- Protein: 6g
- Cholesterol: 35mg
Keywords: Peanut Butter Muffins, peanut butter, muffins, breakfast, quick bread