
Mornings can be chaos, right? Getting everyone out the door fed and happy feels like a competitive sport some days. That’s why I live for recipes that are genuinely fast but don’t taste like compromise. Seriously, forget standing over the stove forever! These **Oat Flour Waffles** are my lifeline. They come together faster than you can find matching socks, and because they use whole grain oat flour, I feel great serving them up. It’s my secret weapon for peaceful, wholesome breakfasts, even when the alarm clock fails me.
Why You Will Love These Oat Flour Waffles
I’ve tried every waffle recipe under the sun, but this one is the keeper. Trust me, once you try these, you won’t look back. I keep the link to these oat flour pancakes bookmarked, too, for when I’m feeling a griddle day instead!

- They are unbelievably fast—seriously, you’re looking at about 5 minutes of prep time before they hit the iron.
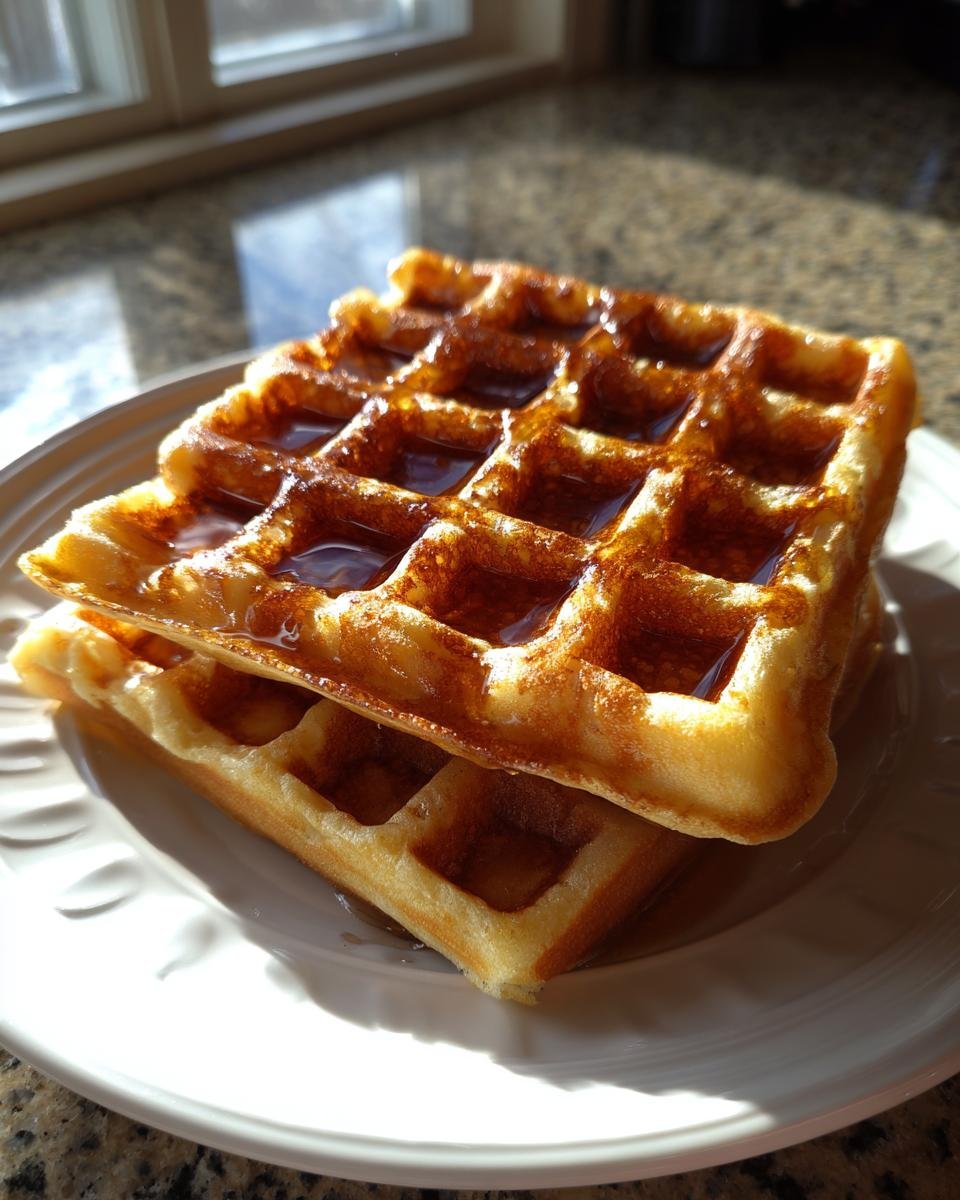
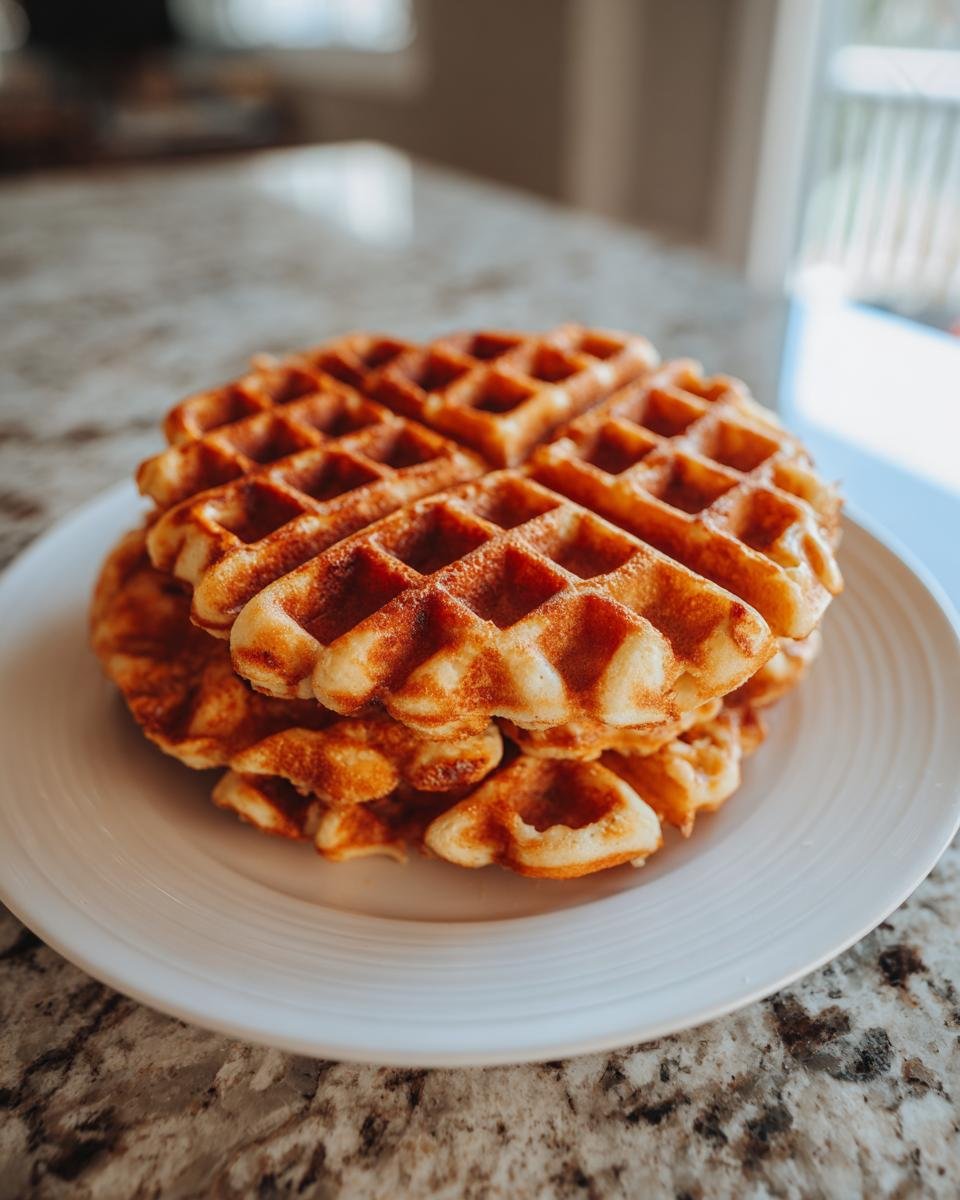
- The texture is spot on: crispy edges but still tender on the inside. No gumminess here!
- You feel good eating them! Oat flour provides whole grain goodness that regular white flour just can’t match.
- Minimal cleanup is a huge bonus. It’s just two bowls and maybe one whisk.
- They freeze beautifully, so I bake a double batch every Sunday night.
Essential Ingredients for Perfect Oat Flour Waffles
This recipe is so simple because it relies on pantry staples. You don’t need a big grocery haul, which is another reason I rely on these oat flour waffles during busy weeks. The key is the quality and state of your ingredients, especially the oat flour!
You’ll need this short list. If you’re curious about making your own buttermilk on the spot, I have a great guide for buttermilk substitutions, but regular milk works perfectly here too.
- One cup of oat flour—make sure it’s finely ground!
- One teaspoon of baking powder—this gives them the lift they need.
- A scant quarter teaspoon of salt to balance all that sweetness.
- One large egg, ideally at room temperature so it incorporates smoothly.
- One full cup of regular milk (any kind works, see below!).
- Two tablespoons of melted butter or a neutral oil, like canola.
- One teaspoon of pure vanilla extract for that classic breakfast aroma.
That’s it! So minimal, right? It means you can whip these up anytime inspiration strikes.
Simple Steps to Make Your Oat Flour Waffles
Honestly, the process for these oat flour waffles is so straightforward, it barely counts as cooking! The whole thing takes maybe 15 minutes total, which is why I call them my emergency breakfast go-to. Just remember the golden rule of waffle making: don’t mess with the batter too much!
Preparing the Waffle Iron and Dry Mix for Oat Flour Waffles
First things first, get that iron heating up! You need it roaring hot before the batter even meets the non-stick surface. While it’s warming, grab your medium bowl. Whisk together the oat flour, baking powder, and salt. I always whisk my dry stuff really well. It might seem like overkill, but you don’t want a bite that’s mysteriously super salty or one that doesn’t puff up because the baking powder clumps together.
Combining Wet Ingredients and Mixing the Oat Flour Waffles Batter
Now for the wet team! In your separate, smaller bowl, beat that egg lightly, then stir in the milk, the melted butter (or oil), and the vanilla. Once that’s mixed, pour the liquids right into the bowl of dry ingredients. Here’s the most important part, so listen closely: mix it just until the flour streaks disappear. I mean it! If you stir until it’s perfectly smooth, you’re going to end up with tough, flat discs instead of light waffles. A few lumps are totally fine. You can check out more fundamental baking tips if you want to stop over-mixing forever!
Cooking Your Delicious Oat Flour Waffles
Time to cook! Ladle the batter onto your hot waffle iron—don’t fill it past about two-thirds full, or you’ll have an overflow mess, trust me! Let it cook until the steam stops puffing out rapidly, usually 3 to 5 minutes depending on your machine. For the absolute best crunch, try letting the batter sit on the counter for just five minutes before you cook the first batch. That tiny rest time does wonders for the structure. When they come out golden brown and looking crisp, they’re done!

Expert Tips for Achieving Crispy Oat Flour Waffles
Everyone wants a waffle that snaps a little when you bite into it, right? Oat flour can sometimes lean a little soft compared to regular white flour, so here are the little tricks I use to get that perfect exterior crunch every single time.
First, temperature is everything. Make sure your waffle iron isn’t just warm, but genuinely hot before that first ladle of batter goes in. If you’re worried about sticking, give the grids a very light spray of cooking oil after a few batches—yes, even if they are non-stick. The residual heat helps create that immediate crust.
My absolute favorite trick, though, is what I call the ‘double-bake.’ Once the waffle ejects from the iron, don’t put it right on the plate! Place it directly onto a wire rack set inside a baking sheet. Pop that sheet into a 250°F oven for about 5 minutes. That gentle dry heat locks in the crispness while you cook the remaining batter. It’s revolutionary when you’re making a big batch!
Ingredient Notes and Substitutions for Oat Flour Waffles
I get asked constantly about the flour and the milk in this recipe, so let’s clear that up now! Since we’re using oat flour, the texture is naturally a bit different—denser but wholesome. If you are making your own oat flour by blending rolled oats, make sure you blend them long enough! You want the texture to be fine, almost like regular flour, otherwise, your waffles might feel gritty, and we certainly don’t want that.
Now, about the milk. The recipe calls for regular milk, but that’s easily changed. Feel free to use almond milk, soy milk, or any other alternative you keep stocked. Another fun thing: if you don’t have milk, you can totally make a quick buttermilk substitute if you need to boost the tanginess—I have a whole post on how to make buttermilk substitutions on the fly!
But honestly, stick to the melted butter measurement. It adds essential richness that oil sometimes just skims over. It’s worth using the real stuff here!
Serving Suggestions for Your Oat Flour Waffles
Okay, you’ve made the perfect, fluffy oat flour waffles—now for the best part: the toppings! Since these waffles are just lightly sweet on their own, they are the perfect blank canvas for whatever you’re craving.
You absolutely can’t go wrong with the classics: mountains of maple syrup and a pat of melting butter. But if you want to jazz things up, try fresh berries! Sliced bananas and a dollop of Greek yogurt make it feel super gourmet in about 30 seconds flat.
For a real weekend treat, I love drizzling them with a homemade sauce. I recently perfected a gorgeous strawberry sundae sauce that tastes like summer, and it’s divine over these warm waffles. Or, keep it simple with a light dusting of powdered sugar. Whatever you choose, serve them hot so they stay crisp!
Storage and Reheating Instructions for Leftover Oat Flour Waffles
The beauty of these oat flour waffles is that they reheat almost as perfectly as when they were fresh—if you store them right! I always aim to make a double batch because nobody wants to start from scratch on a Tuesday morning after a busy Monday.
First, you have to cool them completely. Don’t try to stack them warm; that trapped steam is what turns everything soggy overnight! Lay the cooked waffles out on a wire rack for about 20 minutes until they are totally cool to the touch. If you skip this, they’ll stick together in a doughy mess in the container.
For short-term storage—say, three or four days—you can stack them in a sealed, airtight container in the fridge. I usually put a small square of parchment paper between each one just to be safe, though they rarely stick in the fridge if completely cool.
If you’re planning ahead, freezing is the way to go. Same rule applies: cool them completely. Then, wrap individual waffles tightly in plastic wrap first, and then layer them in a large zip-top freezer bag. They stay pristine for up to two months this way!
The Best Way to Reheat for Maximum Crunch
Forget the microwave if you care about texture; it makes everything chewy and sad. When you want that snap back, you have two choices: the toaster or the oven.
If you’re only reheating one or two waffles, the toaster slot is your best friend. Pop them in for one or two cycles until they are heated through and crispy on the outside. It works like magic!
If you’re reviving a frozen stack, I go for the oven. Preheat it to 350°F (about 175°C). Place the frozen waffles directly on a baking sheet—no need to thaw! Bake them for about 8 to 10 minutes. They come out tasting freshly made, warm all the way through, with crispy edges restored. This is how you win at breakfast meal prep!
Frequently Asked Questions About Oat Flour Waffles
It’s totally normal to have questions when switching from regular flour! I remember wondering about density when I first started baking with oats. Here are the things I get asked about most often when folks try making these simple oat flour waffles at home.
Are Oat Flour Waffles healthier than traditional waffles?
They definitely lean healthier, yes! The big difference is that oat flour is a whole grain. When you use white all-purpose flour, you’re missing out on a ton of fiber and nutrients. Oat flour keeps that goodness right in there because you’re essentially just blending up the whole oat groat. They’ve got great fiber content, which helps keep you full longer. If you haven’t made my oat flour pancakes yet, they share a similar health boost!
Can I make the Oat Flour Waffles batter ahead of time?
You *can*, but I’d caution you: you really shouldn’t leave it sitting around for too long. Oat flour doesn’t behave exactly like wheat flour. If you mix the batter and let it sit for more than 15 minutes, the oats start soaking up all that liquid, and the baking powder starts getting tired. Your waffles will end up noticeably flatter and maybe a bit gummy. If you have to prep ahead, just mix the dry ingredients one night and keep them covered. Then, mix the wet ingredients right before you take them to the iron the next morning!
Why are my Oat Flour Waffles dense?
Ah, the density trap! This almost always comes down to one of two things, and I’ve fallen victim to both. First, you probably mixed the batter too much. Remember what I said about lumps being okay? Overmixing develops the structure weirdly in oat flour, leading to rubbery, dense results. Second, check your baking powder. If it’s old, it won’t create the bubbles you need for lift. Give your baking powder a quick sniff test—if it smells off, toss it and grab a fresh tin!
Estimated Nutritional Profile for Oat Flour Waffles
Now, I want to give you an idea of what you’re eating when you whip up a sunny morning batch of these simple oat flour waffles. These numbers are based on making the recipe exactly as written—which yields two large waffles, remember! Because the ingredients are so simple and whole-grain focused, I feel great about these stats.
Keep in mind this is an estimate, because the size of your egg or the exact brand of milk you use can shift it a tiny bit. But this gives you a solid baseline for your tracking!
- Serving Size: 1 waffle
- Calories: 250
- Protein: 9g
- Total Fat: 10g (with 4g being saturated)
- Carbohydrates: 35g
- Dietary Fiber: 4g
- Sugar Content: Only 3g of natural sugar!
- Cholesterol: 60mg
See? That low sugar number is amazing for a breakfast treat. You control the sweetness entirely with your topping choices. That’s why I love them so much—a wholesome base that you can really dress up or down!
Print
Simple Oat Flour Waffles
- Total Time: 15 min
- Yield: 2 large waffles 1x
- Diet: Vegetarian
Description
A straightforward recipe for making waffles using oat flour.
Ingredients
- 1 cup oat flour
- 1 teaspoon baking powder
- 1/4 teaspoon salt
- 1 large egg
- 1 cup milk
- 2 tablespoons melted butter or oil
- 1 teaspoon vanilla extract
Instructions
- Preheat your waffle iron according to the manufacturer’s directions.
- In a medium bowl, whisk together the oat flour, baking powder, and salt.
- In a separate small bowl, whisk the egg, milk, melted butter or oil, and vanilla extract.
- Pour the wet ingredients into the dry ingredients. Mix until just combined; do not overmix.
- Pour the batter onto the hot waffle iron and cook until golden brown and crisp, following your iron’s instructions.
- Serve immediately.
Notes
- For crispier waffles, let the batter rest for five minutes before cooking.
- You can substitute almond milk or another milk alternative for dairy milk.
- Prep Time: 5 min
- Cook Time: 10 min
- Category: Breakfast
- Method: Waffling
- Cuisine: American
Nutrition
- Serving Size: 1 waffle
- Calories: 250
- Sugar: 3
- Sodium: 200
- Fat: 10
- Saturated Fat: 4
- Unsaturated Fat: 6
- Trans Fat: 0
- Carbohydrates: 35
- Fiber: 4
- Protein: 9
- Cholesterol: 60
Keywords: oat flour, waffles, breakfast, quick recipe, whole grain