
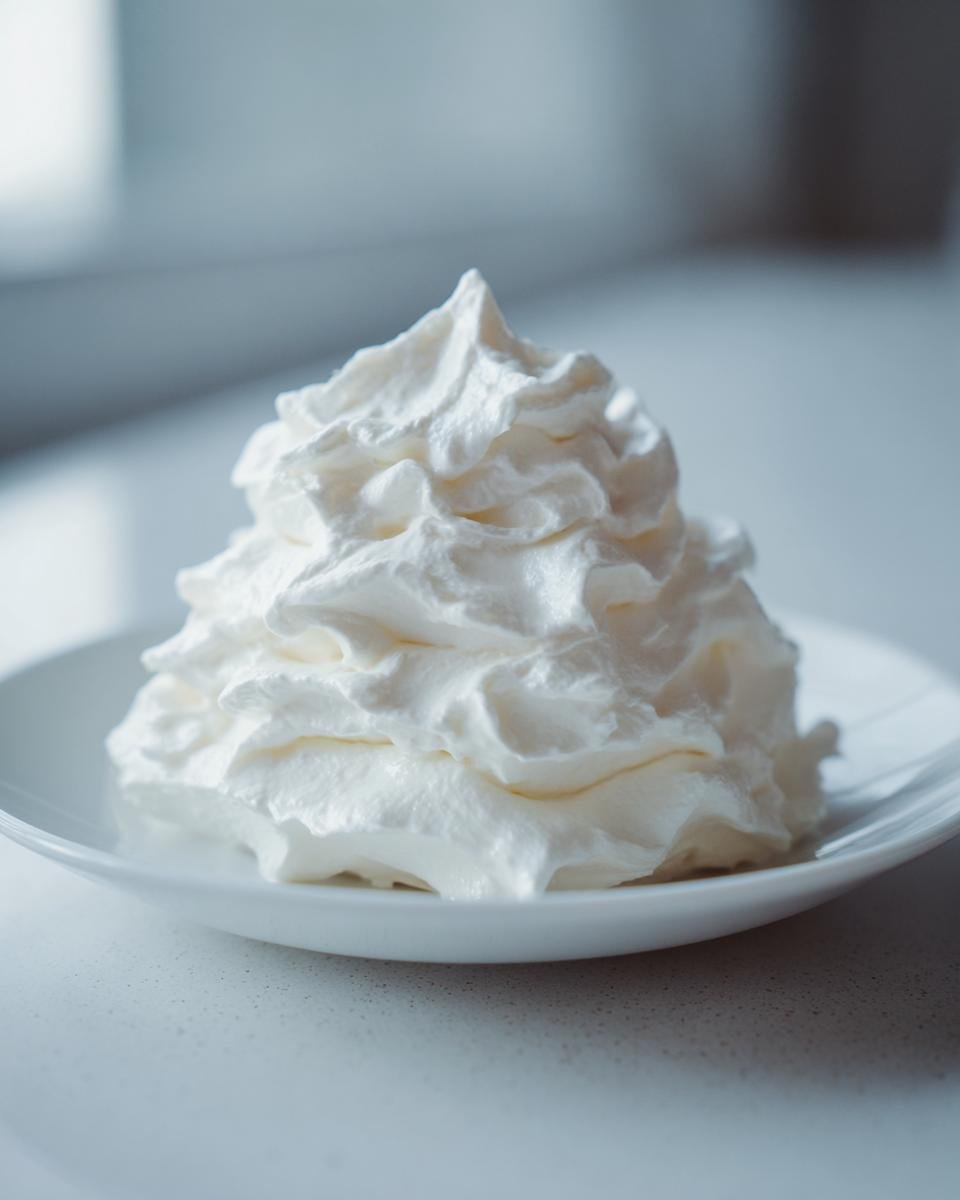
There’s something so incredibly satisfying about whipping up your own frosting, isn’t there? Forget those tubs from the store – learning to make white frosting from scratch is a total game-changer for any baker! This simple vanilla buttercream is my absolute go-to for pretty much everything. Seriously, I’ve used it on birthday cakes, fancy cupcakes, even just spread on cookies when I needed a quick treat. It’s impossibly easy, uses stuff you probably already have, and tastes leagues better than anything store-bought. When I need a foolproof way to make white frosting that’s both delicious and dependable, this is my secret weapon.
Why You’ll Love This Simple White Frosting
Seriously, this recipe is a lifesaver for so many reasons:
- It’s ridiculously easy! You can literally whip this up in minutes, no fancy equipment needed.
- Uses pantry staples: Butter, sugar, milk, vanilla – chances are you’ve got all these on hand right now.
- Super versatile: Perfect for cakes, cookies, cupcakes… you name it! Plus, it takes color like a dream.
- Amazing flavor: So much better than store-bought, with that lovely creamy, buttery vanilla taste.
Ingredients to Make White Frosting
Alright, let’s talk ingredients because this is where the magic starts! You really don’t need much to make a fantastic batch of simple white frosting. Make sure your butter is nice and softened – that’s key for getting it nice and creamy without lumps. And for the powdered sugar, I always love to give it a quick sift if I have time, just to be extra sure there are no sneaky lumps hiding in there. These little steps really make a difference!
- 1 cup unsalted butter, softened
- 3 cups powdered sugar, sifted
- 1/4 cup milk
- 1 teaspoon vanilla extract
How to Make White Frosting: Step-by-Step Guide
Okay, let’s get down to business! This is where the real fun begins. Making this frosting is seriously so easy, you’ll wonder why you ever bought it from the store. Just grab a bowl, a mixer (or a strong arm!), and follow these simple steps. Trust me, you’ll be frosting something delicious in no time!
Step 1: Cream that Butter!
First things first, get your softened butter into a nice big bowl. If you’re using an electric mixer, this is where it’ll shine! Beat that butter until it’s pale and super creamy. You want it to look almost fluffy, like a little cloud. This step is crucial because it whips air into the butter, which will make your frosting light and airy instead of dense and heavy. I usually give it a good minute or two on medium speed. If you’re doing it by hand with a whisk, just keep at it until you see a difference! It takes a little elbow grease, but it’s totally worth it.
Step 2: Sugar, Sugar, Everywhere!
Now for the sweetness! Slowly start adding your sifted powdered sugar. I like to add it a cup at a time, mixing on low speed in between. This is important because it helps prevent a sugar explosion all over your kitchen! Seriously, that stuff flies everywhere. Alternate adding the powdered sugar with your milk. So, add about a third of the sugar, mix until just combined, then add a splash of milk, mix again, and keep going until it’s all in there. Keep mixing on low until everything is *just* incorporated. Don’t overmix this part just yet!
Step 3: That Little Hint of Magic (Vanilla!)
Time for the flavor booster! Stir in your vanilla extract. You can do this by hand or with the mixer on low if you like. Just give it a quick mix so it’s evenly distributed. This is when it really starts to smell like proper frosting! At this point, a lot of people might think they’re done, but we’re not quite there yet.
Step 4: The Final Mix & Consistency Check
This is where we really bring it all together. Turn your mixer up to medium-high speed and beat the frosting for another 2-3 minutes. This is where you get that super smooth, creamy texture. It should look beautifully glossy and smooth, like the icing you see on all those gorgeous cakes. If it seems a tad too thick for your liking, just add a tiny bit more milk, like a teaspoon at a time, mixing after each addition until it’s just right. On the flip side, if it feels a bit too loose, add another tablespoon of powdered sugar. Just a spoonful makes a big difference. You’re aiming for a consistency that’s easy to spread but still holds its shape!

You can check out this easy buttercream frosting recipe for another quick option!
Tips for the Perfect White Frosting Consistency
Okay, so you’ve followed the steps, but maybe your frosting is a *little* too stiff, or perhaps it’s on the looser side? Don’t sweat it! Getting that perfect consistency for your white frosting is all about a few little tricks. First off, remember that room temperature butter is your best friend. If it’s too cold, your frosting will be lumpy, and if it’s melted, it’ll be way too thin.
If your frosting is too thick, the fix is super simple: just add a *tiny* bit more milk. I’m talking a teaspoon at a time, mixing well after each addition. You’ll be amazed at how much difference a little liquid makes. On the flip side, if it seems too thin, don’t panic! Grab your powdered sugar and add it a tablespoon at a time, mixing until it reaches that lovely, spreadable, but not droopy, consistency. Sifting your powdered sugar from the start really helps avoid this issue in the first place, but if you didn’t, you can always just whisk it really well to break up any lumps before adding it.
Variations for Your Make White Frosting Recipe
Seriously, this simple white frosting recipe is such a great base, you can totally jazz it up! Once you’ve got the basic technique down, you can play around and make it all your own. A tiny splash of almond extract instead of vanilla? Divine on cookies! Or maybe some lemon zest for a brighter flavor on a citrus cake? Yummy! And don’t even get me started on food coloring. A drop or two can transform this plain white frosting into any color you can dream of for your cakes and cupcakes. It’s amazing how a few little tweaks can totally change the vibe!
Serving and Storage for Your White Frosting
Now that you’ve made this gorgeous white frosting, what do you do with it? Well, the world is your oyster! It’s perfect for swirling onto cupcakes with a piping bag (or just a spatula, no judgment here!), frosting a whole cake, or even using as a delicious dip for cookies and fruit.
Got leftovers? No biggie! Just pop it into an airtight container and pop it in the fridge. It’ll stay good for a few days. If it gets a bit too stiff from chilling, just let it sit on the counter for about 20-30 minutes, or give it a quick whisk with a teaspoon of milk to get it nice and smooth again. Easy peasy!
Frequently Asked Questions about Making White Frosting
Got some burning questions about this easy white frosting? I totally get it! It’s always good to have a little extra info. Here are some things folks often ask, and I’m happy to shed some light! You can also check out my about page for more baking insights!
Can I use margarine instead of butter?
You *can*, but I really don’t recommend it if you want the best flavor and texture. Butter has a much richer taste and creates a creamier frosting. Margarine can sometimes have too much water or a different fat composition, which can mess with how the frosting sets up. Stick with butter if you can, trust me!
How long does the frosting last?
This frosting is best enjoyed fresh, but leftovers are totally usable! If you store it in an airtight container in the fridge, it should be good for about 3-4 days. Just remember you might need to let it soften on the counter for a bit and give it a good whisk to get it back to its creamy, spreadable self.
Can I make this frosting dairy-free?
Yes, you can totally make this dairy-free! You’ll need to swap out the butter for a good-quality dairy-free butter substitute that’s meant for baking. For the milk, use your favorite plant-based milk, like almond, soy, or oat milk. Just make sure the dairy-free butter substitute is one that solidifies well, otherwise, your frosting might be a little too soft.
My frosting is too thick. What should I do?
Oh, that’s an easy fix! If your frosting is too thick and stiff, just add a tiny bit more milk, like a teaspoon at a time, and mix it in really well. Keep adding just a little bit at a time until you get that perfect, smooth, spreadable consistency. You’ll be amazed how much difference a few drops can make!
Nutritional Information (Estimated)
Just a heads-up, these numbers are approximate, folks! Since this is a homemade frosting and ingredients can vary a tiny bit, think of these as a general guide. We’re looking at about 120 calories per 2-tablespoon serving. It’s mostly made up of sugar and fat, as you’d expect from a delicious buttercream, with very little protein or fiber. So, enjoy it, but maybe in moderation!
Print
Simple White Frosting
- Total Time: 10 min
- Yield: About 2 cups 1x
- Diet: Vegetarian
Description
A basic recipe for smooth and creamy white frosting.
Ingredients
- 1 cup unsalted butter, softened
- 3 cups powdered sugar
- 1/4 cup milk
- 1 teaspoon vanilla extract
Instructions
- Beat the softened butter in a large bowl until creamy.
- Gradually add the powdered sugar, alternating with the milk, beating until smooth and well combined.
- Stir in the vanilla extract.
- If the frosting is too thick, add more milk, one teaspoon at a time. If it’s too thin, add more powdered sugar, one tablespoon at a time.
Notes
- Ensure your butter is at room temperature for best results.
- Sift your powdered sugar to avoid lumps.
- Prep Time: 10 min
- Cook Time: 0 min
- Category: Dessert
- Method: No Bake
- Cuisine: American
Nutrition
- Serving Size: 2 tablespoons
- Calories: 120
- Sugar: 20g
- Sodium: 15mg
- Fat: 5g
- Saturated Fat: 3g
- Unsaturated Fat: 2g
- Trans Fat: 0g
- Carbohydrates: 20g
- Fiber: 0g
- Protein: 0g
- Cholesterol: 15mg
Keywords: white frosting, buttercream, cake frosting, simple frosting, vanilla frosting