
Oh my gosh, are you ready to conquer the final frontier of baking? I’m talking about the crust! Seriously, a weak, flavorless casing can ruin the greatest apple filling or savory quiche in the world. That’s why I’m going to share my lifeline: the Simple All-Butter Pie Crust. When I first started baking, the pastry was always tough or soggy—a complete disaster! But mastering this all-butter recipe was my real breakthrough moment. Trust me when I say this simple formula yields the flakiest crust you’ve ever bitten into, and it’s all thanks to following a few cold rules.

Why This All-Butter Pie Crust Recipe Works (Expert Tips)
The secret to ditching that tough, sad pastry texture is simple science, and it all revolves around keeping things seriously cold. When you cut cold butter into flour, those little chunks don’t mix in completely. They stay separate. When that cold butter hits the hot oven, the water inside turns instantly to steam. That steam pushes the layers of dough apart, creating those beautiful, flaky pockets we dream about! This is what makes an all-butter pie crust taste so rich.
The other big rule? Minimal mixing. Overworking the dough develops gluten, and gluten means chewiness, which is the total opposite of flaky. You want just enough water to bring the shaggy bits together. If your dough tears while you’re rolling it out, don’t panic, I’ve done it a million times! Just patch it with a small piece of scrap dough, like giving it a little bandage. You can read more general baking wisdom over at my baking tips page.
The Importance of Cold Ingredients for a Flaky Pie Crust
If you take nothing else away from this recipe, please remember this: everything must be cold. Butter should be straight from the fridge, cut into cubes, and still hard. Your water needs lots of ice swimming in it. Cold butter melts slowly in the oven, creating steam pockets. Warm butter just melts right into the flour, creating a greasy, tough pie crust that never quite gets that lift.
Gathering Ingredients for Your Perfect Pie Crust
Okay, the ingredient list is short, which is fantastic, but every single item needs your full attention! For this single 9-inch crust, we aren’t messing around with substitutes—we’re going all in on that pure butter flavor. You’ll need flour and salt whisked together first. Then comes the star: the butter. It absolutely must be unsalted, cold, and cut into tiny little cubes. Think small peas, not almonds! Seriously, the temperature of that butter dictates the success of your final pie crust.
The water is the other fussy detail. You’ll use ice water, added just a splash at a time. We are aiming for just enough water to bind everything, which is why we start small—maybe three tablespoons. If you think you need more, splash just a tiny bit more in. If you happen to be looking for ways to substitute liquids in other baking projects, I wrote a little guide on making buttermilk substitutes, but stick with that cold water here!
Step-by-Step Instructions for Making the Pie Crust
Alright, let’s get our hands messy! This part moves quickly once you get into the rhythm, but remember: speed isn’t the goal—technique is. We’re making sure those butter chunks survive long enough to create amazing layers in your finished pie crust. Set a timer if you need to, but don’t rush the crucial mixing stages.
Mixing Dry Ingredients and Cutting in Butter for the Pie Crust
First, grab a big bowl—you need room to work! Whisk your flour and salt together really well until they are totally combined. Next, take those cubes of cold butter and toss them right in. Now, you grab your pastry blender, or honestly, just your fingertips work great if you’re fast and cold-handed. You’re pressing and cutting that butter into the flour mixture. Stop when you have a texture that looks like coarse crumbs, but crucially, you must still see little pea-sized pieces of butter scattered around. Those little guys are our flakiness insurance plan right there for this incredible pie crust.
Bringing the Pie Crust Dough Together and Chilling
This is where you hold back! Start adding the ice water one tablespoon at a time. Mix with a fork—gently! Just enough until the dry stuff starts clinging to the wet stuff. We are NOT kneading this dough. If you mix too much, you activate the gluten, and suddenly you’re making bread, not tender pastry! Once it holds together when you press a handful, stop immediately. Gather it up, flatten it into a nice, neat disk, wrap it up tight in plastic wrap, and send it straight to the fridge. It needs at least one full hour chill time. That rest lets the flour relax and firms up your butter again—essential for a rollable pie crust.
Rolling and Transferring the Final Pie Crust
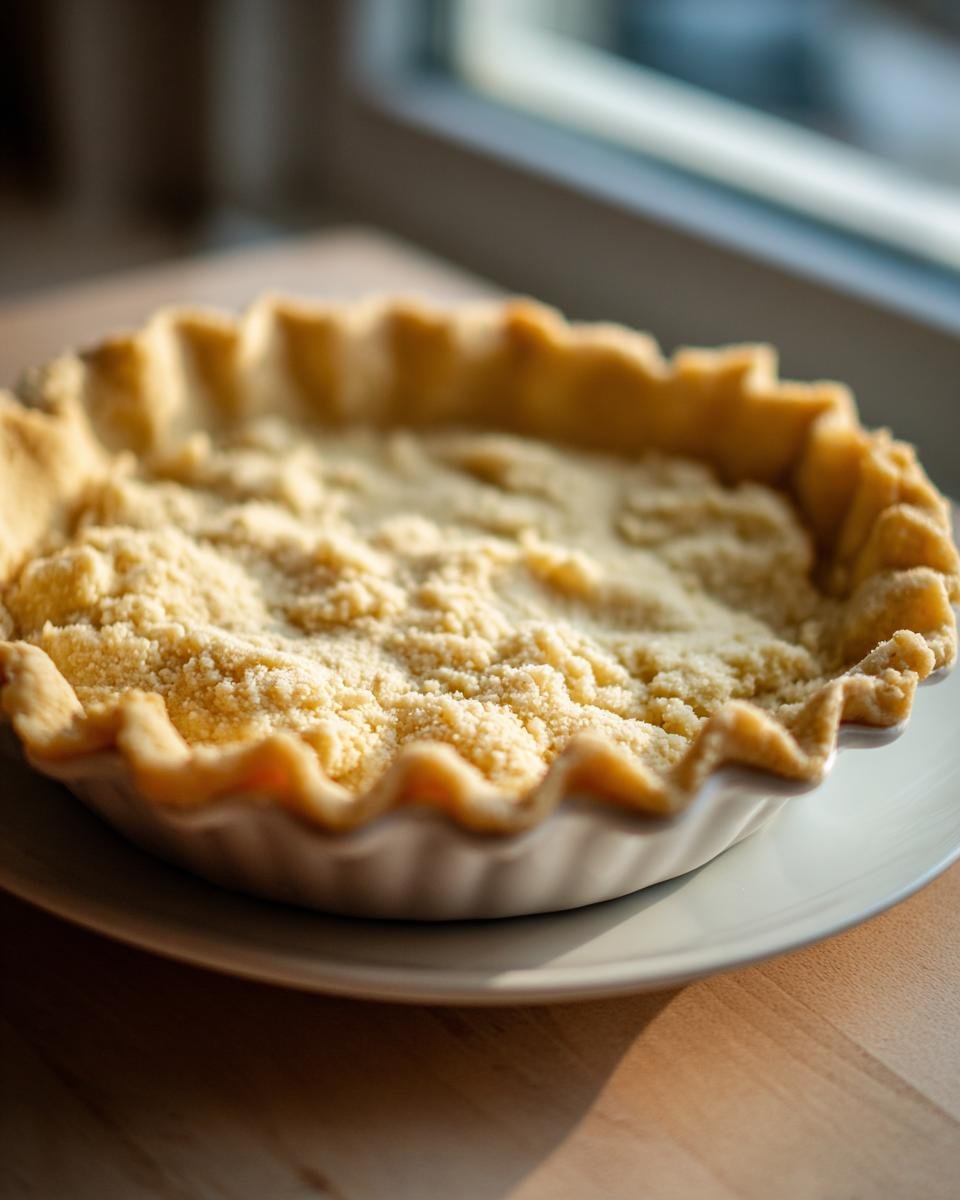
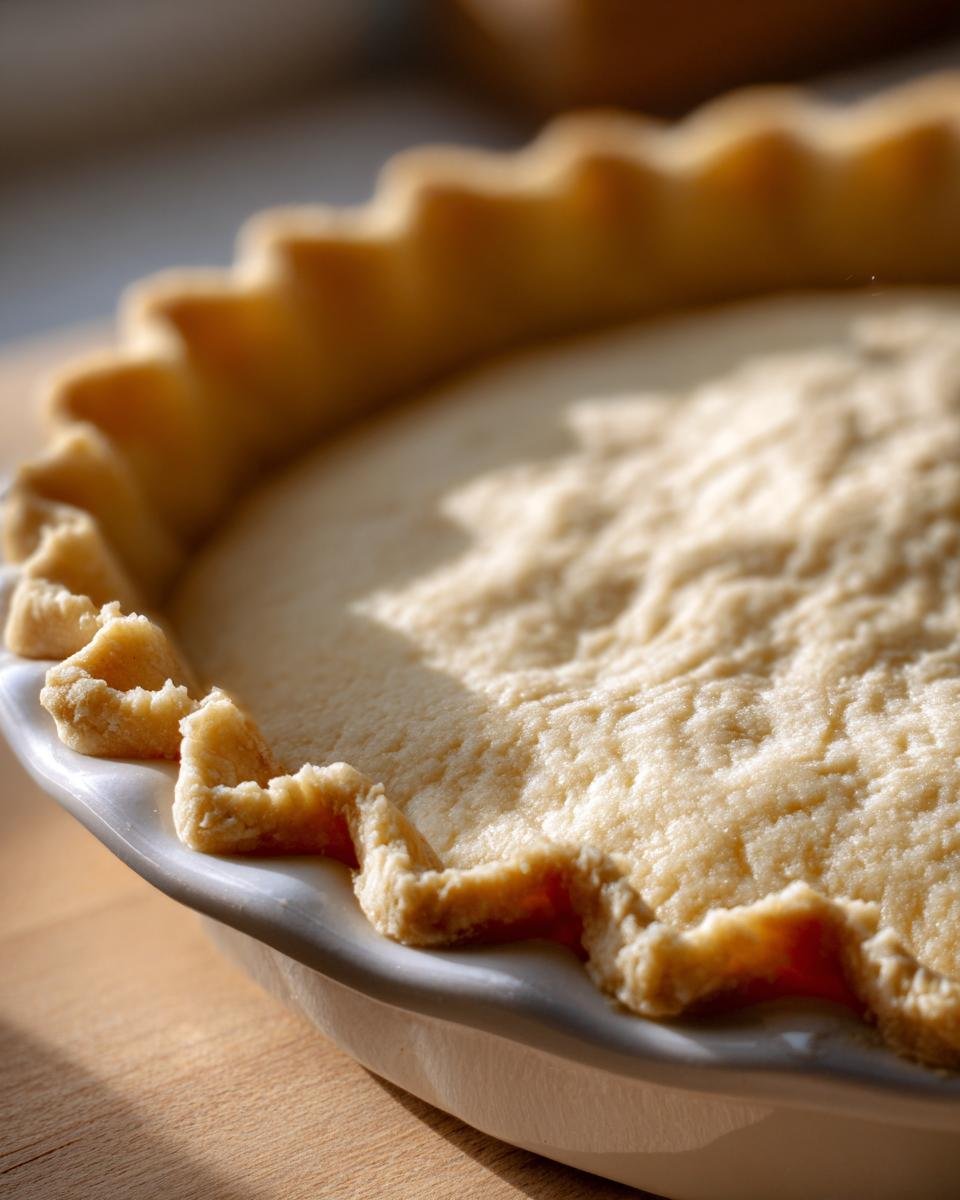
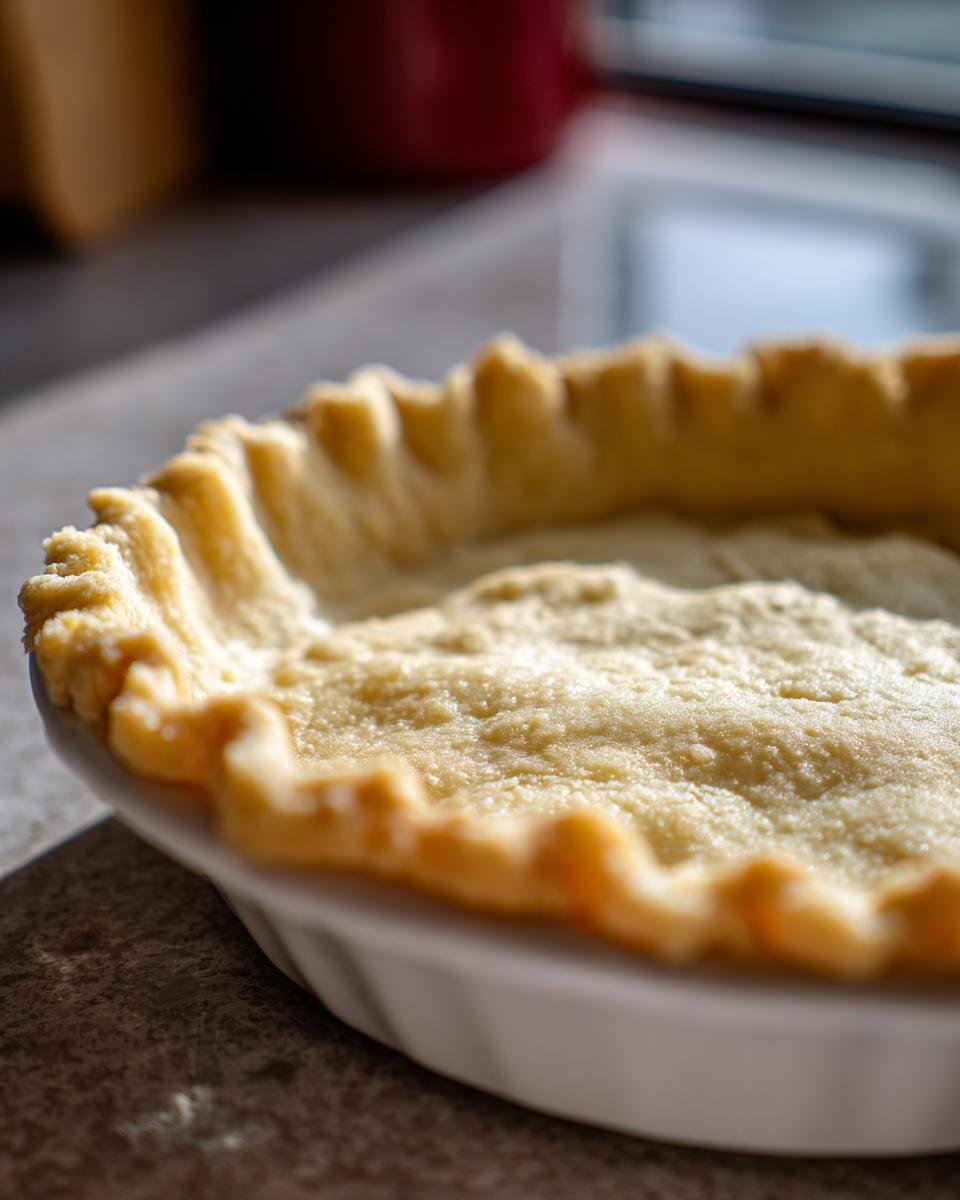
Once chilled, dough handles like a dream! Lightly flour your counter space—don’t go overboard, or you’ll dry it out. Roll outward from the center, turning the dough often so it doesn’t stick. You want to aim for about an eighth of an inch thick, maybe a bit larger than your pie plate. Once it looks ready, fold it loosely over your rolling pin, carry it over, and gently unroll it right into the pan. Don’t stretch it! If you notice any little tears appear while placing it (it happens to everyone!), don’t stress. Just grab a tiny scrap of dough, moisten your finger slightly, and gently patch the hole. Then trim up the edges however you like your crimp to look!
Troubleshooting Common Pie Crust Issues
Even with the best recipe, things can sometimes go a little sideways when working with pastry dough. Don’t let a little hiccup derail your whole dessert dream—we can fix almost anything! If your dough feels way too dry and crumbly when you try to press it into a disk, it just means it needs a tiny bit more moisture. Add only a teaspoon of extra ice water at a time and gently bring it together until it holds. Keep testing it; you don’t want to go past the barely-holding-together stage.
Now, if your pie crust dough feels sticky, oily, or starts clinging desperately to your hands and the counter, it’s definitely too warm or has too much water. Resist the urge to toss in more flour! Flour at this stage will just make the dough tough. The immediate fix here is time. Wrap that sticky mess up and stick it back in the fridge for another 20 minutes. Even if you think you’re in a rush, that chilling time lets the butter firm up again, making it suddenly manageable and ready to roll out perfectly.
Variations for Your Next Pie Crust
I love this basic all-butter pie crust recipe because it’s the perfect starting point, but once you have the technique down, you can totally play around! The richness you get from 100% butter is unmatched for flavors like apple or pecan where you want that deep, creamy taste. If you wanted a slightly more tender, maybe less fussy crust for a savory quiche, I’ve heard adding a spoonful of vegetable shortening in place of some of that butter works wonders—it inhibits gluten production a little more. That’s a discussion for another day, though!
For dessert pies, if you’re feeling fancy, try adding some mild flavoring right into the dry ingredients before you cut in the butter. A tiny pinch of ground cardamom or maybe a tablespoon of finely chopped fresh rosemary can make your next savory pie crust sing. Remember to keep all your additions cold, though, because we don’t want to wreck that flaky texture we worked so hard to achieve!
Baking Next Steps: What to Fill Your Pie Crust With
So, you’ve got this gorgeous, flaky pie crust ready to go—yay! Now what? It really depends on what you’re making. For a fresh fruit tart or a custard that bakes fully in the oven, you can usually skip the pre-baking step and just fill your raw crust right away. However, if you’re making a no-bake filling, like a pudding or my favorite no-bake chocolate pie, you’ll need to blind-bake that shell first!
Blind baking means baking the empty crust until it’s set, usually by lining it with parchment paper and pie weights. Either way, you’ve built the foundation for an amazing dessert, and that perfect little crust is going to hold up to anything you throw in it!
Storing Leftover Pie Crust Dough
Sometimes you make a double batch because you know you’ll eventually need another one, or maybe you just needed one crust but the recipe made a tiny bit extra. That’s totally fine! If you wrap that raw pie crust dough up super tight in plastic wrap, it keeps happily in the refrigerator for up to three days. Don’t let it sit longer than that, or you risk it drying out.
If you know you won’t use it within three days, pop that tightly wrapped disk into the freezer! It lasts beautifully for about two months this way. When you’re ready to use it, transfer it right to the fridge overnight to thaw slowly. It’s honestly like finding money in an old coat—a perfect, ready-made pie crust waiting for you!
Frequently Asked Questions About Making Pie Crust
Whenever I share this recipe, people always have a few last-minute panics. Don’t worry! Baking is forgiving if you know the tricks. We’ve covered the main steps, but here are the answers to the questions I get asked most often about achieving that perfect, flaky pastry.
Can I substitute the butter in this Pie Crust recipe?
Look, I’m an all-butter purist because I love the flavor, but I know sometimes life happens! You *can* substitute some of the butter with vegetable shortening, usually in a 50/50 split. Shortening creates an even more tender and flaky crust because it stays solid at a higher temperature than butter. However, you sacrifice some of that gorgeous, deep buttery flavor. For this specific recipe geared toward maximum flavor along with flakiness, I’d stick to the butter unless you are making a savory crust where the flavor isn’t as critical.
How long does the finished Pie Crust need to chill?
You must, must, must chill that dough for at least one hour! I know it feels like wasted time when you’re eager to roll out your beautiful pie crust, but this is non-negotiable for success. Chilling relaxes the gluten strands so the dough doesn’t snap back at you when you roll it, and it solidifies the butter chunks. If your kitchen is hot or you press too hard while rolling, just pop the whole disk back in for another 15 minutes. That cold temperature is the secret weapon for a perfectly flaky pie crust every single time.
Estimated Nutritional Overview for This Pie Crust
Now, I’m not a nutritionist—I’m a baker who loves butter! So, please take this information with a giant grain of salt. These numbers are just an educated guess based on the standard measurements for this gorgeous pie crust. We calculated this based on one serving being 1/8th of the entire crust, which fits perfectly into a standard 9-inch pie dish.
The main thing to know: this is a treat! Because we use all that delicious butter for maximum flakiness, the fat content is higher, as expected. But look at that protein—the flour gives you a decent little boost!
- Calories: Around 180 per slice.
- Total Fat: Roughly 10 grams. Yes, that’s where the flavor is hiding!
- Carbohydrates: Just over 20 grams.
- Protein: About 3 grams.
If you’re making a vegetable tart, that crust becomes part of a very balanced meal. If you are filling it with a mountain of sugar and cream, well, you already know the nutritional drill! Enjoy that amazing, flaky texture of your homemade pie crust!
Print
Simple All-Butter Pie Crust
- Total Time: 1 hr 20 min
- Yield: 1 single 9-inch crust 1x
- Diet: Vegetarian
Description
A basic recipe for a flaky pie crust made entirely with butter.
Ingredients
- 1 1/4 cups all-purpose flour
- 1/2 teaspoon salt
- 1/2 cup (1 stick) unsalted butter, cold and cut into small cubes
- 3 to 4 tablespoons ice water
Instructions
- In a large bowl, whisk together the flour and salt.
- Cut in the cold butter using a pastry blender or your fingertips until the mixture resembles coarse crumbs with some pea-sized pieces of butter remaining.
- Gradually add the ice water, one tablespoon at a time, mixing lightly with a fork until the dough just comes together. Do not overmix.
- Gather the dough into a ball, flatten it into a disk, wrap it tightly in plastic wrap, and chill in the refrigerator for at least 1 hour.
- On a lightly floured surface, roll the chilled dough out to about 1/8 inch thickness.
- Transfer the dough to your pie plate and trim the edges as needed.
Notes
- Keep all ingredients cold for the flakiest results.
- If the dough tears while rolling, patch it with a small piece of scrap dough.
- Prep Time: 20 min
- Cook Time: 0 min
- Category: Baking
- Method: Mixing
- Cuisine: American
Nutrition
- Serving Size: 1/8 of crust
- Calories: 180
- Sugar: 0.1
- Sodium: 110
- Fat: 10
- Saturated Fat: 6
- Unsaturated Fat: 4
- Trans Fat: 0.2
- Carbohydrates: 20
- Fiber: 0.7
- Protein: 3
- Cholesterol: 25
Keywords: pie crust, pastry, butter crust, flaky crust, baking