
Oh, mornings. They just rush at you, don’t they? One minute you’re thinking about coffee, and the next you’re wrestling with lunchboxes and trying to remember where you put your keys. If you’re like me, you need something ready-made, something that doesn’t require an oven, and something that actually tastes good while it’s fueling your morning chaos. I’ve solved that problem with what I call my Delightful Homemade Cereal Bars For A Energizing Start.
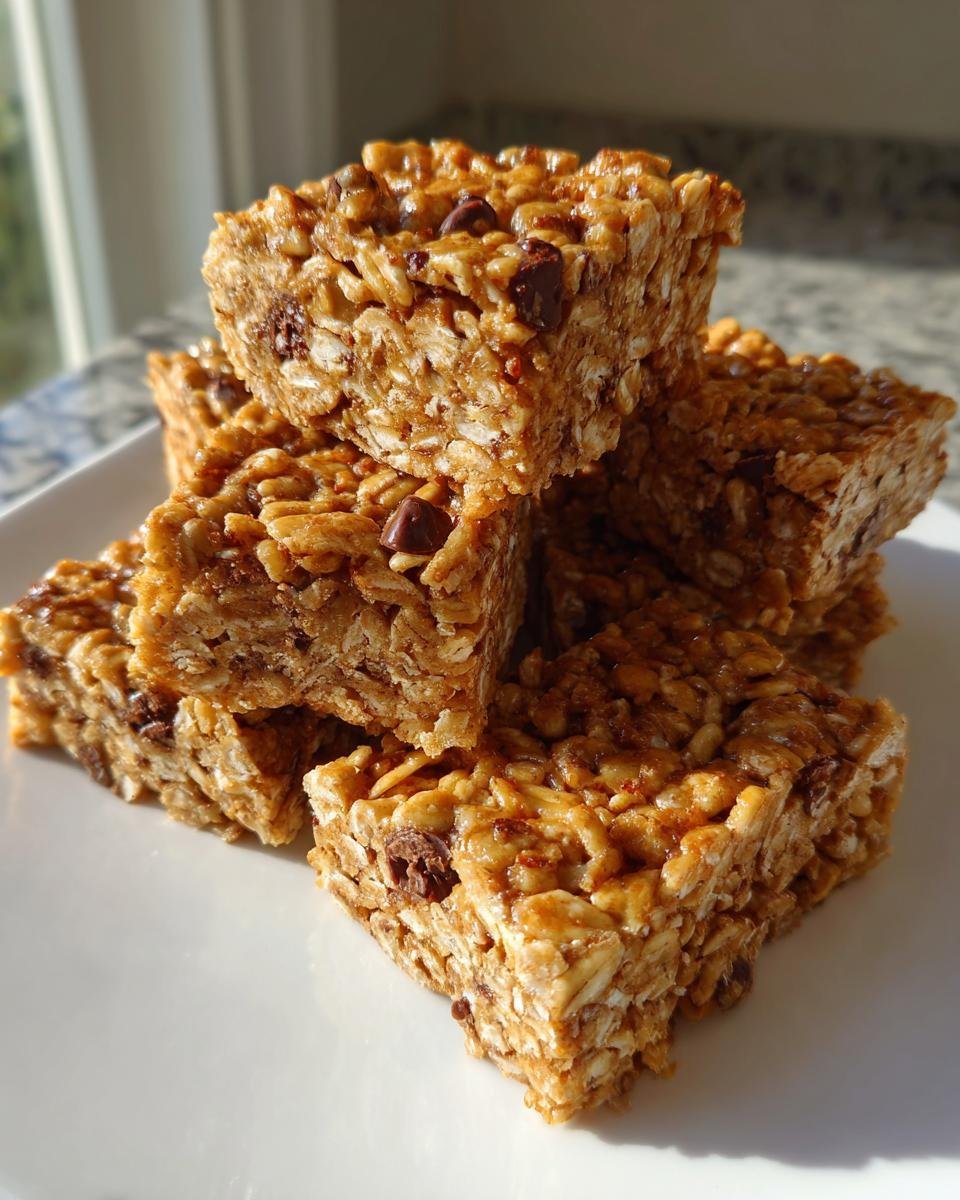
Forget those dry, dusty bars you buy in plastic wrappers! These are chewy, perfectly sweet, and they come together faster than you can brew a full pot of coffee. Seriously, they are no-bake, which is my personal favorite category for recipes that need to save the day.
This recipe isn’t fancy chemistry; it’s just good, reliable binding. I started making these years ago when my kids were little and insisted on sugary cereal but I wanted them to get at least a little bit of oat goodness in there. They became an instant staple—I make a batch every Sunday night, and they disappear before Wednesday hits. They are the perfect grab-and-go breakfast or afternoon slump fighter.

Why You Need These Delightful Homemade Cereal Bars For A Energizing Start
I can’t tell you how many times these chewy little wonders have saved my sanity. If you’re tired of cereal that leaves you hungry 30 minutes later, or if you just dread turning on the stove before 7 AM, you need this recipe in your life. They are my go-to when I need food in my hands fast. Check out why they’re worth stirring up this week:
- They are genuinely fast! We’re talking 15 minutes of prep before they head to the fridge.
- They are perfectly portable. Stick one in a napkin, and you’ve got breakfast for the car, the office, or the kid’s backpack.
- That texture! They are wonderfully chewy from the oats and just rigid enough not to fall apart everywhere, unlike those store-bought bricks.
- Customization is huge for me. You can swap out the mix-ins based on what you have sitting in the pantry.
If you love the concept but maybe need something baked, you should definitely check out my recipe for chewy oatmeal bars for a slightly different texture experience later on. Those oatmeal bars are fantastic too!
Gathering Your Ingredients for Delightful Homemade Cereal Bars For A Energizing Start
Okay, pulling this recipe together is the easiest part, but paying attention to the details here makes all the difference between a perfect, chewy bar and one that crumbles before you can get it out of the pan. Since this is a no-bake recipe, the quality of your binding agents really shines through, so use the good stuff!
Here is what you’ll need to round up for a batch of 12 bars. Don’t skimp on getting your measurements just right; baking relies on ratios, even when we aren’t turning on the oven!
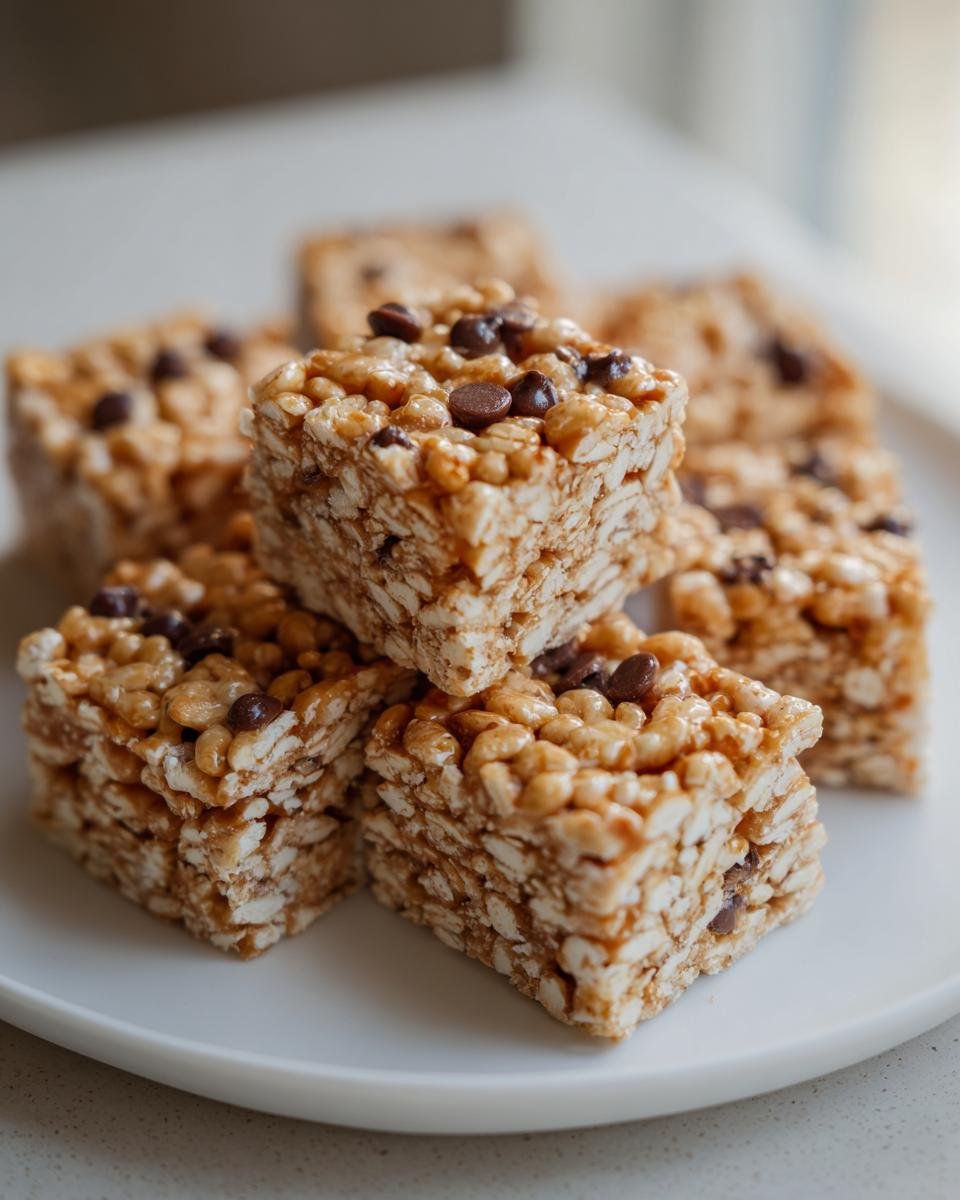
- Two cups of puffed rice cereal—you know, the classic light, airy kind.
- One cup of rolled oats. I always use old-fashioned rolled oats because they give the best structure, but quick oats work in a pinch if you absolutely must.
- Half a cup of peanut butter. I stick to creamy because it melts smoother, but if you have crunchy and love texture, go for it!
- Half a cup of honey or maple syrup. This is our main binder, so make sure it’s nice and fluid.
- A quarter cup of brown sugar, and make sure you pack it in tight when you measure it! That molasses flavor is crucial.
- One teaspoon of good vanilla extract. Don’t use the imitation stuff if you can help it; the flavor boost is worth it.
- And, if you’re feeling extra good about your morning, chuck in a quarter cup of those adorable mini chocolate chips. They mix in so much better than the regular size!
My biggest tip, which I learned the hard way, is about the peanut butter. If yours is rock hard and straight out of the fridge, it won’t mix smoothly into the warm syrup, resulting in lumpy bars that don’t set right. If you’re struggling with stiff peanut butter, you can microwave it alone for about 20 seconds just to soften it up before you start heating the syrup. For more ways to improve your ingredient game, I wrote a whole post about baking tips to make you a better baker that applies here, even though we aren’t technically baking!
Step-by-Step Instructions to Make Delightful Homemade Cereal Bars For A Energizing Start
Alright, this is where we turn ingredients into pure, portable energy! Since nothing is actually baking, our main job here is creating the perfect sticky, honey-sweet mixture that holds everything together beautifully. Don’t walk away from the stove—that’s my biggest warning for this part! We need precision timing so the bars set up perfectly firm, not gooey.
Preparing the Pan and Dry Mix
First things first, let’s get the staging area ready. You need an 8×8 inch baking pan. I always recommend lining it with parchment paper, making sure you leave some overhang on those two opposite sides. That parchment is your lifesaver later when you have to pull the whole thing out in one piece! Trust me, trying to dig these bars out without the overhang is a disaster waiting to happen.
Next, grab your largest mixing bowl—we’re going to use minimal dishes, keeping things easy! Don’t dump anything in there yet, though. We prep the dry stuff first. In that big empty bowl, gently toss together the two cups of puffed rice cereal and the one cup of rolled oats. Just give them a quick stir to say hello to each other. Set that aside while we handle the magic syrup.
Creating the Binding Syrup
Now, head over to the stovetop. Get yourself a medium saucepan. We’re combining the peanut butter, the honey or maple syrup, and the packed brown sugar. Set this over medium heat. You absolutely must stir constantly here! We’re not trying to cook anything deeply, just melt it down until it’s perfectly smooth and glossy.
Watch closely! As soon as you see the mixture *just* start to bubble around the edges—and I mean just a tiny bit—yank that pan right off the heat. That brief moment of bubbling is everything. If you leave it on even thirty seconds too long, the sugar will start to crystallize when it cools, and your bars will be hard as little rocks instead of deliciously chewy. Once it’s off the heat, quickly stir in that teaspoon of vanilla extract.
Combining and Pressing the Delightful Homemade Cereal Bars For A Energizing Start
Time to work fast! Pour your warm, gooey peanut butter mixture right over that cereal and oat mix sitting in the large bowl. You need to stir immediately and keep stirring quickly until every single piece of cereal and every oat flake is totally coated in that sweet binder. Don’t worry about being too vigorous here; we aren’t overmixing flour, so go for total coverage!
If you decided to be wonderful and use those mini chocolate chips, fold those in right now. They’ll get a little melty, which is half the fun! Now comes the most vital part for structure: transferring the mixture into your prepared 8×8 pan. You need to press this down firmly. I mean *firmly*!

Pro Tip: My first few batches were always too crumbly because I didn’t press hard enough. I now use the wide, flat bottom of a measuring cup or a second piece of parchment paper over the top and press down with my entire body weight. You want that mixture compacted so there are zero air pockets. That compression is what makes these bars hold their shape when you cut them!
Chilling and Cutting
The bars are pressed, they are beautiful, and now they need a nap. Place the pan directly into the refrigerator. You need to chill these for at least one whole hour. If you’re making them for a super busy morning, two hours is even better for maximum firmness.
Once they are completely firm—test one corner by nudging it gently—it’s cutting time! Use those parchment paper overhangs like handles and carefully lift the entire slab of cereal goodness out of the pan. Lay it on a clean cutting board. Grab a big, sharp knife and slice it into 12 even bars. If you wait too long after chilling, they might get too hard to cut cleanly, so try to cut them soon after they firm up. A quick breakfast solution is ready to go!
If you want to see more easy, fast recipes perfect for busy days, you should look at my tips on oatmeal muffins—they are another breakfast lifesaver!
Ingredient Notes and Substitutions for Your Delightful Homemade Cereal Bars For A Energizing Start
People always ask me if they have to use exactly what I listed, and the answer is usually, “Pretty much, but I get it—sometimes you just don’t have honey!” The binder is where you need to be the most careful. If you swap honey for pure maple syrup, you’ll find the bars set up just a tiny bit softer, which I actually prefer because it’s chewier!
If you have a serious nut allergy, don’t ditch the recipe! You can absolutely swap the peanut butter out for sunflower seed butter or almond butter. Just remember that sunflower seed butter can sometimes be a little thicker, so you might need to add an extra teaspoon of syrup just to keep things flowing smoothly when you mix it all up.
Also, feel free to get creative with your flavorings. A tiny sprinkle of cinnamon doesn’t change the structure much, but it really warms up the flavor profile. For more general kitchen swaps and how different liquids behave, check out my guide on make buttermilk substitutions—it really gets you thinking about how ratios work!
Tips for Perfect Delightful Homemade Cereal Bars For A Energizing Start
We’ve covered the basics, but listen, I’ve made enough batches of these peanut butter treats to know exactly where things can go wrong. The number one failure I used to have was crumbling bars—they’d fall apart the second I pulled them out of the pan, making breakfast a messy disaster.
The key to getting that satisfyingly chewy texture that doesn’t disintegrate is pure, unadulterated pressure when pressing them into the pan. I mentioned it before, but I need to repeat it: press them like you mean it! I use a metal spatula and lean into it until my upper arms burn just a little bit. That compaction creates a dense matrix where the syrup truly bonds the oats and rice together.
If you end up with bars that are too soft, even after chilling, it usually means your binding syrup cooled down a bit too much before you mixed in the dry ingredients. Next time, make sure you pour that warm syrup directly from the saucepan onto the cereal and combine things quickly so you can get that solid press done while the mixture is still pliable. For more deep dives into getting your technique perfect, I’ve got some great advice in my post on baking tips to make you a better baker!
Storage and Make-Ahead Options for Delightful Homemade Cereal Bars For A Energizing Start
This is one of the best parts about making these no-bake treats: zero fuss later! Once you’ve cut them into 12 perfect little rectangles, you just need an airtight container. I usually store them right on the counter at room temperature. They stay wonderfully soft and chewy for about a week that way. Isn’t that handy?
If you are doing a huge batch, freezing works like a charm! Wrap individual bars tightly in plastic wrap first, then stick them all together in a big freezer bag. They hold up great for about a month. When you need one, just pull it out and let it sit on the counter for about 15 minutes to thaw completely. They are ready to fuel your day just like that! If you’re wondering about other easy recipes you can freeze, check out my no-bake chocolate peanut butter bars for another make-ahead win!
Variations on Delightful Homemade Cereal Bars For A Energizing Start
While the classic combination of oats, rice, and peanut butter is heavenly, these bars beg for you to play around with them! That’s how recipes evolve, right? I always try to sneak in some extra bits for texture and a little extra health boost.
If you want to skip the chocolate chips, try tossing in a half cup of dried cranberries or even chopped dried apricots right before you press the mixture into the pan. They add a wonderful chewiness and tartness!
Another fun thing is adding things like flax seeds or hemp seeds for fiber. I even use fun sprinkles sometimes—especially if I’m making these for a kid’s party! If you’re feeling the sprinkle vibe, my funfetti cookies recipe has a whole section on choosing the best sprinkles, many of which can be tossed right in here!
Just remember, whatever you add, try not to exceed about 3/4 of a cup total extra mix-ins so you don’t mess up that delicate sticky balance we worked so hard to achieve!
Serving Suggestions for Your Energizing Start
These little powerhouses are ready to go solo, but if you want to turn them into a real breakfast spread, I have suggestions!
I love having one of these bars alongside a big mug of hot coffee, of course. For an even better start, pair it with a side of plain Greek yogurt and some fresh berries. The creaminess cuts the sweetness of the peanut butter binder perfectly. And for those non-coffee mornings, a simple glass of cold milk works like a charm. If you’re looking for a great coffee cake recipe to enjoy *instead* of a bar one day, you should check out my simple coffee cake recipe!
Frequently Asked Questions About Delightful Homemade Cereal Bars For A Energizing Start
I always get a ton of questions when I post this recipe because everyone wants to know how to tailor these no-bake bars to their own pantry. It’s one of those recipes that’s super flexible, but sometimes flexibility leads to confusion! Here are the top things folks ask me about getting these breakfast bars right every time.
How long do these homemade cereal bars last?
This is the best part! Because there’s no moisture from eggs or baking powder, they hold up beautifully. You can store them in a single layer in an airtight container right on the counter at room temperature, and they should stay perfectly soft and fresh for about a week. If you put them in the fridge, they might get a little firmer, but they’ll still taste great! I never bother putting them past room temperature storage.
Can I use a different type of cereal?
You certainly can play around, but you need to be careful about texture. This recipe relies on the lightness of the puffed rice cereal to keep things from getting too heavy. If you swap entirely to something denser, like corn flakes or even Cheerios, you might need to slightly reduce the amount of cereal or add an extra splash of honey or peanut butter to ensure they still hold together well when you cut them.
Why are my bars too sticky/soft?
Ugh, I hate when that happens! Usually, if your bars are too sticky after chilling, it means one of two things happened. Either you didn’t press them firmly enough into the pan (remember, leverage those arms!) or, more likely, the binding agents got too hot on the stove, and they didn’t fully set up like they should have. If they are slightly soft, just pop them back in the fridge for another 30 minutes; sometimes they just need a little more chilling time to firm up! If you’re looking for more quick-fix tips for breakfast chaos, check out my post on oatmeal muffins!
Print
Delightful Homemade Cereal Bars For An Energizing Start
- Total Time: 20 min
- Yield: 12 bars 1x
- Diet: Vegetarian
Description
Simple recipe for making chewy, satisfying cereal bars at home.
Ingredients
- 2 cups puffed rice cereal
- 1 cup rolled oats
- 1/2 cup peanut butter
- 1/2 cup honey or maple syrup
- 1/4 cup brown sugar, packed
- 1 teaspoon vanilla extract
- 1/4 cup mini chocolate chips (optional)
Instructions
- Line an 8×8 inch baking pan with parchment paper, leaving an overhang on the sides for easy removal.
- In a large saucepan, combine the peanut butter, honey or maple syrup, and brown sugar over medium heat. Stir constantly until the mixture is smooth and just begins to bubble. Remove from heat.
- Stir in the vanilla extract.
- In a large bowl, combine the puffed rice cereal and rolled oats.
- Pour the warm peanut butter mixture over the cereal and oat mixture. Stir quickly until everything is evenly coated.
- If using, fold in the mini chocolate chips.
- Press the mixture firmly and evenly into the prepared baking pan. Use the back of a spatula or another piece of parchment paper to compact it well.
- Refrigerate for at least 1 hour, or until completely firm.
- Lift the bars out of the pan using the parchment overhang. Cut into 12 even bars.
Notes
- For a firmer bar, chill for 2 hours.
- You can substitute peanut butter with almond butter or sunflower seed butter.
- Store leftovers in an airtight container at room temperature for up to one week.
- Prep Time: 15 min
- Cook Time: 5 min
- Category: Breakfast
- Method: No-Bake
- Cuisine: American
Nutrition
- Serving Size: 1 bar
- Calories: 200
- Sugar: 12
- Sodium: 80
- Fat: 10
- Saturated Fat: 2
- Unsaturated Fat: 8
- Trans Fat: 0
- Carbohydrates: 25
- Fiber: 2
- Protein: 6
- Cholesterol: 0
Keywords: cereal bars, homemade granola bars, no-bake bars, breakfast bars, puffed rice, peanut butter bars