
Oh, there is just nothing quite like that feeling when you pull something warm and fragrant out of the oven, right? For me, that smell screams pure comfort, and honestly, that’s why I chase down the easiest baking recipes. If you’ve ever struggled with crumbly loaves or dry quick breads, listen up, because I have cracked the code for you. This simple Apple Bread recipe is my absolute, non-negotiable favorite because it is basically foolproof and stays perfectly moist for days. I swear I tested this thing seven different ways last fall—too much spice, not enough liquid—until I landed on this gold standard. It’s the one my neighbors beg for!
Why This Simple Apple Bread Recipe Works So Well
I know you have a million recipes already, but I promise this one is a keeper because it’s designed for success, even if you are shaky on the whole baking thing. Seriously, no fancy equipment needed for this beauty. If you can stir ingredients in a bowl, you can nail this Apple Bread.

Here’s why I keep coming back to this exact formula again and again:
- It’s unbelievably moist. The grated apple just sinks right in and keeps everything soft.
- The mixing is super straightforward. We just use a bowl and a whisk or wooden spoon—no need to haul out the giant stand mixer! You can trust my baking tips on simple mixing if you’re nervous.
- The cinnamon hits just right. It’s warm and cozy without overpowering that fresh apple flavor.
This bread proves that simple ingredients handled correctly always beat complicated techniques.
Gathering Ingredients for Your Apple Bread
Okay, before we even think about turning on the oven, let’s talk ingredients. Because this is a quick bread, the quality of what goes in really shines through! You don’t need a huge shopping list, but precision matters here. Make sure you grab two cups of all-purpose flour, of course, and don’t forget that baking soda and salt.
Now for the stars! We need one teaspoon of ground cinnamon—we’re going heavy on the cozy spice here. The butter absolutely must be softened. Don’t try melting it; we need it pliable so it can cream up nicely later! You’ll need one cup of regular white sugar, two large eggs, a teaspoon of vanilla, and then the real work: one cup of very finely grated apple. That grating step is non-negotiable for moisture!
Speaking of apples, please take heed: Use tart apples, like Granny Smiths. They hold their shape better and give that lovely little tang that cuts through the sweetness. If you happen to need buttermilk for another recipe soon, you could look up some buttermilk substitutions, but for this Apple Bread, our recipe calls for simple milk.
Here’s a quick baker’s secret: Give your baking soda a sniff test. If it smells musty or like nothing at all, toss it! Old baking soda won’t give your bread that essential lift. We want a beautiful rise, not a dense brick, so fresh leavening is key!
Essential Equipment for Making Perfect Apple Bread
You don’t need a gourmet kitchen overflowing with gadgets to bake this lovely loaf; in fact, I prefer keeping it simple! Preparation is everything, so let’s make sure your station is ready before you start measuring wet and dry. It just cuts down on panic later on, trust me.
You’ll definitely need a standard loaf pan—mine is 9×5 and works perfectly every time. Grab at least two mixing bowls; one for your dry stuff, and a nice big one for creaming the butter and sugar. You’ll want a good whisk to start whipping the wet ingredients, and a sturdy rubber spatula is essential for gently folding everything together at the end. That spatula is your best friend to make sure you don’t crush those delicate air bubbles we worked so hard to create!
Step-by-Step Instructions for Delicious Apple Bread
Alright, time to get messy! First things first—we need that big oven heat. Preheat everything to 350 degrees F (175 degrees C) right away. While that’s warming up, get your standard loaf pan prepped. I just use butter and flour, but you can get fancy with baking spray if you like. We want this easy to come out later!
Next up, dry town. Grab a medium bowl and whisk together your flour, baking soda, salt, and that lovely cinnamon powder. Whisking helps break up any clumps, so give it a good minute.
Mixing the Wet Ingredients for Fluffy Batter
Now for the big bowl! This is where we build the structure. Cream that softened butter and the sugar together. You are looking for that change in texture, going from grainy to fluffy yellow—it takes some elbow grease, but it’s worth it to trap air in there. Then, beat in your eggs one by one until they are totally incorporated. Don’t rush the eggs! Finish the wet mix with a quick splash of vanilla extract.
Combining Wet and Dry, the Critical Stage
This is maybe the most important part of this entire Apple Bread adventure, so listen closely, okay? We’re going to add the dry ingredients to the wet mixture gradually. I mean *gradually*. Add about a third of the dry mix, stir just until you don’t see major flour streaks, and then stop! If you keep beating it when the flour is in there, you develop gluten, and that gives you chewy, tough bread, not the beautiful tender crumb we want. Seriously, do not overmix!
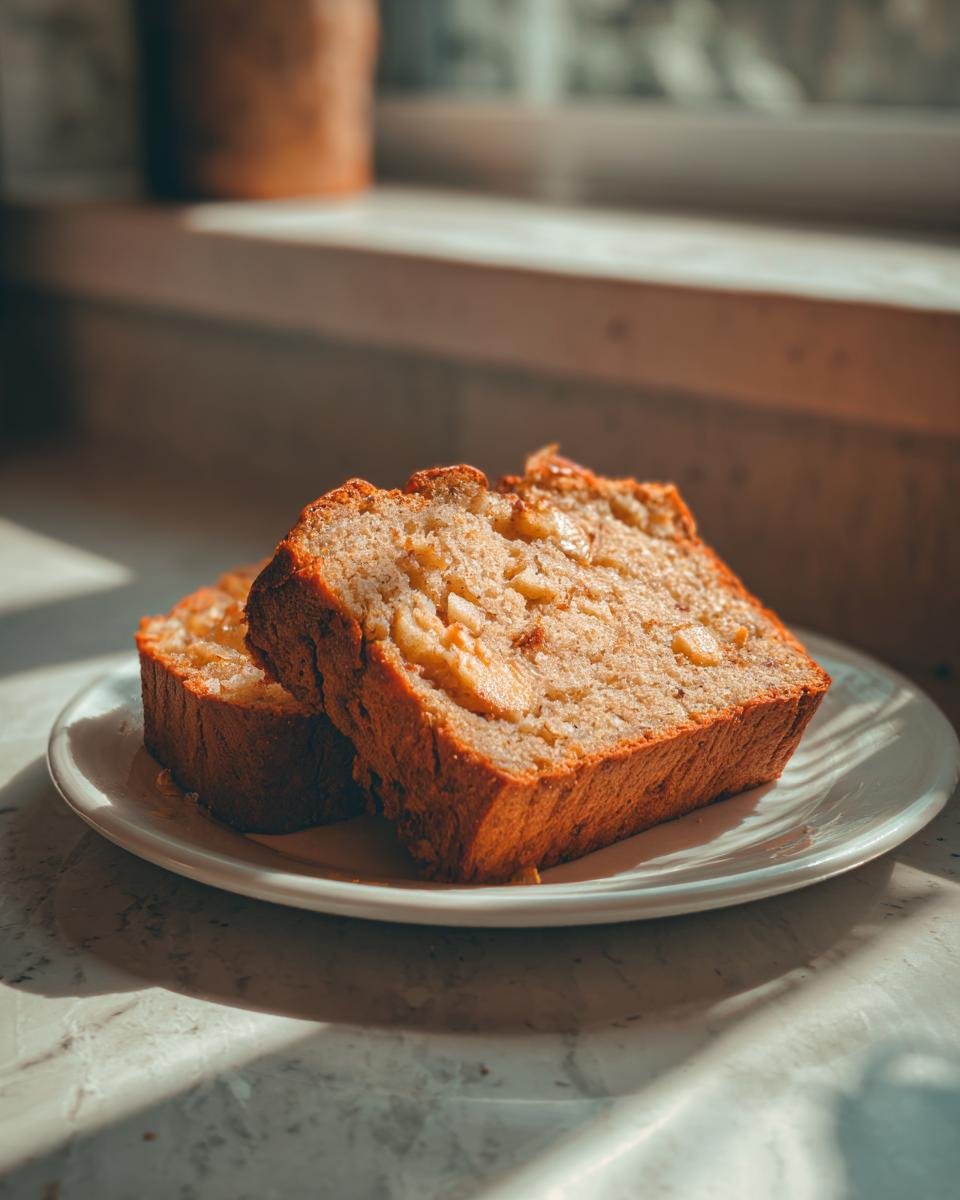
Once the flour is mostly combined, fold in that cup of grated apple. A little tip here: leave the peel on the apple when you grate it! Not peeling adds a little extra texture and moisture that you just can’t beat. After the apples are nestled in, gently stir in the milk until the batter looks smooth and unified. It should still be thick.
Pour it all into your pan and bake it for about 50 to 60 minutes. If you want more mixing wisdom, I share a lot of my secrets over at my post on keeping cakes moist!
Checking for Doneness
When the timer goes off, don’t just pull it out! Stick a clean wooden skewer or a thin knife right into the very center. If it comes out clean, you are golden! If it has wet batter on it, give it another five minutes and check again. A little moisture clinging to the skewer is actually okay—it means it’s still moist inside, which is our goal!
Expert Tips for the Best Apple Bread Results
You’ve done the hard part—mixing that perfect, tender batter! Now, let me share a couple of things I learned after making way too many crumbly loaves of Apple Bread in the early days. These little tweaks make all the difference between a good quick bread and an unforgettable one.
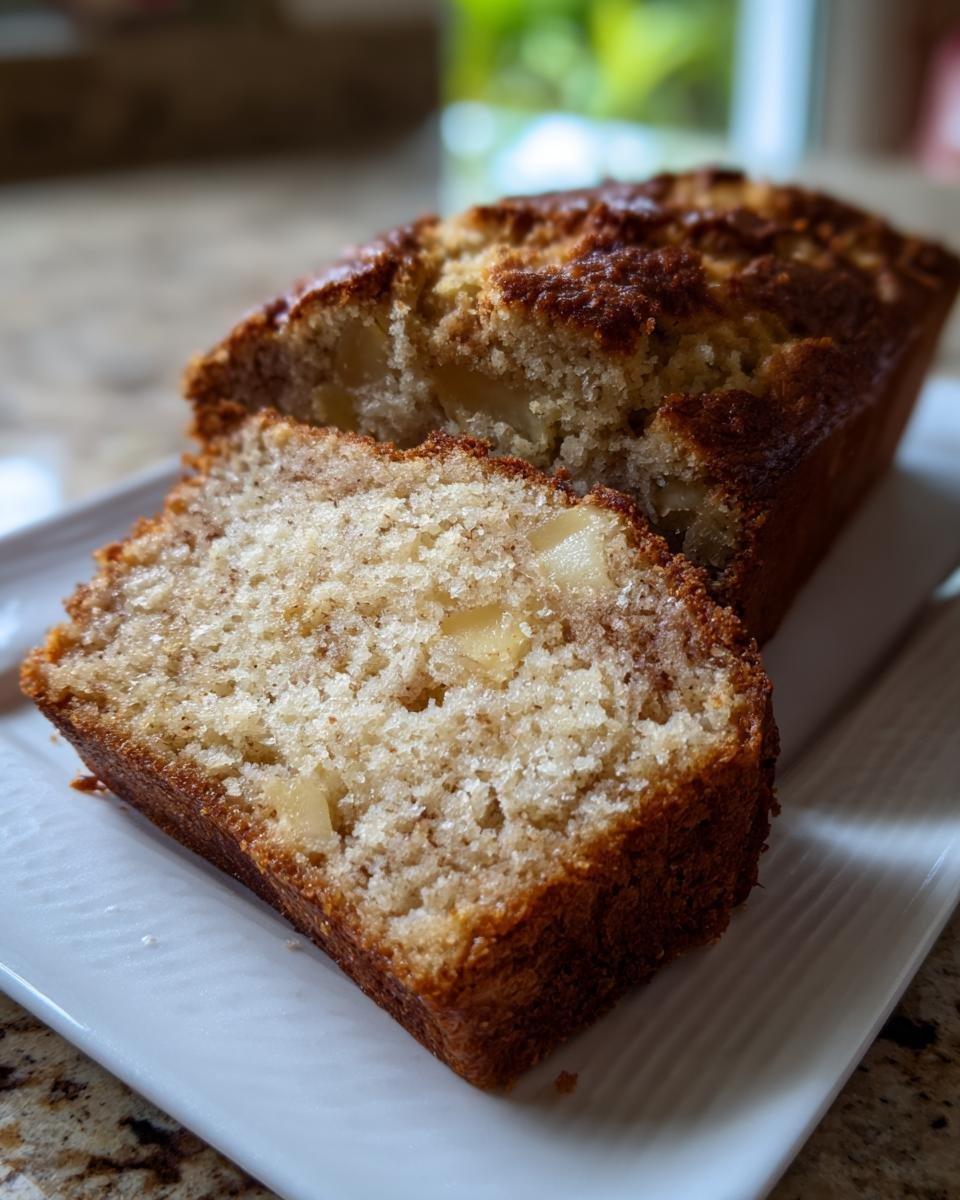
We talked about this, but it bears repeating: firm, tart apples like Granny Smith are your friends here. They don’t break down into mush while baking, which means you get those nice pockets of soft apple instead of just apple-flavored liquid.
A Quick Note on Optional Add-Ins
If you ever feel like jazzing things up, toss in about a half-cup of chopped walnuts or pecans right when you fold in the grated apple. It gives a fantastic crunch! If you’re looking for other great apple ideas, just check out my favorite apple crisp recipe for inspiration.
The Crucial Cooling Trick
This is the step most people skip, leading to disaster! When the bread comes out of the oven, do NOT try to wrestle it out immediately. You need to let it sit in that hot pan on a cooling rack for a solid ten minutes. Why? Because the bread is incredibly fragile right out of the heat. Those ten minutes let the structure firm up just enough. If you try to turn it out too soon, it will absolutely collapse and stick to the sides. Patience rewards you with a perfect loaf!
Variations on Classic Apple Bread
While I truly believe this basic Apple Bread is perfect as written, I also know that variety keeps us interested in the kitchen! Once you’ve mastered the primary formula, you can start playing around with the flavor profile without messing up that beautiful, moist crumb we worked so hard for.
If you want a deeper molasses flavor, try swapping half of your granulated sugar for dark brown sugar. It blends beautifully with the cinnamon! You could also amp up the warmth by adding just a tiny pinch of fresh nutmeg, which really complements the apple.
If you’re feeling fancy and want to present your loaf nicely, you absolutely must try a glaze. A simple powdered sugar glaze works, but a cream cheese glaze poured over the top when it’s cooled down makes it feel totally decadent. If you’re in the mood for something really special, check out the frosting ideas I used for my apple cupcakes—you can thin that frosting out for a drizzle!

Honestly, this base recipe is so solid; it just waits for you to put your own little signature on it!
Storing and Reheating Your Homemade Apple Bread
This is the best part of baking a quick bread—the leftovers! Luckily, this Apple Bread keeps really well since it’s so moist already. After it cools completely on the rack (remember that vital step!), wrap the entire loaf tightly in plastic wrap and then foil. This double wrap secures all that lovely moisture inside.
It will stay perfectly fine on your counter at room temperature for about three days. If you know you won’t finish it that fast, you can absolutely freeze it! Wrap it extra tight and it’s good for up to two months. When you’re ready to eat a slice later, never eat it cold from the fridge; it tightens up the crumb. Just zap a slice in the microwave for about 10 seconds. Wow, it comes right back to life!
Frequently Asked Questions About Apple Bread
I get so many messages about this simple Apple Bread recipe—which is wonderful! It seems everyone struggles with the same things when baking quick bread for the first time. Here are a few of the questions I hear most often when people are trying this cinnamon-spiced loaf!
Can I use applesauce instead of grated apple?
Oh, I wouldn’t recommend it if you want that classic texture. Grated apple gives you actual chunks of fruit and, crucially, a little bit of structure in the crumb. Applesauce is just too wet and thin; if you swap it in, you risk having a much greasier, heavier quick bread that might not bake all the way through nicely. Stick to the grating if you can!
Can I double this recipe?
You sure can, but you’ll need to plan for extra baking time and likely use two loaf pans instead of cramming it all into one. If you keep it in one very large pan, the center will likely never set up properly before the edges burn. If you double it up into two standard loaf pans, you should only need to add about 10 to 15 extra minutes to the cook time. Watch it closely, though!
What is the best way to check if the Apple Bread is done?
The little wooden skewer test is the most reliable! You want to insert it right near the center of the loaf—avoiding a large chunk of apple if possible—and pull it out. If you see wet, gooey batter, it needs more time. If you see completely dry crumbs stuck to the skewer, that’s good, but if you see just a few *moist* crumbs clinging on? That’s perfect! That means you nailed the balance for a super moist loaf just like the one in my carrot apple zucchini bread recipe.
What if I don’t have cinnamon? Can I use other spices?
While cinnamon is the backbone of this recipe, you can certainly substitute! If you’re out, you can use an equal amount of apple pie spice mix, or even use half cinnamon and half nutmeg. Just remember, the flavor profile shifts slightly away from that classic sweet bread taste, but it’ll still be delicious!
Nutritional Estimate for This Apple Bread
Look, I wish I could give you perfect numbers for every single slice, but the truth is, my kitchen isn’t a science lab! The nutritional information you see floating around for recipes like this simple Apple Bread is always just an estimate. Why? Because my butter might be slightly different from yours, I might grate my apple a little thicker, or you might use a different brand of flour.
Since this loaf is made right here in my home kitchen with love and not by precise industrial scales, please trust that the numbers are a general guideline only. If you are counting calories or watching sugar intake very closely, you should definitely measure your specific ingredients and plug them into your favorite calculation website for the most accurate personal figures. Happy baking!
Print
Simple Apple Bread
- Total Time: 75 min
- Yield: 1 loaf 1x
- Diet: Vegetarian
Description
A straightforward recipe for moist apple bread.
Ingredients
- 2 cups all-purpose flour
- 1 teaspoon baking soda
- 1/2 teaspoon salt
- 1 teaspoon ground cinnamon
- 1/2 cup unsalted butter, softened
- 1 cup granulated sugar
- 2 large eggs
- 1 teaspoon vanilla extract
- 1 cup grated apple (about 1 medium apple)
- 1/4 cup milk
Instructions
- Preheat your oven to 350 degrees F (175 degrees C). Grease and flour a standard loaf pan.
- In a medium bowl, whisk together the flour, baking soda, salt, and cinnamon.
- In a large bowl, cream together the softened butter and sugar until light and fluffy.
- Beat in the eggs one at a time, then stir in the vanilla extract.
- Gradually add the dry ingredients to the wet ingredients, mixing until just combined. Do not overmix.
- Fold in the grated apple.
- Stir in the milk until the batter is smooth.
- Pour the batter into the prepared loaf pan.
- Bake for 50 to 60 minutes, or until a wooden skewer inserted into the center comes out clean.
- Let the bread cool in the pan for 10 minutes before turning it out onto a wire rack to cool completely.
Notes
- Use firm, tart apples like Granny Smith for the best flavor.
- You can add 1/2 cup of chopped walnuts or pecans with the apples if you wish.
- Prep Time: 15 min
- Cook Time: 60 min
- Category: Dessert
- Method: Baking
- Cuisine: American
Nutrition
- Serving Size: 1 slice
- Calories: 250
- Sugar: 18g
- Sodium: 200mg
- Fat: 12g
- Saturated Fat: 7g
- Unsaturated Fat: 5g
- Trans Fat: 0g
- Carbohydrates: 34g
- Fiber: 1g
- Protein: 4g
- Cholesterol: 50mg
Keywords: apple bread, quick bread, cinnamon, apple cake, sweet bread