
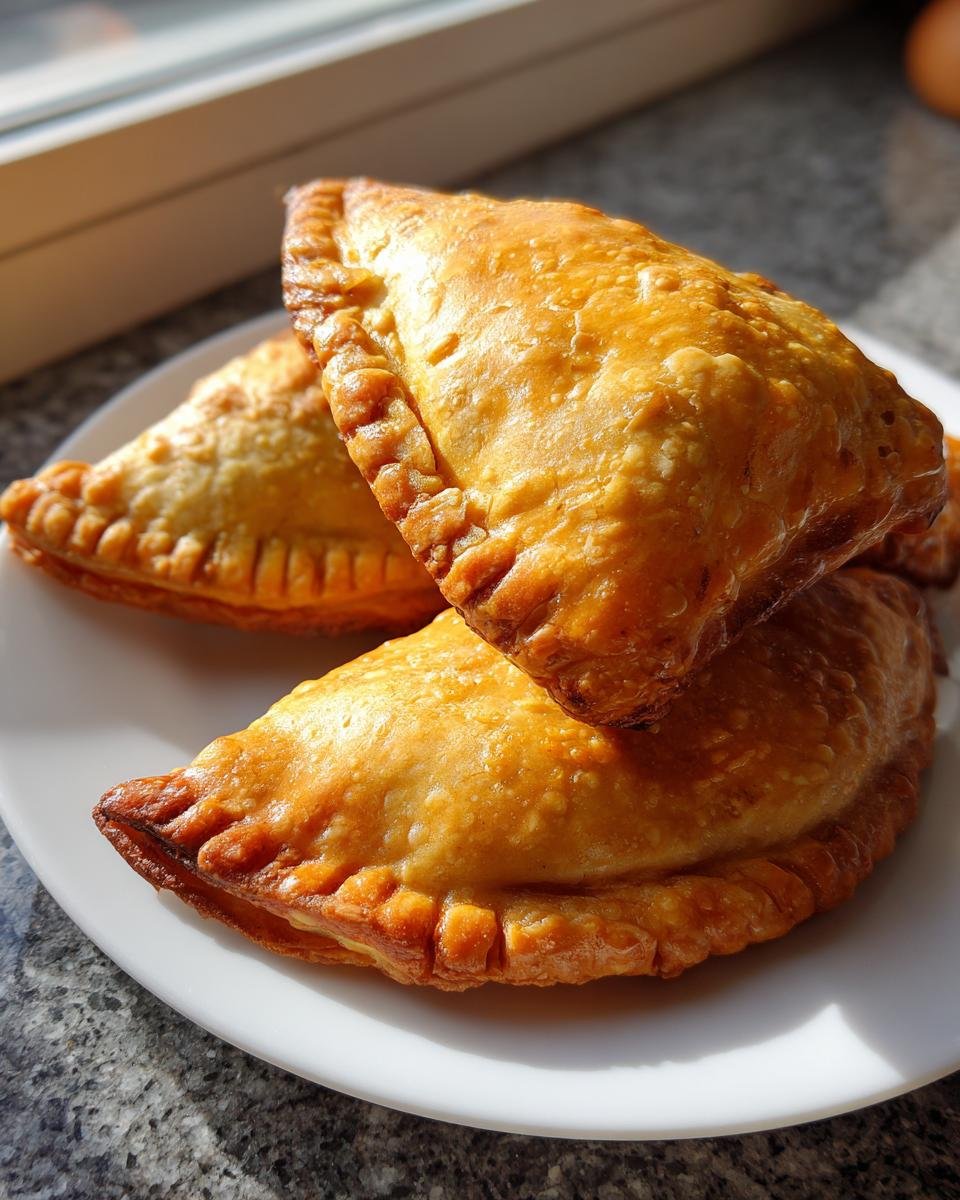
Oh, there is just nothing—absolutely nothing—that beats that first bite of a truly perfect, piping hot, freshly fried appetizer, right? Forget those sad, oily factory-made ones; we are making **Homemade Samosas** today, and I promise you, these are going to change your life!
The dream, of course, is that flaky, shatteringly crisp pastry casing holding this powerhouse of savory potato goodness. When I first tried making them, my cones kept splitting open mid-fry, and the filling was everywhere! It was a disaster! But after hours in my kitchen, I cracked the code on the dough hydration and the perfect seal. Trust me, once you master that little trim and press, you’re going to feel like a culinary superhero.
This recipe cuts through the confusion and gives you that authentic, melt-in-your-mouth flavor every single time. You ready to get rolling?
Why You Will Love These Homemade Samosas
When you finally nail that first batch of **Homemade Samosas**, you’ll wonder why you ever bought them frozen! These aren’t just snacks; they are an event. Here’s exactly what makes this recipe the one you’ll keep coming back to:
- The Crust is Everything: We use a little trick with very cold water when making the dough that ensures the pastry shell puffs up beautifully and stays wonderfully crisp—no soggy bottoms here, ever!
- Flavor That Sings: The filling isn’t just mashed potatoes, no way! It’s packed with aromatic spices like cumin seeds, garam masala, and fresh ginger. It hits that perfect balance of spicy, savory, and earthy.
- They Actually Hold Together: I know, the sealing part looks intimidating, but I break down the cone-folding process so simply in the next section that you will get perfect, sturdy triangles without any filling leaking out while they fry.
- Totally Authentic Taste: This isn’t some watered-down snack hack. We are leaning into traditional spices and techniques that give you the real taste of those amazing street-style snacks right in your own kitchen.
- Perfect for Make-Ahead Days: Seriously! You can prepare the spiced potato filling one day and even assemble the raw turnovers a day ahead. Just keep them covered and refrigerated until you’re ready to drop them into the hot oil!
They are the ultimate party food, but honestly, I make a batch just for me on Sunday afternoons with a big cup of chai.
Gathering Ingredients for Perfect Homemade Samosas
Okay, let’s talk supplies! You can’t make great **Homemade Samosas** with lackluster ingredients, trust me on this one. The secret to that incredible, shattering crust starts right here with getting the dough ingredients right, especially the temperature of the water. For the filling, it’s all about layering those warm, earthy spices, so measure carefully!
When you grab your ingredients, make sure you’ve got everything ready to go before you start mixing the dough. If you’re low on buttermilk for another recipe, don’t sweat it; I have a neat little trick you can check out for easy buttermilk substitutions if you need it!
For the Dough:
- Two cups of all-purpose flour—the staple!
- Just half a teaspoon of salt to season the shell itself.
- About a quarter cup of oil or ghee. Ghee is traditional and adds richness, but melted oil works fine too!
- And here is the magic for crispness: you’ll need cold water, around half a cup, but only add what you need until your dough is stiff.
For the Savory Potato Filling:
- Four medium potatoes, boiled until they are super tender, peeled, and then roughly mashed—we want texture!
- Half a cup of sweet green peas, fresh or frozen works great.
- One tablespoon of oil for sautéing.
- One teaspoon of cumin seeds—let those splutter properly!
- Half a teaspoon of fresh grated ginger—don’t skip the fresh stuff!
- A mix of powdered spices: half a teaspoon of turmeric powder, one teaspoon of coriander powder, half a teaspoon of red chili powder for heat, and half a teaspoon of garam masala for depth.
- Salt, naturally, to taste for the filling.
Step-by-Step Instructions for Homemade Samosas
This next part is where the magic happens, but honestly, it’s more about steady hands than anything complicated. If you’re looking for some general ideas on timing and oven techniques that might help you while you’re learning to bake, I always point people toward these baking tips to make you a better baker down the road. Here’s how we turn those ingredients into incredible **Homemade Samosas**.
Preparing the Stiff Dough for Homemade Samosas
First things first: the pastry. In a big bowl, toss your flour and salt together. Now, take that cold oil or ghee and work it into the flour until it looks like coarse, sandy crumbs. This step is super important for flakiness! Start adding your cold water slowly. You want a stiff dough, not soft! Knead it firmly for about five to seven minutes until it stops feeling super sticky. It’s going to feel a little tough—that’s perfect! Cover that dough ball up tightly with a damp cloth or plastic wrap and let it rest for at least 30 minutes. Seriously, don’t skip that rest; it lets the gluten relax, making rolling out those shapes so much easier later.
Cooking the Flavorful Potato and Pea Filling
While the dough is chilling out, we make the powerhouse filling. Heat up that tablespoon of oil in a pan over medium heat and wait until those cumin seeds start to splutter—that smell means they’re waking up! Toss in your grated ginger and cook it until you can really smell that potent aroma, just about 30 seconds. Next go in the peas until they soften up a bit. Now, throw in all your dry spices—turmeric, coriander, chili powder, and garam masala—and stir quickly so they don’t burn. Finally, gently fold in your mashed potatoes. Mix just enough to combine everything thoroughly. Cook for two or three minutes, then take it off the heat! The absolute key here is letting this filling cool completely before you try to stuff any pastry. Warm filling melts the dough seals, and nobody wants that!
Assembling and Sealing Your Homemade Samosas
Okay, time to roll! Divide your rested dough into small, even balls. Roll each one into an oval shape, maybe five or six inches long. Cut that oval right down the middle to get two neat semi-circles. Now, get a tiny bowl of water ready. Moisten the straight cut edge lightly—just run your finger in the water and brush it on. Fold one side over the other to create a tight cone shape, pressing those moist edges firmly together. This seal has to be solid! Fill that cone with about two tablespoons of the cooled potato mix. Don’t pack it tight, and definitely don’t overfill it, or it will explode! Moisten the remaining open edges of the cone, bring those last edges up to meet each other, and press hard to seal into a neat triangle. If you want to get fancy, pinch the seams to make a little decorative crimp.
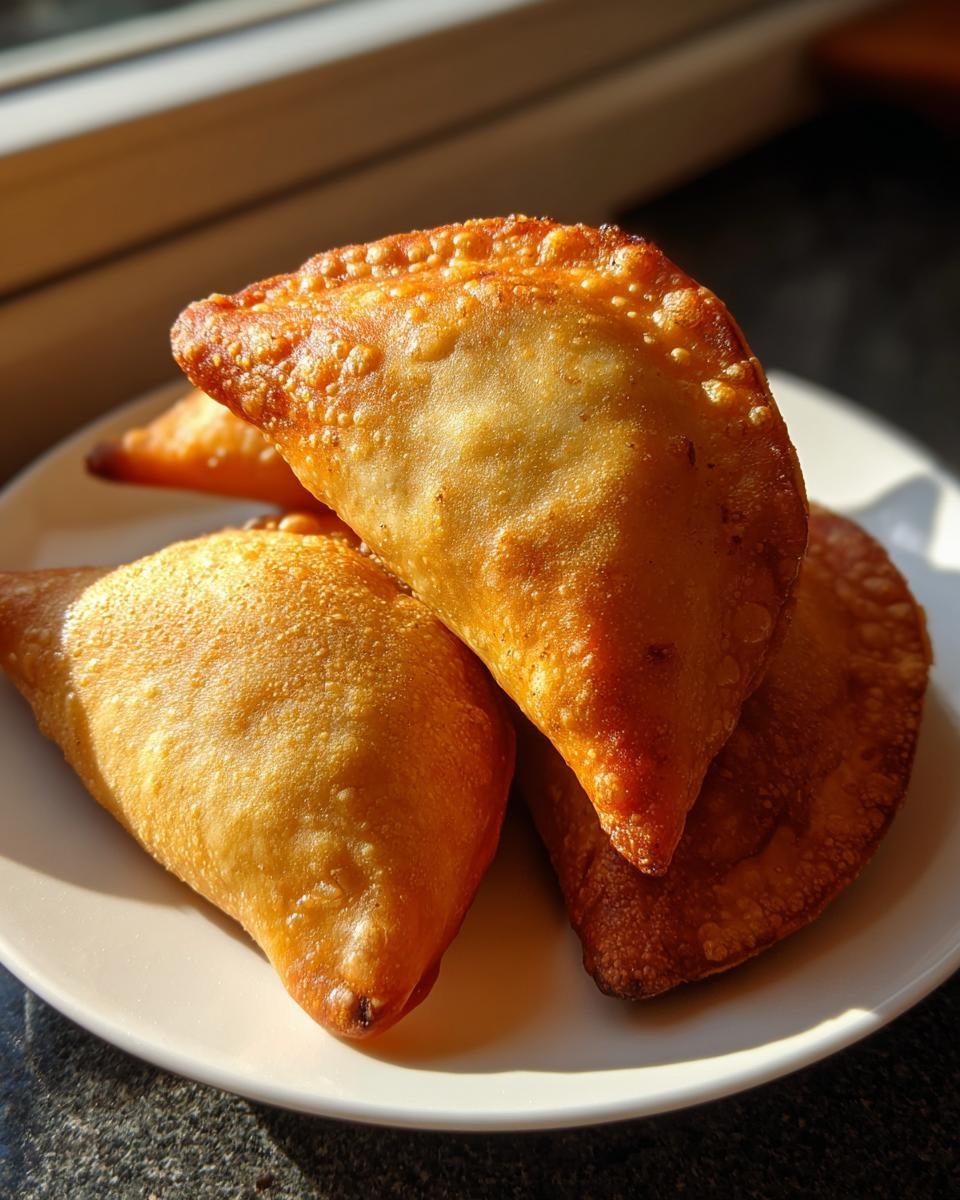
Deep Frying Homemade Samosas to Golden Perfection
This is where patience pays off. Heat your frying oil over medium heat. You want it hot, but not smoking! A great test: drop a tiny pinch of scrap dough into the oil. If it sizzles right away but takes about 6 to 8 minutes to turn light brown, your temperature is perfect. Frying too hot makes them brown outside while the dough is raw inside. Pop your prepared samosas in, but don’t crowd the pan—this keeps that oil temperature stable! Fry them for about 6 to 8 minutes total, turning them every few minutes so they get that jaw-dropping, even golden color. Scoop them out with a slotted spoon and let them drain on paper towels. Listen to that crunch!

Tips for Making the Best Homemade Samosas
You’ve got the recipe down, but the difference between a good samosa and a legendary one is all in these little expert details. I’ve learned these the hard way, so please save yourself the trouble and pay close attention to these four things!
First, if you want that unbelievably crisp shell, you absolutely must use very cold water, maybe even adding an ice cube or two while you mix the dough. Remember what I said about the rest time? Don’t skimp! A rested dough is pliable; an under-rested dough fights you, tears easily, and cracks when it hits the oil.
Second, and this is huge because it’s the most common rookie mistake: **do not overfill the cones!** Seriously, stop adding more potatoes just because you think they need it. If you fill them too much, the pressure during frying has nowhere to go but out through the seams. Use just about two tablespoons, and make sure you leave significant space at the top for sealing. And speaking of sealing, apply water liberally but evenly along the edges you plan to join.
Third, when it comes to frying, temperature control is everything. If you drop too many samosas in at once, the oil temperature plummets instantly, and instead of crisping up, the pastry soaks up tons of oil and gets greasy. Fry in small batches—think three or four at a time—and if you notice they are browning too fast, pull the heat back a bit. Patience here means golden perfection, not oil sops.
Finally, after you take them out, resist the urge to pile them high on a plate that isn’t lined with paper towels! They need that initial drain time to wick away the excess surface oil. A clean, dry paper towel, changed halfway through the batch, helps keep those bottoms crisp until you serve them up!
Ingredient Substitutions for Homemade Samosas
I love when people get creative in the kitchen, but when it comes to beloved recipes like **Homemade Samosas**, sometimes a substitution can really throw off the final texture we are aiming for—that perfect shattering crust! So, let’s talk about a couple of swaps I’ve tested and what you can expect if you make them.
First up: Ghee versus Oil in the dough. You absolutely can use a neutral-flavored vegetable oil instead of ghee in the pastry mix. Ghee offers a slightly richer, nuttier flavor profile because of the milk solids it contains, but regular oil ensures you still get that lovely, dry, crisp texture we want. Just make sure whatever you use is solid or deeply chilled!
What about the filling? Traditionally, it’s potatoes and peas, and I really stick to that because potatoes offer starch and body. But if you wanted to mix in maybe half a cup of very finely chopped, pre-cooked carrots or even cauliflower that’s been steamed until no water remains, it can work! However, you lose a bit of that classic comforting potato feel, and you must ensure any extra veggies are bone dry before mixing them with the spices, or things get soggy fast.
Spice modifications are common too! If you want them spicier than this recipe calls for, just amp up the red chili powder and maybe add a pinch of cayenne. If you don’t have garam masala, you can bump up the coriander and add a tiny pinch of ground cardamom for a slightly different twist, though the flavor won’t be quite the same. If you are looking for mixing up flavor profiles for other dishes sometime, I found a great guide once about how to make white frosting easy if you ever want to shift gears to dessert!
The main thing to remember is that the dough—the pastry shell—is sensitive. If you mess with the flour and fat ratio too much, you’ll end up with something that puffs like a light pastry, but it won’t have that satisfying, dense crunch that makes a samosa worth all the effort!
Serving Suggestions for Your Homemade Samosas
So, you’ve pulled those perfectly golden **Homemade Samosas** out of the oil, and the aroma is driving everyone in the house crazy! Now what? You absolutely cannot serve these beauties naked—they need a dipping partner to truly shine. Forget everything else; the chutney pairing is non-negotiable.
The classic duo is always the way to go. You need that cooling green mint chutney—it’s bright, fresh, and cuts through the richness of the fried pastry perfectly. It’s usually made with cilantro, mint, green chilies, and a little lemon juice. If you’ve never whipped up a batch, you should try it!
But for that truly complex, satisfying bite, you have to balance the mint with the sweet, dark tang of tamarind chutney. That dark, sticky sauce is the perfect foil for the savory, spiced potato inside. Scoop a little of each onto your plate, and you’ve got heaven.
Now, if you want to get a little fun and swap things up—especially if you’re serving them to non-traditional appetizer lovers—try pairing them with a really good, thick Greek yogurt dip seasoned simply with a pinch of salt and a tiny sprinkle of smoked paprika. It sounds weird, I know, but the creaminess is surprisingly addictive against the spicy potato. Just don’t tell my auntie I suggested anything but the chutneys!
Storage and Reheating Instructions for Homemade Samosas
You made a huge batch, probably because you knew they were too good to stop eating after just two—yeah, I do that too! Now, here’s how you save the rest of these perfect **Homemade Samosas** so they taste just as good tomorrow, or next week!
First off, let’s talk about cooling. You absolutely have to let any leftovers cool completely on a wire rack before you even think about tucking them away. If you seal them up while they are warm, that trapped steam turns your glorious crisp crust into a soggy mess. That’s the number one sin of samosa storage!
Storing Samosas in the Fridge
If you plan on eating them within three or four days, the fridge is fine. But you can’t just pile them into an airtight container. That traps moisture! For short-term storage, lay them in a single layer on a baking sheet lined with paper towels. Once they’ve completely cooled, you can cover the whole tray loosely with plastic wrap, or transfer them to a container with a paper towel layered between each samosa.
When you pull them out later, they’ll have lost some of that fresh-from-the-fryer crunch, but don’t worry, we’re bringing it right back!
Freezing Samosas for Later Enjoyment
For the long haul, freezing is your best friend. Again, they must be totally cooled first. Flash freezing is the trick here. Arrange the cooled **Homemade Samosas** in a single layer on a baking sheet—make sure none of them are touching! Pop that sheet into the freezer for about an hour until they are rock solid. This prevents them from sticking together into one giant potato brick. Once they’re hard, transfer them to a heavy-duty freezer bag. You can fit a whole lot more that way! They are good in the deep freeze for up to three months.
The Secret to Restoring That Perfect Crunch When Reheating
Listen to me now: Never, ever put a leftover samosa in the microwave. I mean it! It turns the pastry into rubbery cardboard. We want that original texture back, so we must use dry heat!
If you’re reheating just a few, the air fryer is your absolute best friend. Set it to about 350°F (175°C) and warm them for about 6 to 8 minutes, shaking the basket halfway through. They come out crispy, hot, and perfect.
If you’re doing a big batch, the oven is the way to go. Preheat your oven to 375°F (190°C). Lay the samosas on a baking sheet (no need to cover them) and bake for about 12 to 15 minutes. Keep an eye on them after the 10-minute mark, because if they were already nicely browned from the first fry, they might brown quicker this time around. You should hear that satisfying little crackle when you gently press them. That’s how you know you saved them!
Frequently Asked Questions About Homemade Samosas
I get so many questions once people start trying to roll these beauties at home! It’s totally normal to run into a snag or two when mastering traditional recipes like **Homemade Samosas**. Don’t sweat it! Here are the most common issues I hear about regarding the pastry and the filling, along with my quick fixes. If you’re looking for more general troubleshooting, I have a whole section dedicated to general recipe hiccups over here, for general recipe questions.
Why did my samosas burst open while frying?
Oh, this happens to the best of us, usually for one of two reasons, and it almost always comes down to the seal or the filling temperature. First, you probably didn’t press the edges of your cone or triangle firmly enough with water. The water acts as your glue, so be firm! Second, and far more common, the potato **samosa filling** wasn’t completely cool when you stuffed the pastry. If it’s even slightly warm, it creates steam pressure against the dough seal as it cooks, and *Poof!*—you’ve got a pastry explosion in your oil. Cool filling is essential for pastry integrity!
Can I bake these instead of deep-frying them?
Yes, you certainly *can* bake them, but you have to manage your expectations about the texture! Deep frying is what gives you that signature bubbly, shattering crust. If you bake them, you need to brush the outside heavily with oil or melted ghee before baking. I suggest 400°F (200°C) for about 20 minutes, flipping halfway through. They will be much drier, more like a savory bread pocket than a classic samosa, but they are definitely a better option if you are avoiding deep frying. Just know it’s a completely different experience.
How do I adjust this recipe to make my Samosas spicier?
I love a good kick! The chili powder in the recipe offers a medium warmth, but if you like it fiery, you have two main ways to crank up the heat in that **samosa filling**. The easiest way is simply to increase the amount of red chili powder you add when sautéing the spices. You could also throw in half a teaspoon of finely minced green chili peppers right when you are adding the ginger—just be warned that fresh chilies add a very sharp, immediate heat compared to the earthy heat of dried powder.
My Samosa Pastry is too hard to roll out, what went wrong?
If your dough is fighting you and cracking when you try to roll it into that 5-inch oval, it’s probably one of two things. The most likely culprit is that you used too little water, making the dough dry, or that you didn’t let it rest long enough. That 30-minute rest is non-negotiable; it truly relaxes the gluten structure. If it’s still stubbornly hard after the rest, cut off a piece, knead it for just 30 seconds, and let that smaller piece sit under your bowl for five minutes while you work on the rest. Don’t add water unless you absolutely have to!
Estimated Nutritional Snapshot for Homemade Samosas
I always tell people that while these **Homemade Samosas** are pure joy, they certainly aren’t a salad! Because we are dealing with deep frying, the absorption of oil can really change the final numbers from batch to batch, so please take these figures as a starting point—a fun guideline, not a strict dietary fact list.
This breakdown is based on an estimated yield of 12 samosas. If you manage to stretch this recipe into 14 or 15, your numbers will drop nicely! If you feast on three at a sitting, well, we’ll worry about that later. Here is what the numbers generally look like for one serving:
- Serving Size: 1 samosa
- Calories: Around 250
- Fat: Approximately 15 grams (Keep in mind this includes the oil absorbed during frying.)
- Carbohydrates: Around 28 grams
- Protein: About 5 grams
- Sodium: Roughly 150 milligrams
- Sugar: Very low, about 2 grams (all natural from the potatoes and peas!)
Just remember, this is just an estimate. If you sneak one while they’re draining, you’re probably only adding about half the fat content, so that’s a win! If you decide to bake them, all those numbers shift dramatically, usually lowering the fat content quite a bit. The real goal here is flavor, and these deliver that in spades!
Share Your Homemade Samosas Experience
Now that you’ve rolled, sealed, and devoured your batch of incredible **Homemade Samosas**, I really want to hear about it! Honestly, making this recipe is a journey, and the best part is seeing how they turn out in everyone else’s kitchens. Did you master that tricky cone seal on the first try? I need to know!
Please jump down to the comments section right below this—I read every single one, I promise! A quick rating lets me know if this method worked for your family, and if you have any tweaks you want to share, please do. We are all learning together here!
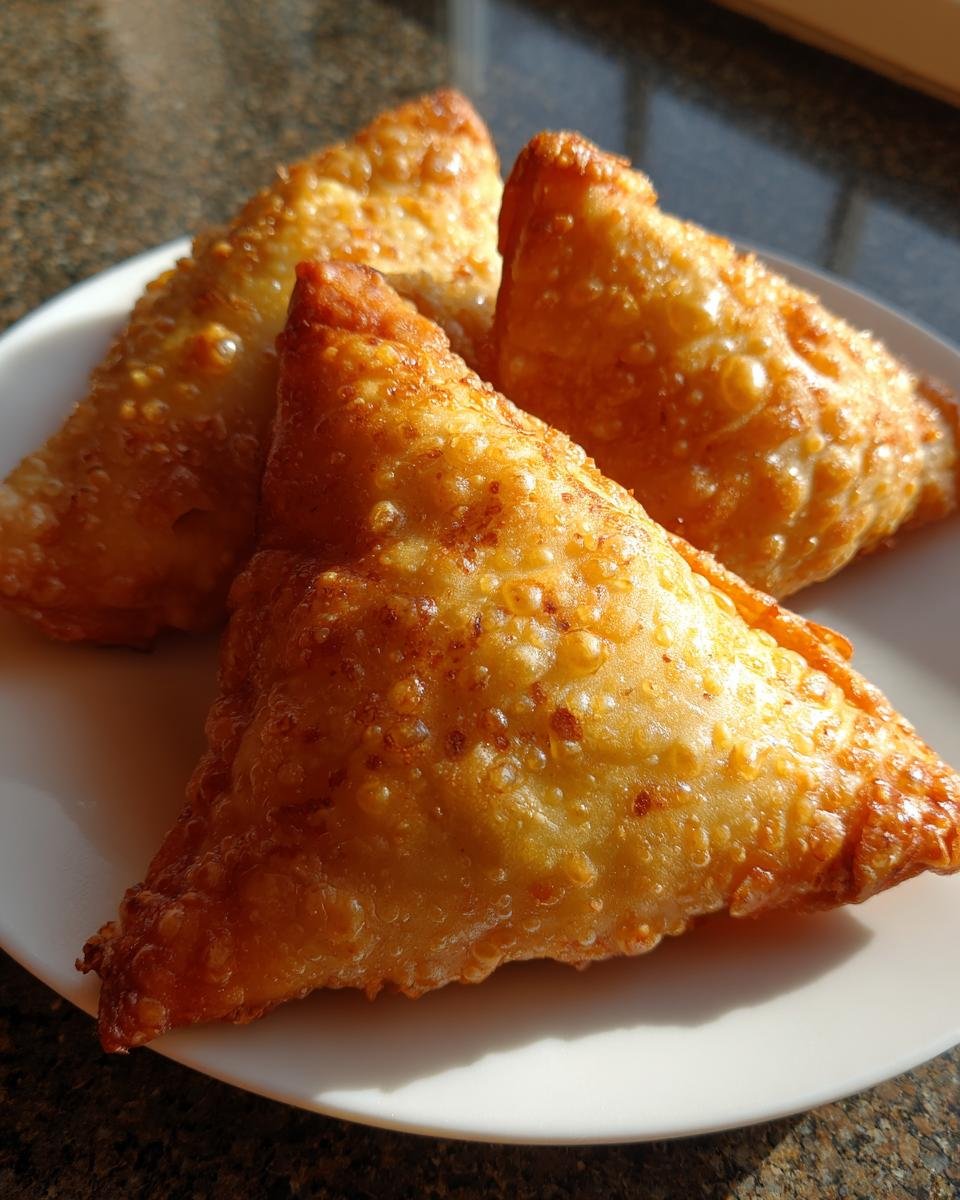
If you managed to get a perfect golden snap on that crust, you absolutely have to share a photo! Tag me on social media! Seeing your crispy, perfectly triangular little pockets makes all hours I spent perfecting that dough worth it.
If you end up having any leftovers, but you decided you needed something sweet to balance out all that savory deliciousness, I have tons of fun ideas over in my desserts category that might be calling your name for tomorrow. Keep baking, keep frying, and keep sharing the joy!
Print
Homemade Samosas
- Total Time: 65 min
- Yield: 12 samosas 1x
- Diet: Vegetarian
Description
Recipe for making traditional Indian samosas with a savory potato and pea filling encased in a crisp pastry shell.
Ingredients
- 2 cups all-purpose flour
- 1/2 teaspoon salt
- 1/4 cup oil or ghee, plus more for deep frying
- 1/2 cup cold water, approximately
- 4 medium potatoes, boiled, peeled, and mashed
- 1/2 cup green peas, fresh or frozen
- 1 tablespoon oil
- 1 teaspoon cumin seeds
- 1/2 teaspoon ginger, grated
- 1/2 teaspoon turmeric powder
- 1 teaspoon coriander powder
- 1/2 teaspoon red chili powder
- 1/2 teaspoon garam masala
- Salt to taste
Instructions
- Mix flour and salt in a bowl. Cut in the 1/4 cup oil or ghee until the mixture resembles coarse crumbs. Gradually add cold water to form a stiff dough. Knead for 5-7 minutes. Cover and let rest for 30 minutes.
- For the filling, heat 1 tablespoon of oil in a pan over medium heat. Add cumin seeds and let them splutter.
- Add grated ginger and cook for 30 seconds.
- Add green peas and cook until tender.
- Add turmeric powder, coriander powder, red chili powder, garam masala, and salt. Mix well.
- Add the mashed potatoes and mix gently until everything is combined. Cook for 2-3 minutes. Remove from heat and let the filling cool completely.
- Divide the dough into equal small balls. Roll each ball into an oval shape, about 5-6 inches long.
- Cut the oval in half to form two semi-circles. Moisten the straight edge with water.
- Fold the straight edge over to form a cone shape, pressing the edges firmly to seal.
- Fill the cone with about 2 tablespoons of the potato mixture. Do not overfill.
- Moisten the open edges of the cone. Bring the edges together and press firmly to seal the top, forming a triangle shape. Pinch the edges to create a decorative crimp if desired.
- Heat oil for deep frying over medium heat. The oil should be hot enough that a small piece of dough sizzles immediately but does not brown quickly.
- Fry the samosas in batches, turning occasionally, until they are golden brown and crisp on all sides. This takes about 6-8 minutes per batch.
- Remove samosas with a slotted spoon and drain excess oil on paper towels.
Notes
- For a crispier crust, use very cold water when making the dough.
- Do not overcrowd the pan when frying; this lowers the oil temperature and makes the samosas oily.
- Serve hot with mint chutney or tamarind chutney.
- Prep Time: 45 min
- Cook Time: 20 min
- Category: Snack
- Method: Deep Frying
- Cuisine: Indian
Nutrition
- Serving Size: 1 samosa
- Calories: 250
- Sugar: 2
- Sodium: 150
- Fat: 15
- Saturated Fat: 4
- Unsaturated Fat: 11
- Trans Fat: 0
- Carbohydrates: 28
- Fiber: 3
- Protein: 5
- Cholesterol: 0
Keywords: samosa, Indian snack, potato pastry, fried appetizer, vegetarian